- Gather materials:
- Prepare the mold:
- Mix the resin:
- Place the LED lights:
- Pour the resin:
- Cure the resin:
- Conclusion: A Recap of the Steps for Adding Lights to Resin Projects
- Frequently Asked Questions
- What materials do I need to add lights to resin projects?
- How do I prepare the mold for a resin project with LED lights?
- How do I mix the resin for a resin project with LED lights?
- How do I place the LED lights in the resin mixture?
- How do I pour the resin mixture over the LED lights?
- How long does the resin need to cure for a resin project with LED lights?
- Can I sand or polish the resin once it has cured for a resin project with LED lights?
Introduction to LED lights in resin
Adding lights to resin projects can take your creations to the next level, creating a unique and eye-catching piece. Whether you’re a seasoned resin artist or just starting out, learning how to put lights in resin can open up a whole new world of possibilities. In this step-by-step guide, we’ll walk you through the process of adding LED lights to your resin projects, from gathering materials to curing the resin.
Before you get started, it’s important to gather all of the necessary materials. This includes resin, a silicone mold, LED lights, and any additional tools or additives you may need. Make sure to read the manufacturer’s instructions for your resin carefully, as the mixing and curing process can vary depending on the brand.
Depending on the finish you desire, you may want to sand or polish the resin to smooth out any rough edges. With these steps below , you’ll be well on your way to creating stunning resin projects with the added touch of LED lights.
Gather materials
Before you get started on your resin project with LED lights, it’s important to gather all of the necessary materials. This will help ensure that you have everything you need on hand and can focus on the creative process without any interruptions.
First and foremost, you’ll need resin. There are many resin brands on the market, and each one may have slightly different mixing and curing instructions. Be sure to read the manufacturer’s instructions carefully and follow them to ensure a successful project. In addition to resin, you’ll also need a hardener, which is typically in the resin kit.
Next, you’ll need a silicone mold. Silicone molds are great for resin projects because they are flexible and easy to release the cured resin from. When choosing a mold, keep in mind the size and shape of the piece you want to create. You may also want to consider purchasing a mold release agent, which can help prevent the resin from sticking to the mold and make it easier to remove once it has cured.
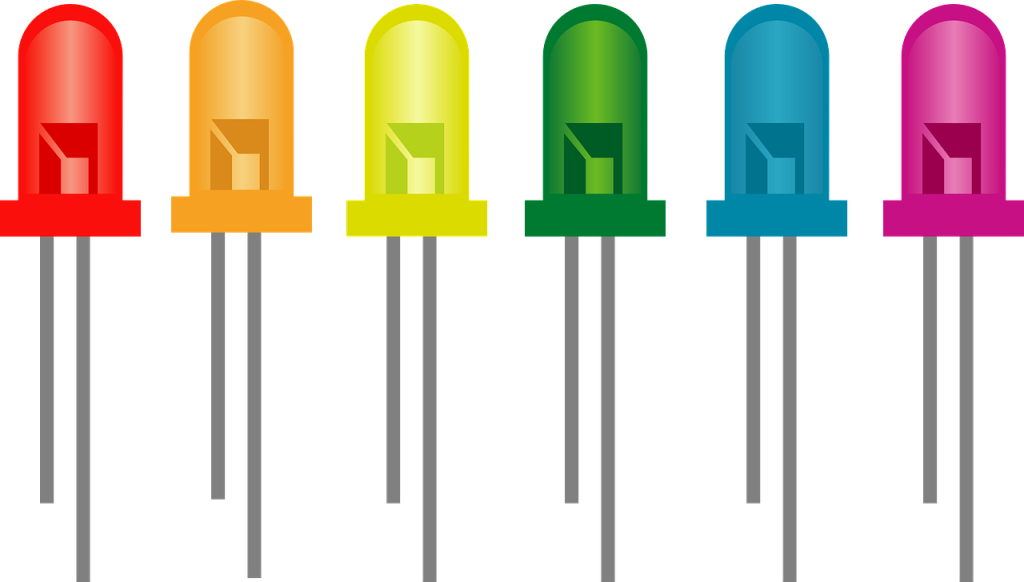
LED lights are an essential element in this project, as they will add the illuminating effect to your resin piece. There are many different types of LED lights available, including ones that are waterproof and ones that come with remote control. Consider the size and shape of your mold when selecting LED lights, and choose ones that will fit comfortably within the resin mixture.
By gathering all of your materials before you start, you’ll be well-equipped to tackle your resin project with LED lights and create a unique and eye-catching piece.
Prepare the mold
Properly preparing the mold is an important step in the process of adding LED lights to resin projects. By taking the time to clean and dry the mold thoroughly, you’ll help ensure that your resin piece comes out smoothly and without any defects.
To start, give the mold a thorough cleaning to remove any dirt or debris that may have accumulated on it. You can use a mild soap and water solution or a specialized mold cleaner, depending on the type of mold you’re using. Be sure to rinse the mold well and dry it completely before moving on to the next step.
If you’re using a silicone mold, you may want to consider applying a mold release agent. This is a substance that you apply to the mold before pouring the resin and helps to prevent the resin from sticking to the mold. This can make it easier to remove the cured resin once it has set, and can also help to create a smoother finish on the piece.
Once the mold is clean and dry, it’s time to place it on a stable surface where you can easily work with it. You’ll want to make sure the surface is level and that the mold is securely in place to prevent any accidents while pouring the resin.
By preparing the mold properly, you’ll be setting yourself up for success with your resin project with LED lights. By taking the time to clean and dry the mold, and applying a mold release agent if necessary, you’ll help ensure that your resin piece comes out smoothly and without any defects.
Mix the resin
Mixing the resin is an important step in the process of adding LED lights to resin projects. By following the manufacturer’s instructions carefully and taking the necessary precautions, you’ll be able to create a resin mixture that is ready for pouring and will cure properly.
To start, gather all of the necessary materials, including the resin, hardener, and any additional additives or colorants you want to use. Make sure to read the manufacturer’s instructions carefully, as the mixing process can vary depending on the brand of resin you are using.
Typically, the resin and hardener will be mixed in equal parts. Measure out the appropriate amount of each according to the manufacturer’s instructions, then pour them into a mixing cup or bowl. Using a stirring stick, mix the resin and hardener together until they are well-combined and have a smooth consistency.
If you want to add any additional additives or colorants to the resin mixture, now is the time to do so. This could include things like glitter, mica powder, or other decorative elements to customize the look of your resin piece. Follow the manufacturer’s instructions for adding these items, as the amounts and mixing techniques can vary.
Once the resin mixture is fully mixed and any additives or colorants have been added, it’s time to prepare for the next step in the process: placing the LED lights. Be sure to follow the manufacturer’s instructions for your resin brand carefully, as the curing times and other details may vary. With the resin mixture ready to go, you’ll be well on your way to creating a unique and eye-catching resin project with LED lights.
Place the LED lights
Placing the LED lights in the resin mixture is an important step in the process of adding lights to resin projects. By taking care to avoid entrapment of air bubbles and making sure the lights are fully covered by the resin, you’ll be able to create a smooth and evenly illuminated piece.
Before placing the LED lights in the resin mixture, it’s important to handle them with care. Some LED lights are sensitive to water and other liquids, so be sure to keep them dry and avoid any contact with moisture.
To place the LED lights in the resin mixture, start by arranging them in the silicone mold according to your desired design. Take care to avoid entrapment of air bubbles, as these can create defects in the final piece. You may want to use a heat gun to gently blow over the surface of the resin mixture to help release any air bubbles that may have formed.
Once the LED lights are in place, pour the resin mixture over them, making sure to cover them completely. Use a heat gun to remove any air bubbles that may have formed, and be sure to follow the manufacturer’s instructions for your resin brand carefully, as the curing times and other details may vary.
With the LED lights in place and the resin mixture poured, it’s time to move on to the curing process. By taking care to properly place the LED lights in the resin mixture, you’ll be able to create a smooth and evenly illuminated resin piece.
Pour the resin
Pouring the resin mixture over the LED lights is an important step in the process of adding lights to resin projects. By taking care to cover the lights completely and remove any air bubbles, you’ll be able to create a smooth and evenly illuminated piece.
To start, make sure you have the resin mixture and LED lights ready to go. If you haven’t already done so, place the LED lights in the silicone mold according to your desired design, taking care to avoid entrapment of air bubbles. Once the LED lights are in place, it’s time to pour the resin mixture over them.
Pouring the resin mixture can be a bit of an art, as you’ll want to make sure you cover the LED lights completely while avoiding the formation of air bubbles. One way to do this is to pour the resin slowly and steadily, using a steady hand to guide it into the mold. You may also want to use a heat gun to gently blow over the surface of the resin mixture to help release any air bubbles that may have formed.
Once the resin mixture is fully poured, it’s time to let it cure. Curing times will vary depending on the resin brand you are using, so be sure to follow the manufacturer’s instructions carefully. During the curing process, the resin will harden and become solid, and the LED lights will be fully embedded in the piece.
By taking care to properly pour the resin mixture over the LED lights, you’ll be able to create a smooth and evenly illuminated resin piece that is ready for the next step in the process.
Cure the resin:

Curing the resin is an important step in the process of adding LED lights to resin projects. By following the manufacturer’s instructions carefully and taking the necessary precautions, you’ll be able to create a strong and durable resin piece that is ready for display or use.
Curing times will vary depending on the resin brand you are using, so be sure to follow the manufacturer’s instructions carefully. Typically, the resin will need to cure for at least 24 hours before it is fully hardened and ready to be removed from the mold. During this time, it’s important to keep the resin away from heat and moisture, as these can affect the curing process.
Once the resin has fully cured, it’s time to remove it from the mold. If you’re using a silicone mold, this should be relatively easy, as the mold will be flexible and the resin should release easily. If you’re using a different type of mold, you may need to use a bit of force to remove the resin. Be careful not to damage the piece while removing it from the mold.
With the resin removed from the mold, you can admire your handiwork and enjoy the unique and eye-catching piece you’ve created. Depending on the finish you desire, you may want to sand or polish the resin to smooth out any rough edges. With these steps in mind, you’ll be well on your way to creating stunning resin projects with the added touch of LED lights.
Conclusion: A Recap of the Steps for Adding Lights to Resin Projects
Adding lights to resin projects can take your creations to the next level, creating a unique and eye-catching piece. In this step-by-step guide, we’ve walked you through the process of adding LED lights to your resin projects, from gathering materials to curing the resin.
We’ve covered the importance of properly preparing the mold, mixing the resin according to the manufacturer’s instructions, placing the LED lights in the resin mixture, pouring the resin, and curing the resin. By following these steps, you’ll be able to create a successful resin project with LED lights that is ready for display or use.
To take your resin projects with LED lights to the next level, consider experimenting with different LED light colors and resin colors. This can help you create unique and customized pieces that are truly one of a kind.
Finally, remember to always follow the manufacturer’s instructions for your resin brand carefully, as the mixing and curing process can vary depending on the brand. With these tips and tricks in mind, you’ll be well on your way to creating stunning resin projects with the added touch of LED lights.
Frequently Asked Questions
You will need resin, a silicone mold, LED lights, and any necessary tools or additives. Be sure to read the manufacturer’s instructions for your resin brand carefully, as the mixing and curing process can vary depending on the brand.
To prepare the mold, start by cleaning and drying it thoroughly. If you’re using a silicone mold, you may also want to apply a release agent to help the resin release more easily once it has cured.
To place the LED lights in the resin mixture, arrange them in the silicone mold according to your desired design, taking care to avoid entrapment of air bubbles. You may want to use a heat gun to gently blow over the surface of the resin mixture to help release any air bubbles that may have formed.
To pour the resin mixture over the LED lights, start by arranging the LED lights in the silicone mold according to your desired design. Pour the resin mixture over the LED lights slowly and steadily, using a steady hand to guide it into the mold.
Curing times will vary depending on the resin brand you are using, so be sure to follow the manufacturer’s instructions carefully. Typically, the resin will need to cure for at least 24 hours before it is fully hardened and ready to be removed from the mold.