Intro for How to Make a DIY Softbox for Your LED Light Panel
We’ve all been there before when we want to add some light to the picture you’re taking but turning on a light just floods the entire area. Or using a couple of less are giving you hotspots where the light is just too strong in the picture. This is where a softbox enters the equation. Don’t worry if you don’t know what that is because they go by a couple of different names and looks, so don’t get confused. Our guide will cover what a softbox is, what you’ll need to make yourself one, and how to use it to get the best use out of it.
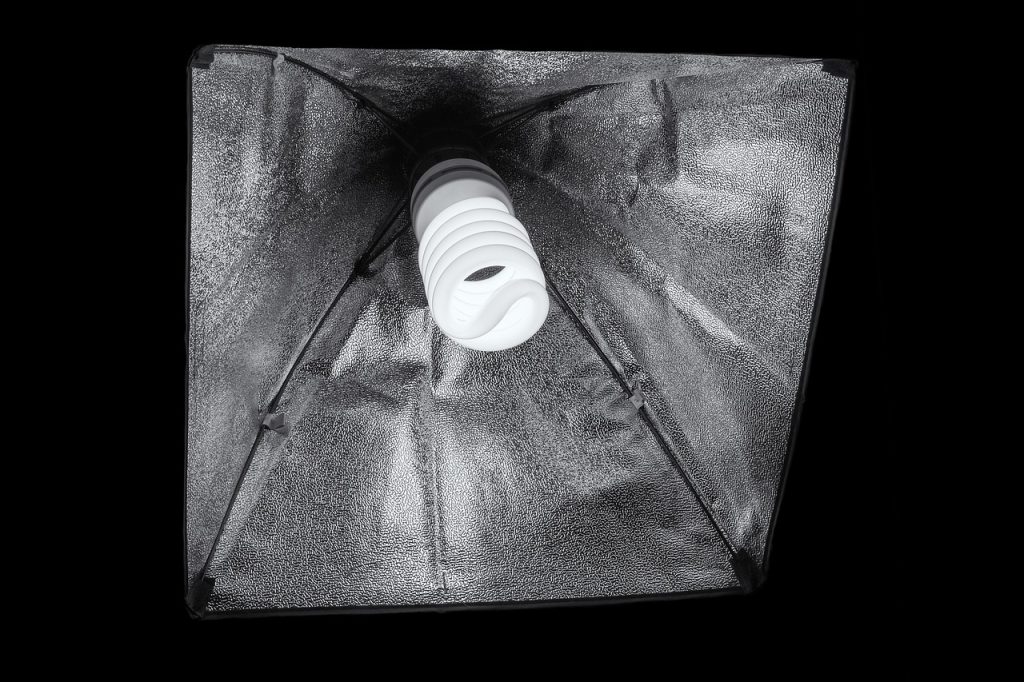
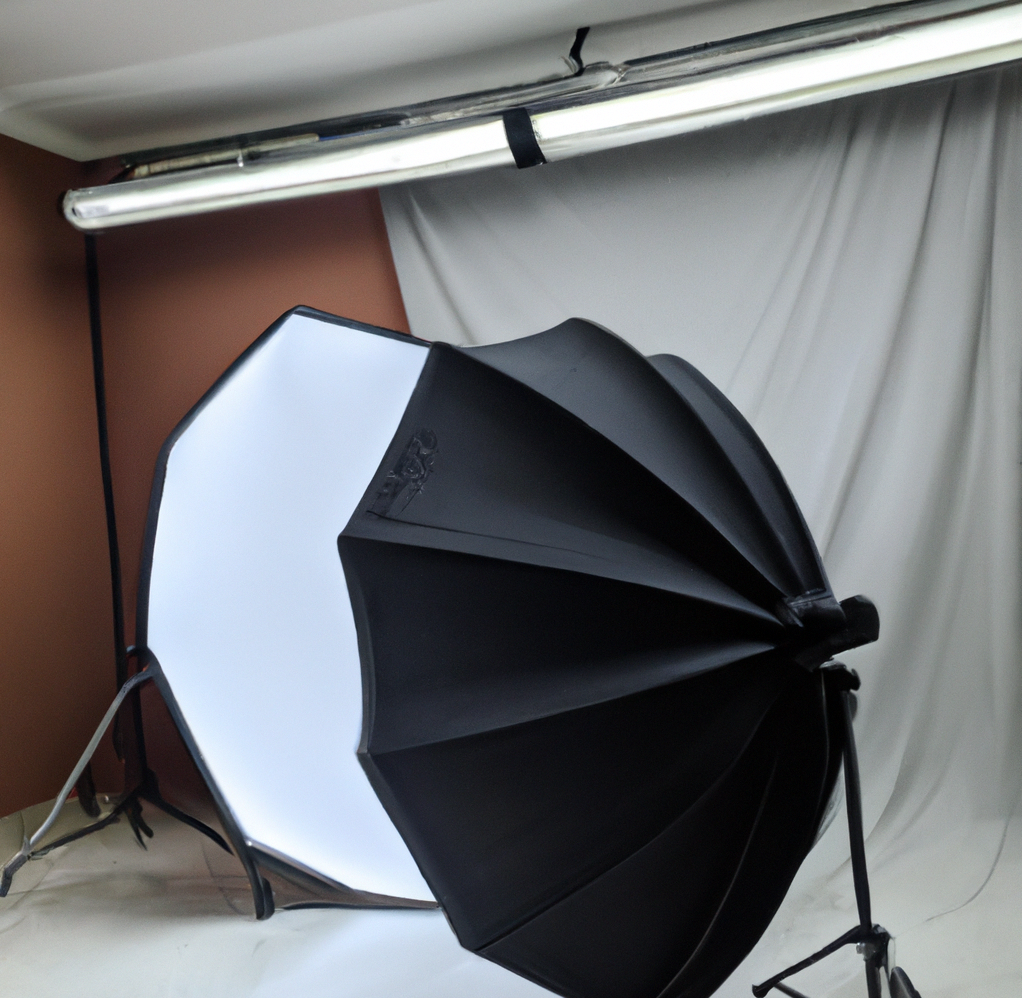
What is a softbox?
A softbox is essential for any photographer, whether you’re shooting portraits or product photos. If you’re using an LED light panel, you may wonder how to create a DIY softbox that will diffuse the light and give you that soft, flattering look that’s so popular in portraiture. Luckily, it’s easy to make your own softbox with just a few household items! In this tutorial, we’ll show you how.
What You’ll Need for your DIY softbox
To make your own DIY softbox, you’ll need the following materials:
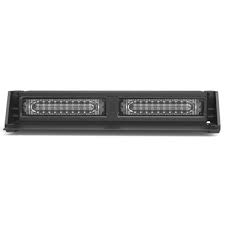
- One LED light panel
- One white poster board or foam core board
- One roll of duct tape
- One pair of scissors
- One stapler and staples
- optionally, one white cloth (such as a bedsheet)
Step by step instructions to make your Softbox
- Start by cutting your poster or foam core board into four pieces. 2. Take two of the pieces and duct tape them together at the edges to form a large rectangle. This will be the back of your softbox.
- Once you have your back piece, use duct tape to attach the remaining two pieces of poster board or foam core to the sides of the rectangle. These will be the side panels of your softbox.
- If you’re using a white cloth, drape it over the front of your softbox and staple it into place around the edges. This will diffuse the light even more which will give you that perfect soft look! 5. Now, all you have to do is set up your LED light panel in front of your softbox and point it toward whatever you’re photographing. The light will bounce off the white surface of the softbox and create a beautifully diffused effect. And there you have it—your very own DIY softbox!
And just like that, you’re all done and saved yourself a lot of money.
Conclusion
With this easy tutorial, we showed you exactly what you need and how to make your own lightbox. We have found that when working with LED lights this piece of equipment is invaluable because it just helps to diffuse the light. This gives your pictures or videos a lot smoother appearance, as you don’t get as noticeable light spots.
This whole process should take about 1-2 hours for the full DIY and anyone can create their own DIY softbox to diffuse an LED light panel. Whether you’re shooting portraits or product photos, a softbox is an essential tool in your arsenal. So gather up your materials and get started today!