Intro How to Make a Cloud Mirror with LED Lights
Blog Introduction: Want to add a unique, eye-catching element to your home décor? A cloud mirror with LED lights is a great way to do just that! LED cloud mirrors are relatively easy and inexpensive to make, and they’re sure to add a touch of whimsy to any room. In this blog post, we’ll show you how to make your own cloud mirror with LED lights. All you need is a few materials and about an hour of free time. Let’s get started!
What You’ll Need:
-A round mirror (we recommend a 12-inch diameter for a small room and 20 inches for a large room)
-A hot glue gun and glue sticks
-A bag of cotton balls
-LED string lights (we recommend warm white for a soft, calming effect)
-Scissors
Steps for your DIY Cloud Mirror
Alright, now that we have your attention, and you’ve got all the stuff needed for this setup we can start getting into the steps you need to take to get this cool DIY LED project started and finished. When we did it it took about 2 hours total time. We aren’t the fastest workers so if you have a decent amount of handiwork experience we are pretty sure you will get it done way faster than us.
Step One: Cut Out the Shape of the Clouds
First, you’ll need to cut out the shape of the clouds from your plywood or MDF. If you’re feeling confident, you can freehand this. But if not, there are plenty of cloud stencils available online that you can use as a guide. Trace the stencil onto your material and then cut it out with a jigsaw. You should now have two cloud shapes that are identical.
Step Two: Attach the Clouds to the Mirror
Once you have your clouds cut out, it’s time to attach them to the mirror. For this step, you’ll need to use a strong adhesive like super glue. Apply a generous amount of glue to one side of each cloud ( the cotton balls ), and then press them firmly against the mirror. Be sure to line them up evenly so that they create a symmetrical design.
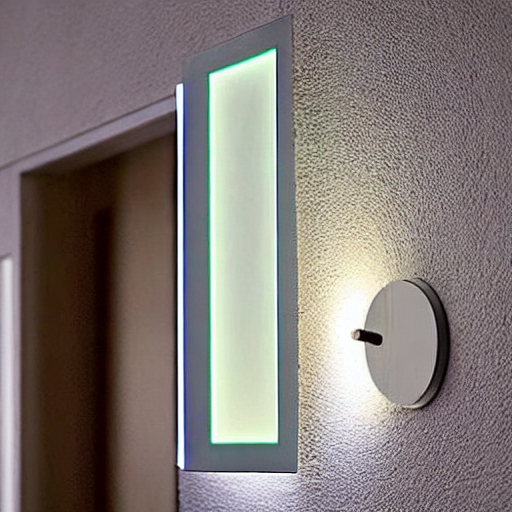
Step Three: Add the LED Lights
Now for the fun part! Adding the LED lights. Cut your strip light into two pieces, one for each cloud. Peel off the adhesive backing on each piece and stick them onto the back of each cloud, making sure that they’re evenly distributed. Once they’re in place, plug in your mirror and enjoy!
If you are looking for a different version of this project and a more conventional LED mirror project check this video out:
Conclusion
And there you have it! Your very own DIY cloud mirror with LED lights, and as you can see this project is great for anyone. It isn’t too expensive, doesn’t have too many steps, and most things can be found around the house. We would venture out to say that even Tim the Toolman Tayor would have a hard time missing this one up.
On top of those benefits we think that it just looks cool as well, and that is what we are going for. We want to do cool diy led projects, that look awesome, anyone can do and turn out good most of the time 🙂