What is soldering?
Soldering is a process in which two or more pieces of metal are joined together by melting and flowing a filler metal (solder) into the joint. The filler metal has a lower melting point than the base metals being joined, so it can be melted and flowed into the joint without damaging the base metals.
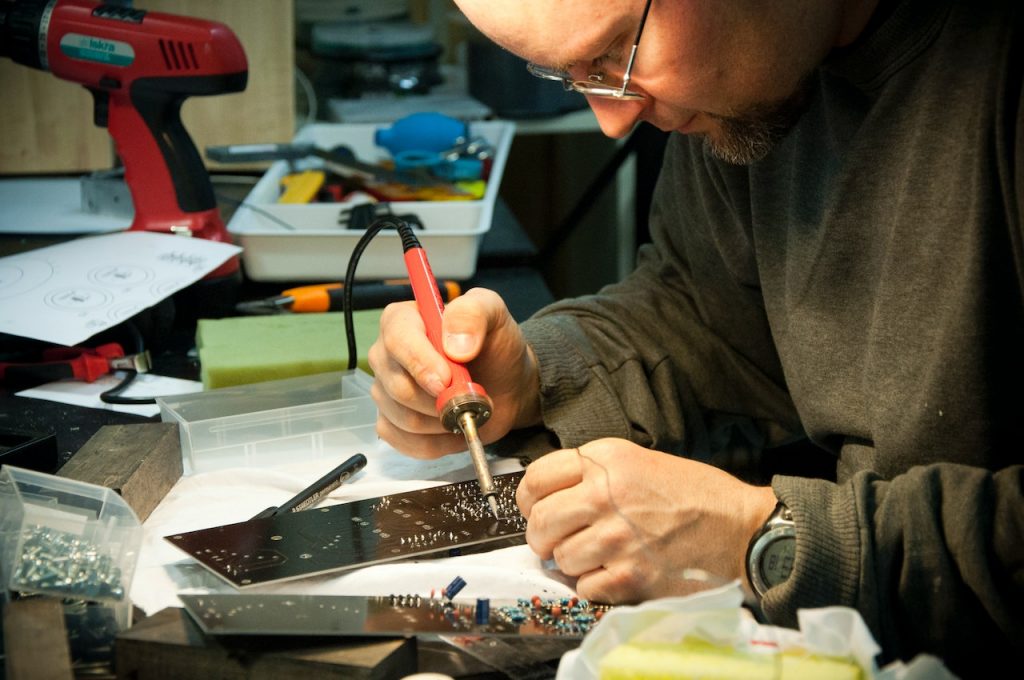
The most common type of soldering is done using a soldering iron, which heats the filler metal (solder) and base metals, allowing them to flow together. Soldering is used to join electronic components to circuit boards, as well as to join pipes and other metal objects.
There are several types of solder, each with its properties and uses. The most common solder type is made from lead and tin, although lead-free solder is also available. Solder has many diameters, ranging from fragile wire to thick rods.
Materials needed
Steps to soldering LEDs to circuit boards
This guide is for you if you’ve ever wanted to know how to solder led lights to a circuit board. You’ll be up and running in a few simple steps in no time.

First, gather your supplies. You’ll need a soldering iron, some solder, and your led lights and circuit board. Make sure your workspace is well-ventilated, as soldering can produce harmful fumes.
Next, it’s time to get started. Begin by heating up your soldering iron and then apply the solder to the area where you want to attach the led light. Once the solder has melted, carefully place the led light in position and hold it there for a few seconds until the solder cools and hardens. Repeat this process for each led light until they are all in place.
Tips for first-time solderers
The first tip is to use the right kind of soldering iron. You’ll want an iron with a fine tip so you can get into tight spaces and make precise connections.
The second tip is to use flux, which will help the solder flow more easily and prevent oxidation.
The third tip is to use lead-free solder. This type of solder is less likely to cause problems down the road and is better for the environment.
Follow these tips, and you’ll be able to solder LED lights like a pro! The conclusion briefly explains what soldering is and why it’s necessary.
Tools and materials: list what you need for soldering circuit boards
To solder LED lights to a circuit board, you will need the following tools and materials:
-A soldering iron – This is the thing that will melt the metal you use to attach the pieces
–Solder – This is the kind of metal glue that you will melt to hold things together
–Flux – This will improve the bond
-LED lights – We know what these are as we love leds here!
-Circuit board – A board with circuits on them
If you have never soldered before, don’t worry! It is not difficult to learn, and with a bit of practice, you can do it like a pro. The most important thing is to ensure you have all the necessary tools and materials before you begin.
Steps for a trial run of soldering your first circuit board
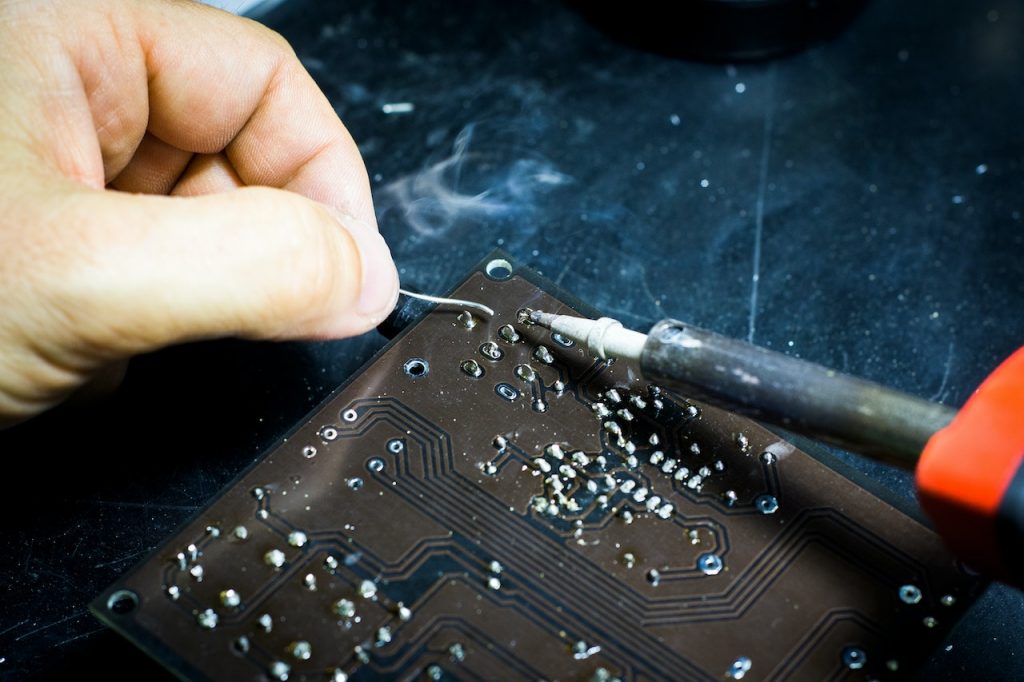
Several steps must be followed to solder led lights to a circuit board. First, the correct tools must be gathered. A soldering iron, solder, and lead-free rosin flux are required. The next step is to tin the leads of the LEDs. This is done by heating the soldering iron and then melting a small amount of solder onto the tip. The LEDs are then placed on the circuit board, and the soldering iron is used to heat both the lead and the pad on the circuit board. Once both are heated, more solder can be added if necessary, and then the joint can be allowed to cool. Finally, any excess solder can be removed using a soldering wick.
Tips: Before you turn on your iron make sure your space is clear and you plan is well laid out. You don’t want to be dripping flux and solder everywhere melting random things etc. Keep your space clean and you will be able to move around and get your trial run done a lot easier . Remember these irons can get VERY hot!
Conclusion: summarize the main points
To solder led lights to a circuit board, one must first know what type of soldering they will do. There are three main types of soldering: through-hole, surface-mount, and pin-in-hole. Each type has its own set of benefits and drawbacks. The best kind of soldering for led lights is surface-mount because it is the most precise and creates the strongest connection.
Through-hole soldering is the most common type of soldering. It is used when significant components need to be attached to the circuit board. Surface-mount soldering is used for smaller parts, and this type of soldering is more precise and creates a stronger connection. Pin-in-hole soldering is used when tiny components need to be attached to the circuit board.