IntroHow to DIY an LED Cloud Ceiling
One of the cool things about LEDs is that you can use them for a wide variety of purposes. In this blog post, we’re going to show you how to use LEDs to create a cloud ceiling. This project is perfect for anyone who wants to add a touch of color and excitment to your room. It is a pretty straight forward and easy to follow guide so it shouldn’t take you too long to get it all set up and going. Depending on the room size we would say maybe around 4 hours for a smaller room, and 6 or more for a bigger room.
The one thing that we want to warn everyone about is that the materials matter a lot here. As you will be running lights through some material, so you will want to make sure it doesn’t catch on fire. We aren’t handymen, but we did this and nothing happened to our rooms, so just make sure you don’t leave the lights on for days without first knowing if they are safe for your house.
Materials Needed for your DIY LED Cloud
Alright, let’s start off with the very first thigns that you will need in order to make your ceiling light up. It isn’t a huge list, and isn’t even expensive relative to the cost of what people are trying to sell them for onling. So let’s get down to it, and what you’ll need:
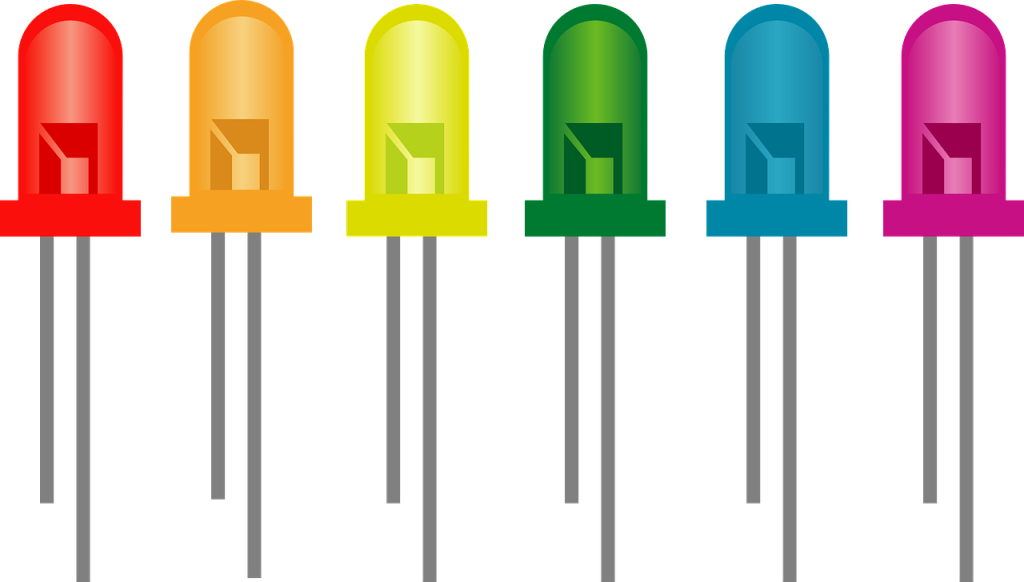
- 48ft of RGB LED strip light
- 1 spool of 22 gauge solid core wire
- 2 4-pin connectors
- 1 power supply
- 1 12V DC dimmer
- scissors
- hot glue gun and glue sticks
- double sided tape
- cloud template (you can find one online or make your own)
- X-acto knife
Steps for making your DIY LED Ceiling Cloud Light
- Print out your cloud template on a piece of paper. Cut out the clouds with an X-acto knife. You should end up with three clouds of different sizes. Or if you are planning on going the batting route you can just pick up a bunch of fire repellant batting from the quilting store.
- Place the LEDs inside the clouds, making sure that the positives and negatives are facing the correct way. Once you have the LEDs in place, use hot glue to secure them down. Repeat this step for all three clouds.
- Now it’s time to connect the wires. Take two pieces of wire and connect them from the positive side of each cloud to the positive side of the next cloud. Then, do the same thing for the negatives. Once you have all four wires connected, twist each pair together so that they’re nice and tight.
- Now it’s time to add the connectors. Take one connector and attach it to each end of the twisted wires (one on the positives and one on the negatives). Then, plug those into your dimmer.
- Hang up your clouds using double sided tape or command strips (whatever you prefer). Make sure that they’re evenly spaced out and at different heights from each other. Finally, plug in your power supply and dimmer, and enjoy your new LED cloud ceiling!
If you want to find a bit more of a picture based step by step, and a bit of a different route you can follow this awesome video:
Conclusion
That’s it! You’ve now created your very own LED cloud ceiling. This project is relatively simple and doesn’t require any special skills or knowledge – just a little bit of patience and attention to detail. Give it a try today and see how it transforms your space!
And if you want to check out some of the other diy light projects that we have on the blog make sure you don’t miss out on them. We have scoured the internet to find the best projects, do them at home, and post the ones that worked out the best for us. We want to find the best bang for the buck, not just for their cost but for the return on the time it takes to finalize them.