- Introduction to making an LED Ring light, and why you’d want to?
- What is a led ringlight?
- What do you need to make a led ringlight?
- How to make a led ringlight step by step
- Why use a led ringlight?
- Will your DIY Ring light burn out fast?
- Can LED Ring lights get wet?
- Is it better to have a bigger or smaller Ring light?
- Can your ring night stay on all night?
- Conclusion
Introduction to making an LED Ring light, and why you’d want to?
People love to make videos more now than ever at any other time in history. Is it Tik Tok, Instagram, Facebook, or just how easy it is to make videos that is causing this? Who knows? But what we do know is that as people try to make nicer and more polished videos the one thing that really pops up, and stands out, is the lighting of videos.
While there are lots of different ways to generate light for videos, the one that is the most common is the ring light. There are a couple of reasons why everyone loves them, but we will go over those as well as a bunch of other FAQs and, finally our step-by-step guide on how to make your own LED ring light. Keep reading to find out everything you’ll need to know.
What is a led ringlight?
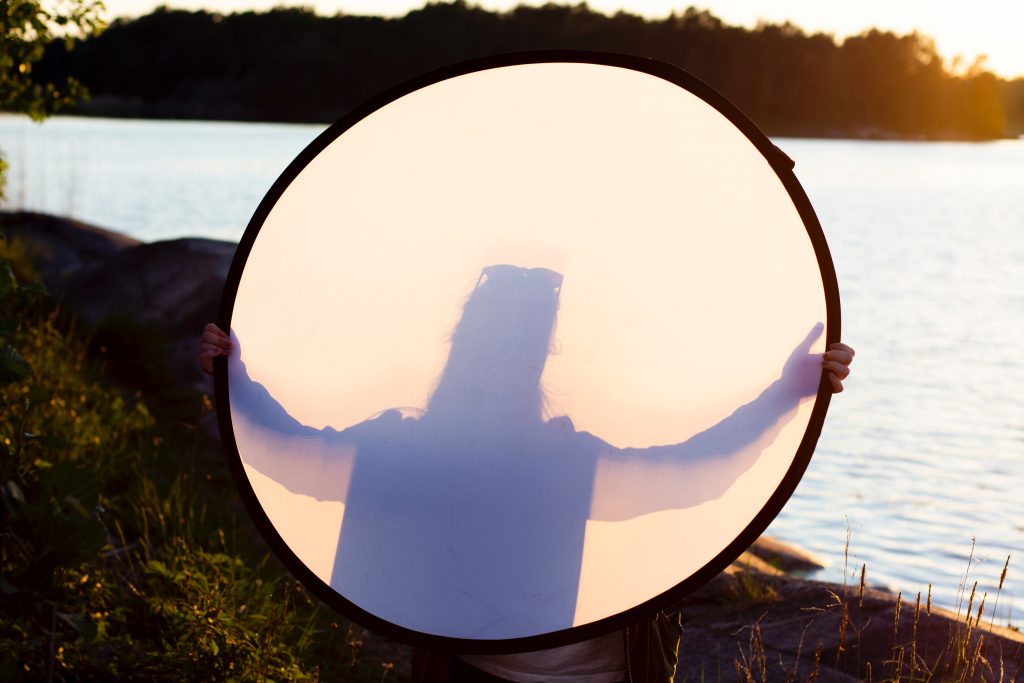
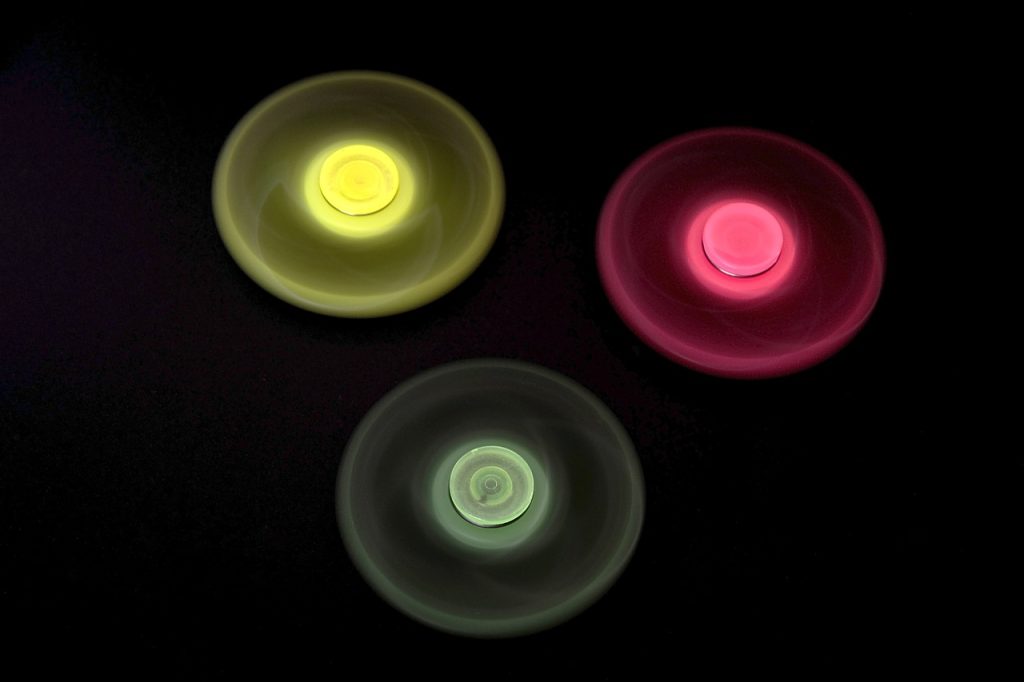
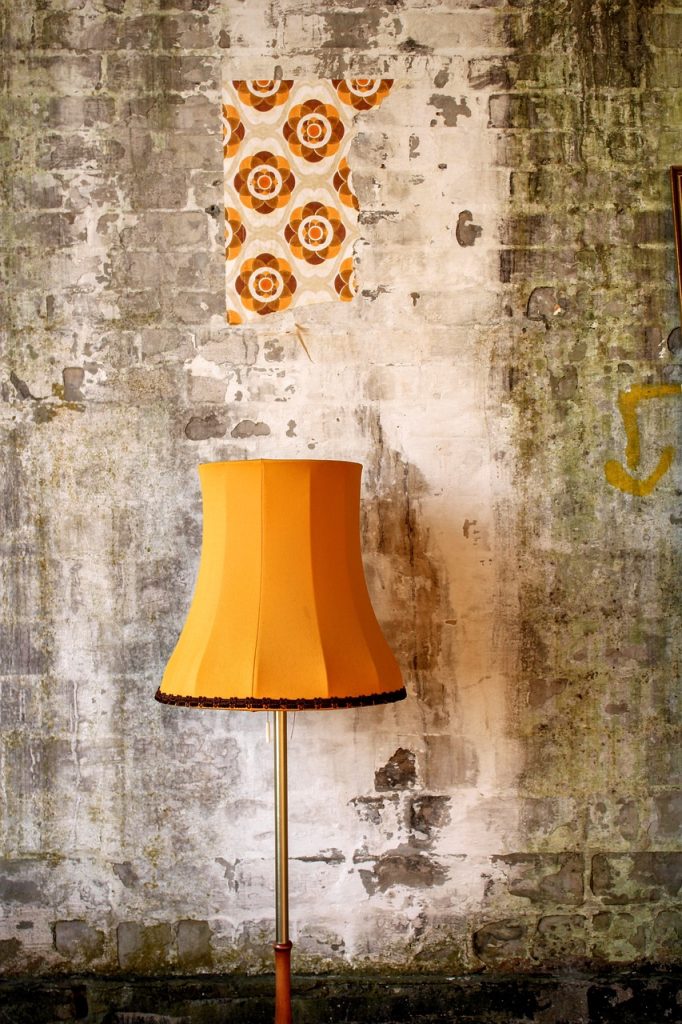
First things first, let’s break down what we are talking about. If you are here you probably already know, but maybe you just found our post or like DIY projects so if not we will go over what the project outcome will be. Here is a picture, a bit artsy of what a ring light can look like… hand doing your makeup sold separately.
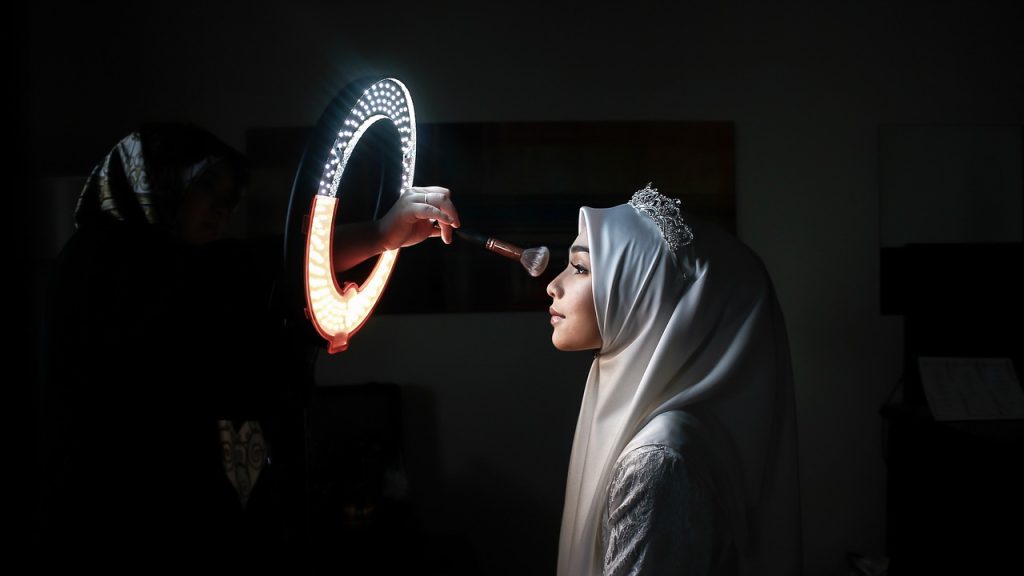
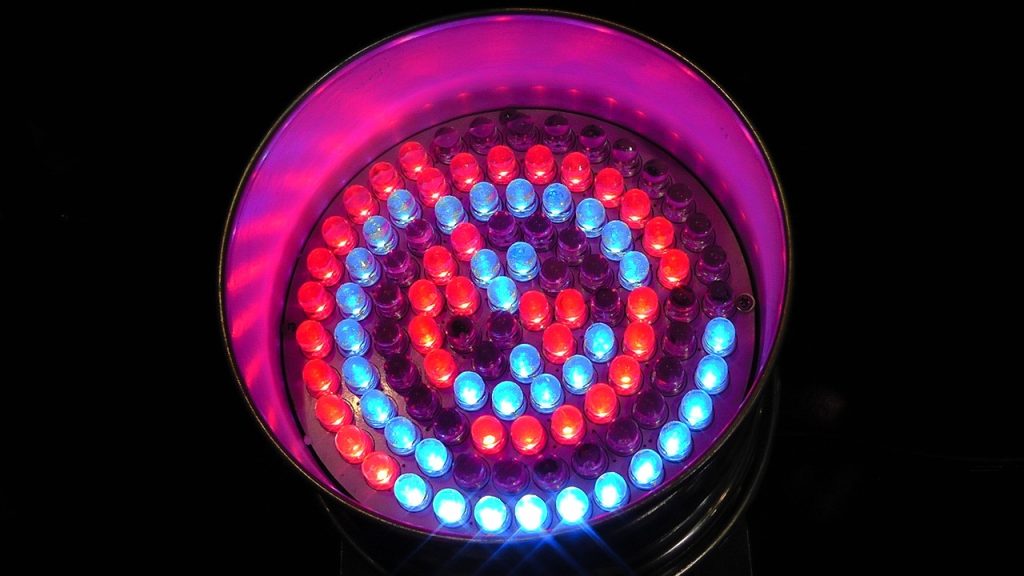
A LED ringlight is a type of light that is typically used in photography and videography. It is composed of an inner ring of LEDs that emit light and a clear outer ring that diffuses the light. LED ringlights provide even, shadow-free lighting that is ideal for close-up shots. They can be used with any camera and are often used with a reflector to provide even more evenly lit shots.
What do you need to make a led ringlight?
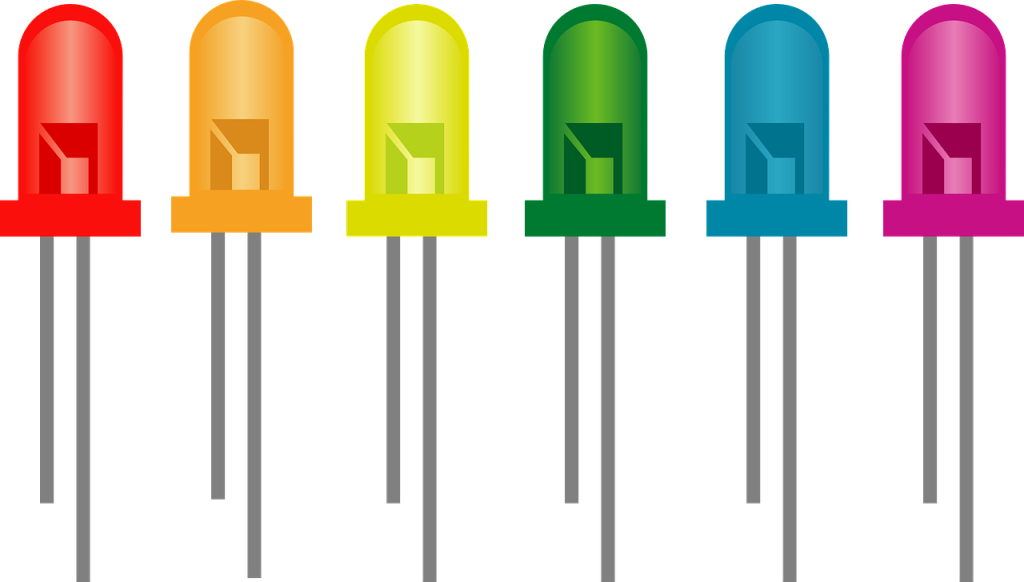
You will need the following items: a soldering iron, solder, heat shrink tubing, wire, a 3D-printed mount ( or hand made / pre-manufactured mount), and LEDs. This project should take about an hour to complete. And don’t worry if you haven’t soldered anything before. You can follow our guide that will show you how to solder circuits to a board, and it isn’t that hard at all.
So gather up your materials and let’s get started!
How to make a led ringlight step by step
Alright, we know what a Ring light is, we know what it does… we know what we have to do to make one now, let’s get going on the steps you need to take to make one for yourself.
Follow these steps to make your own led ringlight:
1. Cut the led light strip to the desired length and peel off the adhesive backing.
2. Wrap the light strip around the 3d printed holder, or whatever you made your ring base out of, a power supply and secure it with shrink tubing. Depending on the mechanism used for the shrinking, you follow that, either with heat or vacuum, etc.
3. Use wire strippers to expose the positive and negative wires on the end of the light strip. ( This is only needed if your led line doesn’t have a power adapter already attached to it. )
4. Connect the wires to a switch and then connect the other ends of the wires to the positive and negative terminals on the power supply. ( again only needed if your light doesn’t have a power source.)
5. Secure everything with hot glue and shrink tubing, then plug it in!
That’s it… really, and if you either made your own ring or found a good deal on it you could get away with making your own Light ring for around $10-$15… which is pretty cheap.
Why use a led ringlight?
Alright, you have your Ring light done… now let’s go over the common FAQs that go with the product. First thing is why would you want to use one for your videos or photos?
One benefit is that it creates an even light around the subject. This is especially helpful when taking close-up photos, as it can help to eliminate shadows. This is really good because the light output from LED lights have a pretty focal point of light. This can soften and diffuse the light output, thus giving a nice blanket of light instead of hot spots.
Another benefit of using a led ringlight is that it can help to create a softer look in photos. This is because the light is diffused and spread out evenly, which helps to soften harsh lines and wrinkles. This kind of ties in with the diffusion of light, but is more of a benefit of using the light.
Lastly, led ringlights are very portable and easy to use. They can be powered by batteries or AC power, making them perfect for on-the-go photography.
Will your DIY Ring light burn out fast?
A DIY ring light can be a great way to save money on lighting for your photography or videography projects. However, a few things to keep in mind when using a DIY ring light to ensure it doesn’t burn out too quickly.
First, it’s important to use the correct type of LED bulbs. Not all LEDs are created equal and some will definitely burn out faster than others. Second, be sure to follow the instructions for wiring the ring light correctly. If any of the connections are loose, it could cause the light to overheat ( or short out ) and burn out.
Finally, don’t forget to take proper care of your ring light once it’s assembled. Be careful not to drop it or get it wet, which leads us to our next question…
Can LED Ring lights get wet?
LED ring lights are a great tool for taking pictures and videos, but what happens if they get wet? Can you still use them? While this will depend a lot on how secure your shrink wrapping is, and how well your contact points are protected it isn’t the end of the world if they do get a bit wet.Here are some tips for using your LED ring light in wet conditions:
1. Make sure the light is properly sealed. If there are any cracks or openings, water could get in and damage the light.
2. Use a waterproof case or bag to protect the light from water.
3. If the light does get wet, dry it off as soon as possible. Water could cause the light to malfunction.
4. Avoid using the light in heavy rain or thunderstorms. This could damage the light or cause it to start a fire. ( Probably best to just not go outside much if there are thunderstorms.. )
5. Use caution when using the light near bodies of water. If the light falls into water, it could be damaged beyond repair.
Pretty much, take care when using your Ring light, or most electronics, around water and you should be fine.
Is it better to have a bigger or smaller Ring light?
When it comes to ring lights, the question is not necessarily whether bigger is better but what size will work best for your needs. If you’re shooting photos or videos of yourself, a smaller ring light will likely be just fine. But if you’re looking to illuminate a larger area or want more control over the light, then a bigger ring light may be a better option.
The nice thing about making your own Ring light is that you are able to control the size simply by changing the size of the ring and increasing the led count. You could probably make two ( a big and small ring light ) for the price of one of the products you order onling.
Can your ring night stay on all night?
This one kind of falls into the same category as the water related question. You can, but just take care when you are using it in a way that isn’t the standard usage.
Ring lights can be used all night, as they are just led lights in a circular mount. While most LED lights don’t heat up to extreme temperatures we wouldn’t suggest using a Ring light for your night light, it would just be better to get yourself a smaller light made for longer duration usage. Ring lights are great for Videos… not so much for night lights.
Conclusion
A ringlight is a type of flash that is commonly used in photography. They are placed around the lens of the camera to provide evenly diffused light. Ringlights can be very expensive, but you can make your own for a fraction of the cost. We hope that our answers to the common FAQs have helped answer anything you have been wondering about these cool tools for making lighting a breeze in your videos.
And as you have seen, the DIY aspect of the project shouldn’t take you too long and isn’t very hard. We would give it maybe a 4/10 as far as difficulty.