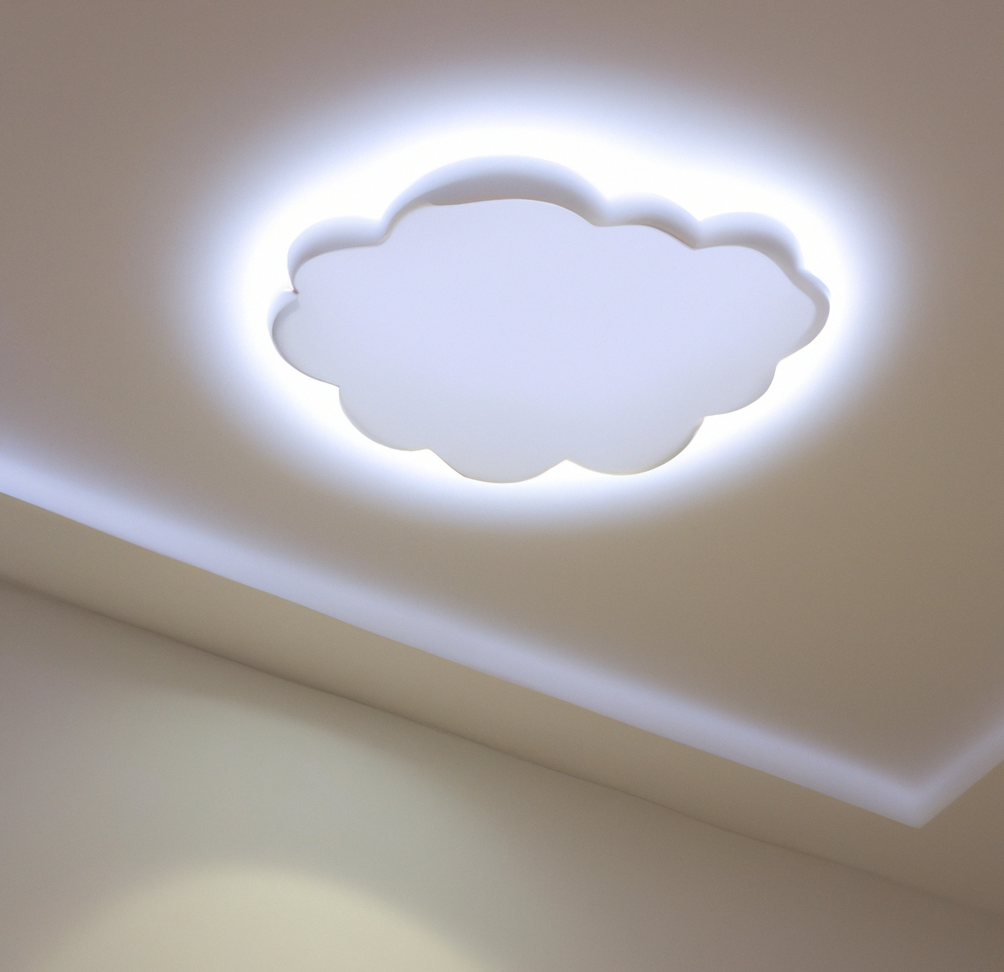
Intro to our LED Resin Lamp project
In this article, we’ll show you how to make a unique resin and LED table lamp. This project is perfect for beginners and only requires a few materials. The finished lamp is a great addition to any room and a great gift! And don’t worry if you are freaking out over the title, if you can wire an led light to illuminate, you can make a lamp. Adding resin to the project doesn’t make it that much harder either, but be warned that making a perfect resin pour and casting can be addictive.
Each bubble you eliminate makes you want to do another pour to try out a new method, but that is a different rabbit hole to go down another time. So without any other delay, let’s take a look at what you’ll need for this project and all the steps to get you a cool LED lamp for your table.
Materials needed: list of items needed for the project
1. For this project, you will need the following materials:
2. a piece of wood (I used an old cutting board),
3. a drill,
4. a jigsaw,
5. a handsaw,
6. a file,
7. sandpaper,
8. wood glue,
9. clamps,
10. resin,
11. hardener,
12. mixing cups and sticks,
13. rubber gloves,
14. a dust mask, and
15. an LED strip light kit with remote control.
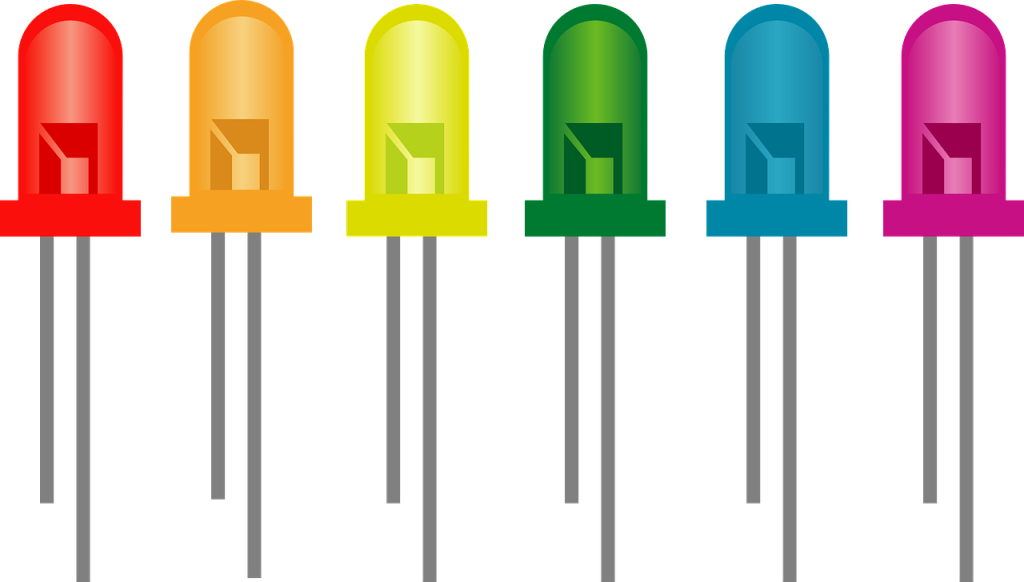
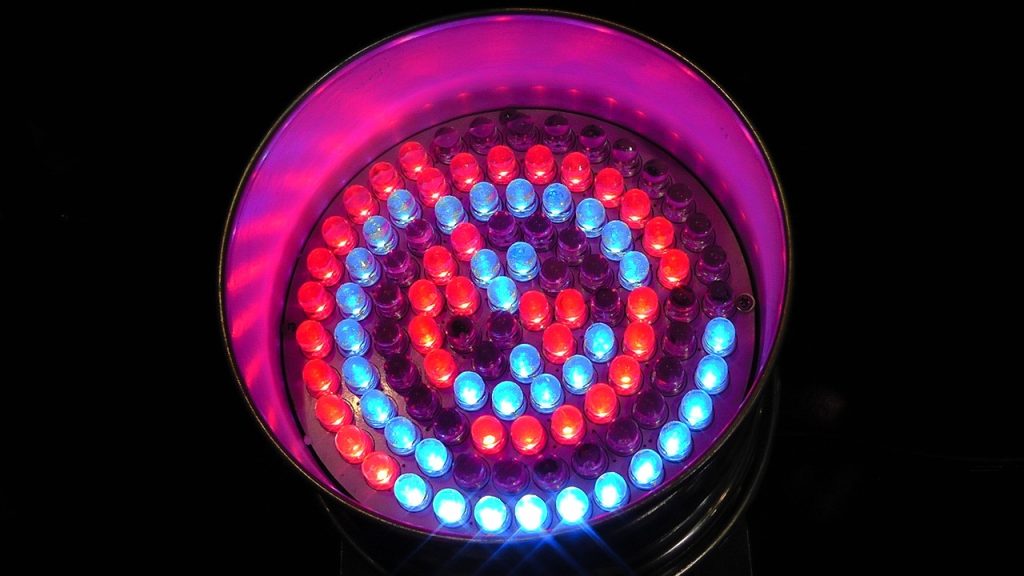
Step 1: Testing out your LED lights
1. Before starting any project involving electricity, it’s important to test your materials.
2. In this case, you’ll need to test your LED lights to make sure they work.
3. To do this, simply connect the positive lead of your LED light to the positive terminal of your power source and the negative lead of your LED light to the negative terminal of your power source.
4. If the LED light doesn’t turn on, reverse the leads and try again.
5. Once you’ve confirmed that your LED light is working, you can move on to the next step in your project.
Step 2: Create the mold for your resin pour.
1. Start by creating the mold for your resin pour. You can use any type of container that you like; just make sure that it is food safe and big enough to fit the LED light.
2. To create the mold, start by coating the inside of the container with a release agent. This will help to prevent the resin from sticking to the sides of the mold. ( This is super important, trust us!)
3. Once the release agent is applied, pour the resin into the container. Be sure to leave enough space at the top of the container to insert the LED light later on.
4. Allow the resin to cure for at least 24 hours before moving on to step 3.
Tips: If you agitate the resin to get any bubbles to come to the surface. Once they are at the top, use a flame source to release them. We use a finishing torch from the kitchen, but any butane type of lighter should work.
Step 3: Make a base for your Resin (Optional)
This step is totally up to you and how you want the light base to sit on the table. If you would like the epoxy form to just sit on the table, you don’t need one, but we usually have some type of wooden base. This allows us to hide the LED light cables ( at least on one side). But again, this is how you envision the project ending up.
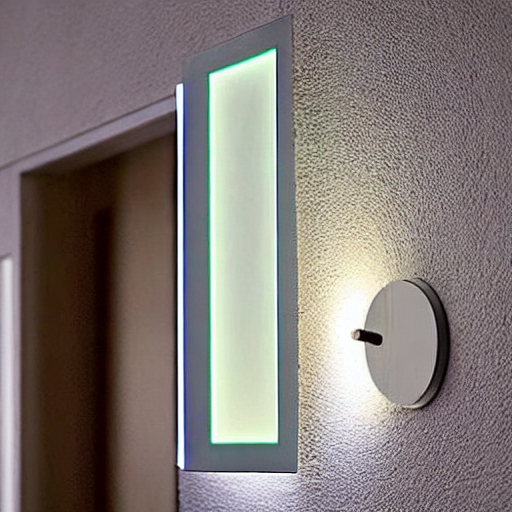
Step 4: Attach the LED light source to the cured Resin piece
1. Cure the resin piece according to the instructions. This will ensure that the LED light source is properly attached.
2. Once the resin is cured, attach the LED light source to it using epoxy or another strong adhesive.
3. Be sure to position the LED light source to illuminate the resin piece evenly. You may need to experiment with different positions to find the perfect one.
4. Allow the adhesive to dry completely before plugging in the lamp and enjoying your new creation!
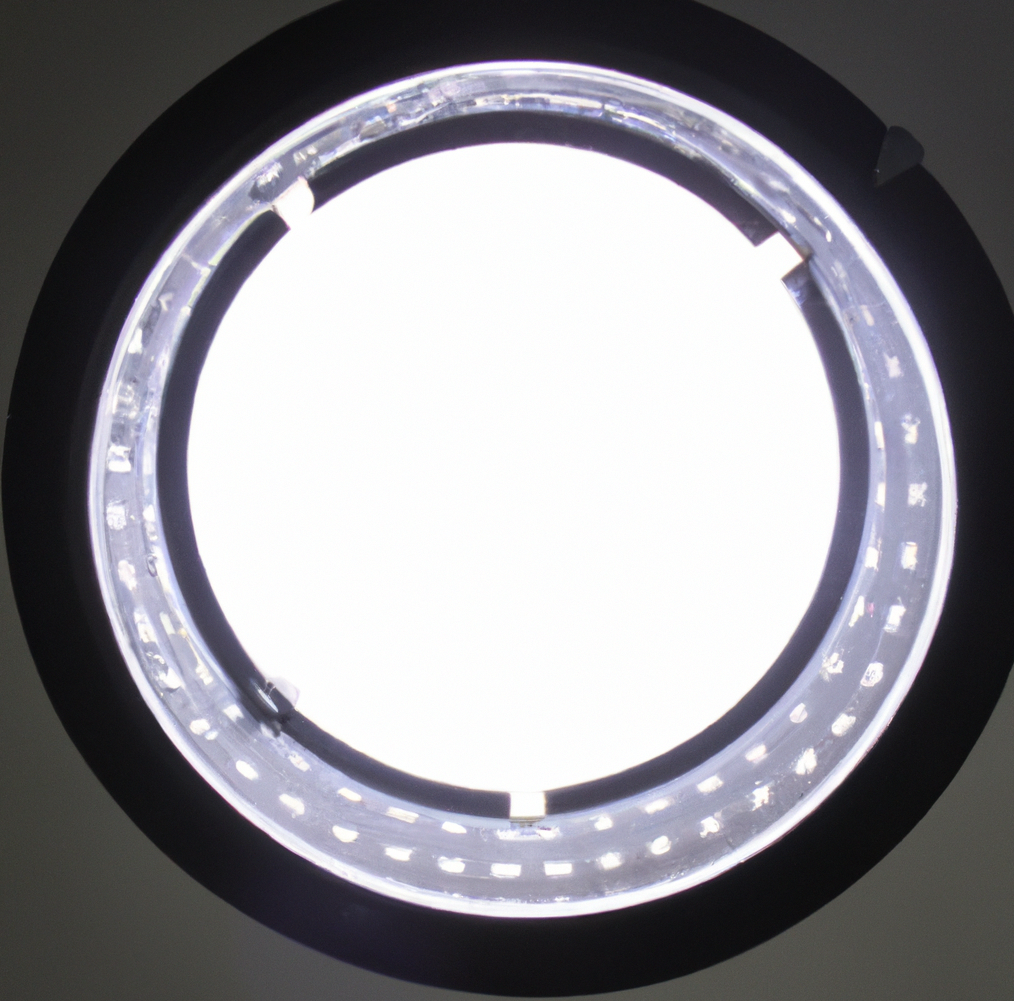
Conclusion: final thoughts on the project
We really like this project as an introduction to using resin with LED projects. If you can pour a glass of water, you are able to make a resin piece for projects. There are a couple of big things to remember when using resin: to try to get as much of the air out of the casting and ensure that the mold is leakproof. You DO NOT want resin leaking out while you are waiting for it to cure. It is a huge mess to clean up with it is still in its liquid form, and an even bigger pain if it hardens.
The beauty of this project this you can decide what LED bulb type you want to use, what type of resin shape you want, and honestly, pretty much every aspect of how the light will work. You can connect it to Arduino controllers to kick up the lights’ output. Really, your imagination is the only thing that will limit your project’s outcome.
If you’re looking for a fun weekend project that will yield beautiful results, we highly recommend giving this one a try. You won’t be disappointed!