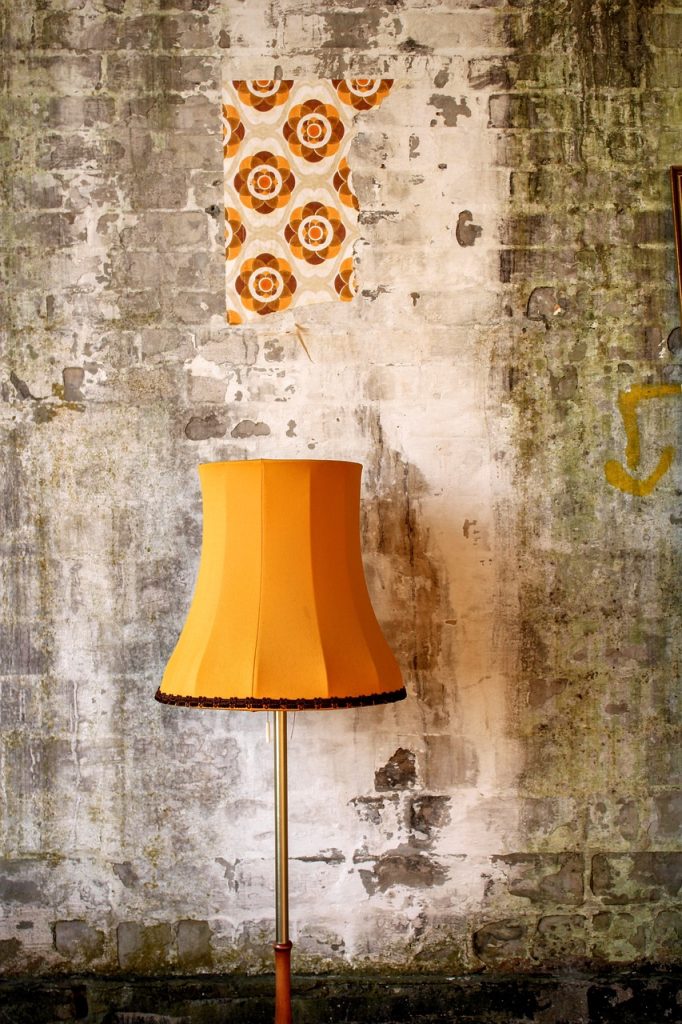
Are you looking for a new floor lamp but don’t want to spend much money? If so, you may consider creating your DIY led floor lamp. This is a great way to save money and create a unique piece that perfectly matches your décor. This tutorial will show you how to create a beautiful and functional lamp using LED lights. So, whether you are a beginner or an experienced DIYer, you can easily follow these steps. Let’s get started!
- Choose the lampshade you want
- Decide on the height of your lamp
- Gather your supplies
- Assemble your lamp
- Add the finishing touches
- Conclusion
- Frequently Asked Questions
- What supplies do I need to build an LED floor lamp?
- How do I put the LED floor lamp together?
- What are the benefits of having an LED floor lamp?
- How much does it cost to build an LED floor lamp?
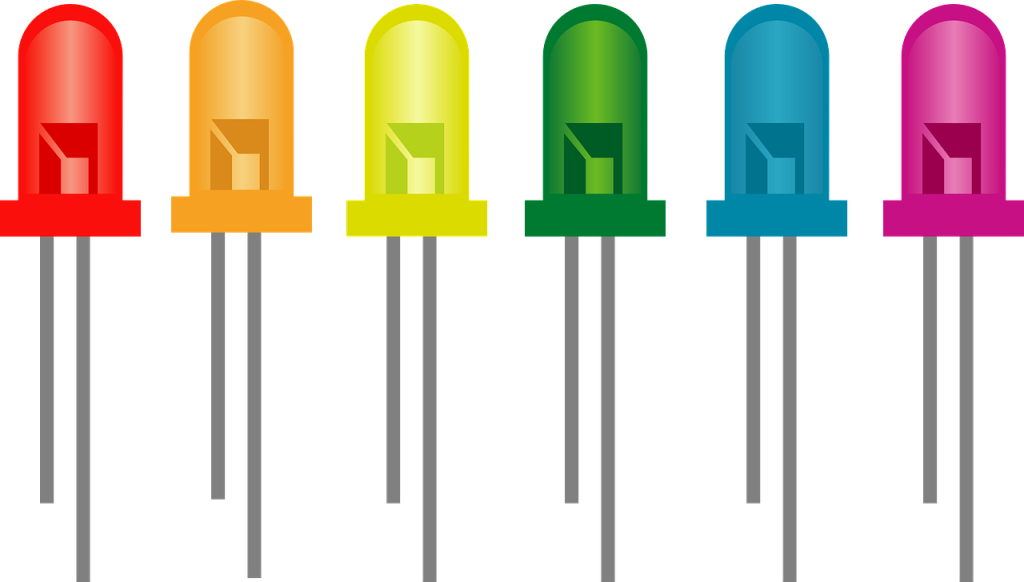
- How do I choose the right LED bulbs for my lamp?
- What is the difference between a standard LED bulb and an RGB LED bulb?
- How do I wire the LED bulbs to the power supply?
- How do I install the LED floor lamp?
Choose the lampshade you want
When choosing the right lampshade for your home, there are several factors to consider. First, look at the size of the space where you plan to place the lamp. This will help you determine if you need a large or small shade. It is also important to consider the style of the room and create an aesthetic that fits in with other decor items. Look for shades that coordinate with the color palette and texture of other accents in order to pull together a cohesive look. Consider your lighting needs as well. If you are looking for more focused illumination, then conical shades may be best, while swag shades provide soft, diffused light throughout a wider area. With so many options available, take your time and choose the lamp shade that best suits your needs and style preferences. Whatever choice you make can help bring out beauty and functionality in any space. Once you select your desired lamp shade, installation is simple as well. Most shades require just basic tools and can be easily attached using screws or clips on an existing socket or rod-style lamps can also be covered by covering them entirely by fitting over harps.
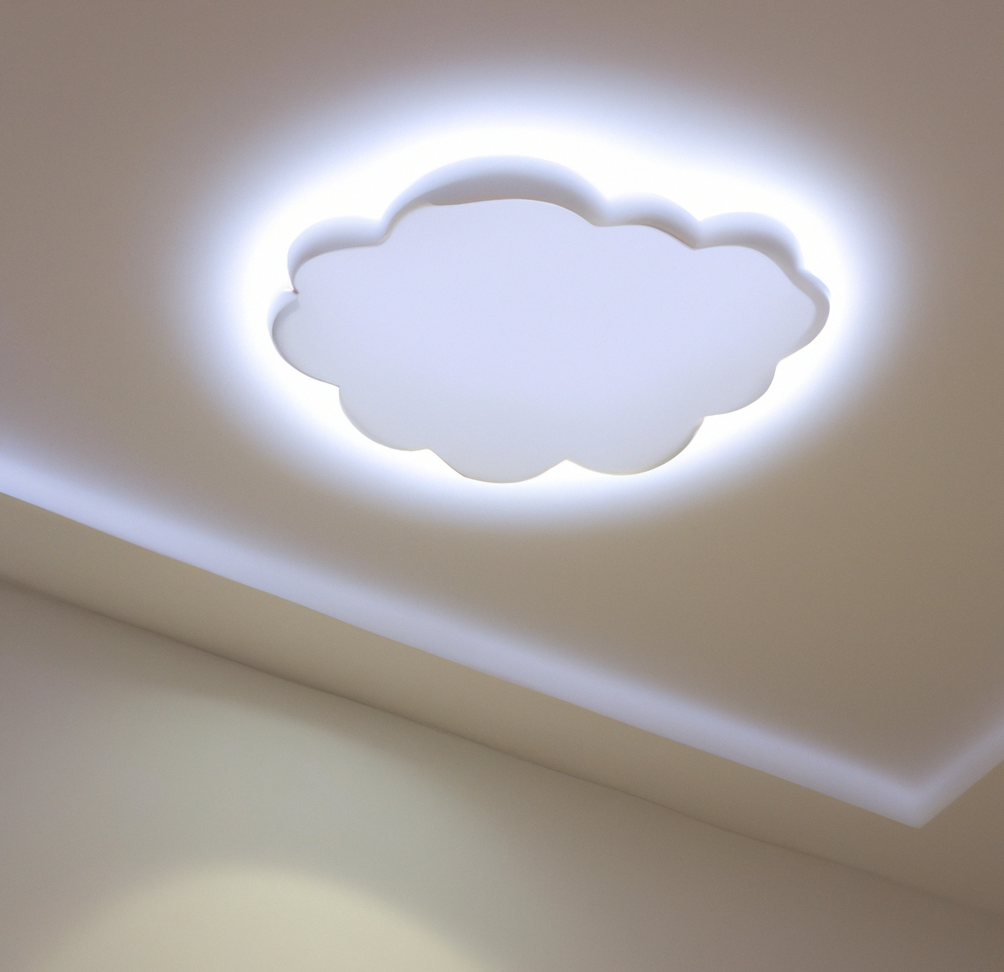
Regardless of how complex or simple your installation needs may be, seek assistance from helpful professionals who will ensure that everything is securely attached before use. With easy steps like these helping you to choose and install the perfect shade for your home, you can brighten up any space quickly with confidence! And if you really want to get fancy, you can setup an Arduino to run color combos between your lamp and LED Clouds to really add a bit of pizazz to your room.
Decide on the height of your lamp
Before you decide on the height of your lamp, consider both the available space and the area you want to illuminate. A lamp anywhere from 55-64 inches tall is recommended for general floor lighting. However, factors such as low furniture or higher ceilings will mean that you may need to opt for a taller or shorter option. When selecting a table or accent lamp for your space, try to keep it in close proportion with the furniture surrounding it; medium-height lamps work best for pieces between 20 and 28 inches tall, while scale-heavy furniture would usually require taller options. Additionally, if your lamp has an adjustable neck, you can use this feature to adjust its height further. With proper consideration of all these factors, you should be able to find the perfect height for your lamp, bringing added practicality and style to any room in your home.
Gather your supplies
Being organized and having the right supplies can make any project easier. This is particularly true for art projects and craft activities, where missing the right equipment or material can mean the difference between a finished product and a failed attempt. To ensure success in such endeavors, it is important to gather all necessary items ahead of time. Doing so helps to prevent last-minute scrambling when something turns out to be missing or runs out quickly, allowing work to flow smoothly. Supplies should include materials specific to the project, such as paints or fabric, along with any general gear that may be needed – like pencils, scissors, glue, tape, etc. Taking stock before starting gives one ample time to consider what tools will need replacing or updating for maximum efficiency. Gather your supplies thoughtfully and be sure you have all you need before you start! That way you can focus on creating beautiful masterpieces instead of worrying about whether or not you’re prepared for frustration-free crafting.
Assemble your lamp
Assembling your lamp is relatively straightforward. You’ll need to get the tools and materials, such as a Phillips or flathead screwdriver, a polishing cloth, and the right bulbs for your lamp. You’ll also need to read all the directions provided to ensure that you’ve fully understood all of the components and where they go. Next, begin putting the pieces together; if necessary, refer to any diagrams or pictures provided. Then, join all the parts via screws or pins until they are whole. Finally, add a layer of polish or finish to give the lamp a glossy sheen while also protecting it from corrosion and bleaching caused by exposure to light. In no time you will have successfully assembled your very own lamp!
One thing that we wanted to ensure was mentioned that if you have a lamp, you like already but it doesn’t use LED bulbs, you can easily retrofit a lamp to use LEDs. We did a quick write-up on it, and it isn’t hard at all. Most times its as easy as getting an LED bulb, but you can also do your own retrofit with LEDs you choose.
Add the finishing touches
Adding the finishing touches can make all the difference when decorating a room. Whether it’s a simple bouquet of flowers in a vase, an exquisite piece of art on the wall, or soft cushions and throws on couches and chairs, these little extras can enhance the overall look and feel of any room and create an inviting atmosphere.
Other examples of final touches include a bowl full of fruit, silk plants and trees, mirrors, objet d’art such as sculptures or figurines, area rugs, lamps with custom shades (or statement lampshades), bookshelves filled with beloved titles, indoor fountains or waterfalls to bring life into the space, candles to promote relaxation and peace—the list goes on. Even if someone works within a tight budget when decorating their home, they don’t need to compromise on quality or beauty; many furniture stores have great discounts for those looking for bargains. With careful planning and thoughtfulness about design elements—not to mention shopping around for authentic treasures—a homeowner can give their house that extra something special without breaking their bank account. By combining all these details as part of a room’s complete design plan, one can create a space that combines comfort and style. What could be better? Act now for anyone who loves beautiful living spaces that brim with character! Get creative and start adding those final touches today! It may just be your favorite part of creating any dream home. Happy decorating!
Conclusion
So there you have it – a simple, step-by-step guide to creating your very own lamp. We hope you found this tutorial helpful and that you now feel confident in your ability to create beautiful lamps for your home. Have fun with it!
Frequently Asked Questions
What supplies do I need to build an LED floor lamp?
To build a LED floor lamp, you will need specific supplies, such as screws and a polishing cloth, as well as general tools and materials, like pencils, scissors, and glue. Make sure you have everything you need before you get started so the project can flow smoothly.
How do I put the LED floor lamp together?
You will need some tools and materials to put the LED floor lamp together. You will need to read all of the directions and then follow the pictures or diagrams to put it together.
What are the benefits of having an LED floor lamp?
LED floor lamps have many benefits. They use less energy, saving you money on your electric bill. They also last much longer than traditional light bulbs, so you don’t have to replace them as often. And finally, LED floor lamps give off a lot less heat than other lamps, so they’re safer to use in homes with children or pets.
How much does it cost to build an LED floor lamp?
It costs some money to build a LED floor lamp. You will need to buy screws, a polishing cloth, and other materials. Then you have to use tools to put it together following pictures or diagrams. LED floor lamps last longer than traditional light bulbs and use less energy, making them safer and saving you money.
How do I choose the right LED bulbs for my lamp?
When choosing LED bulbs for your lamp, you need to consider what kind of light you want. Do you want a light that is bright or soft? You should also think about the color of the light. Do you want a warm light or a cool light?
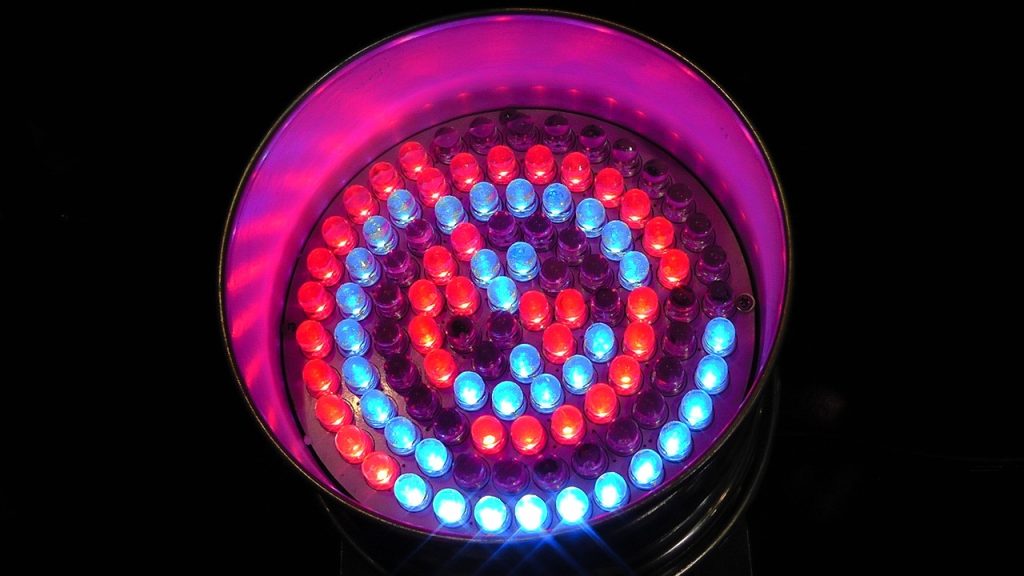
What is the difference between a standard LED bulb and an RGB LED bulb?
There is a difference between standard LED bulbs and RGB LED bulbs. Standard LED bulbs give off one type of light, while RGB LED bulbs can give off different light colors.
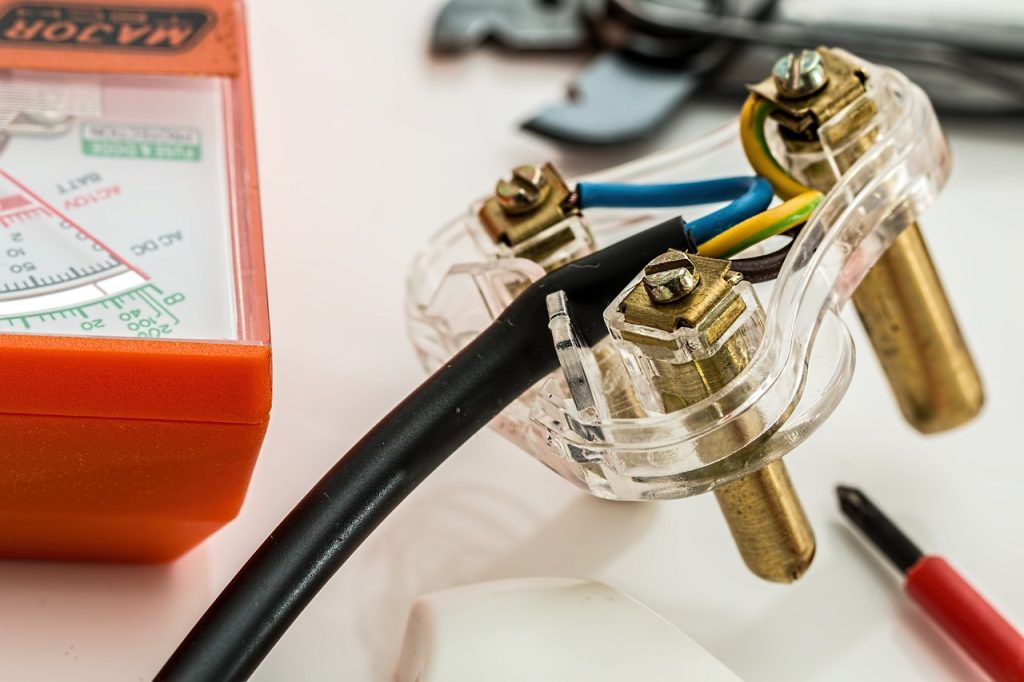
How do I wire the LED bulbs to the power supply?
To wire the LED bulbs to the power supply, you will need to connect the wires from the power supply to the LED bulbs. Make sure you connect them correctly and that they are both turned off before you start.
How do I install the LED floor lamp?
To install the LED floor lamp, you will need to connect the wires from the power supply to the LED bulbs. Make sure that you are connecting them right, and that they are both turned off before you start.
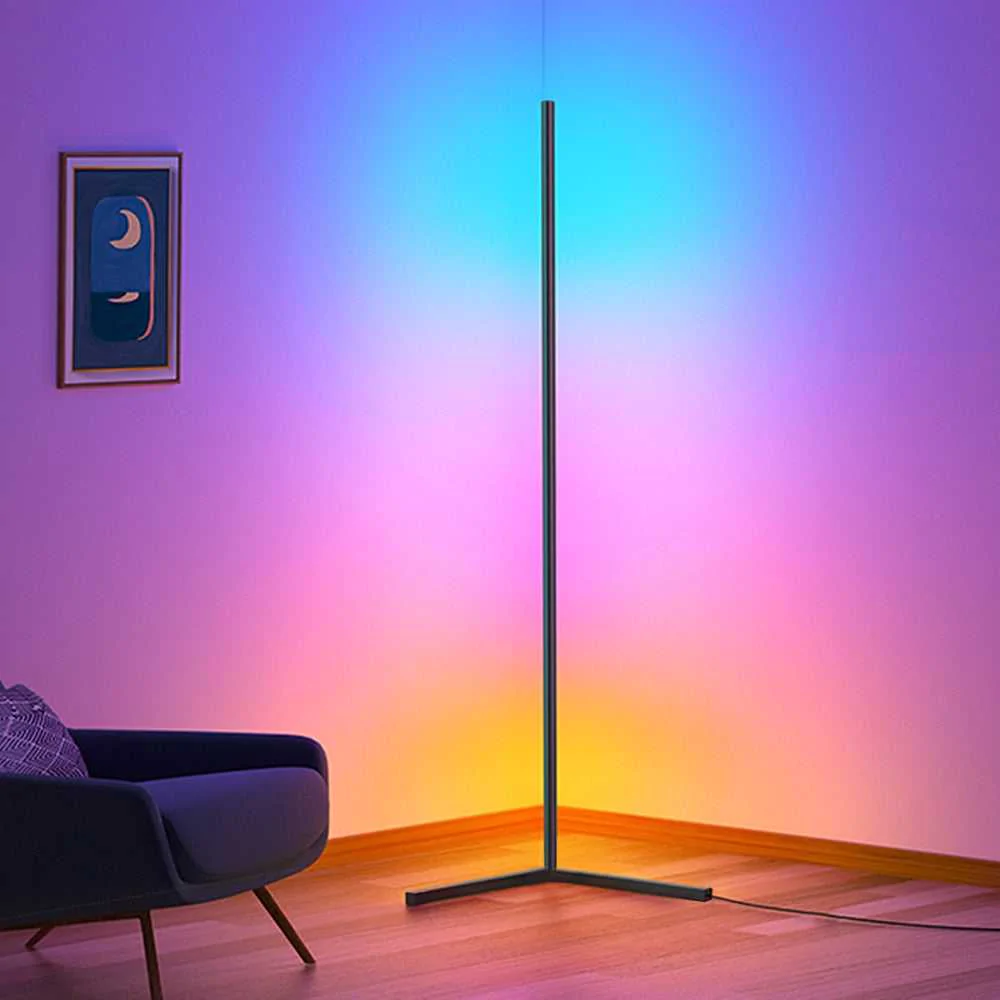
As a side note… we actually have this lamp setup at our place. It is kind of cool but to be honest the output doesn’t light up as much as their stock picture looks. We ended up reinforcing the stand and adding more LEDS to it. We will do a write up on this and add it to our list of the top led DIY projects in a bit. Here is a link to the one that we picked up, and to be honest for the price we got it for we think it is worth it as building the base would be similar in cost… but a pain to make https://www.amazon.ca/Bricuba-Changing-Control-Bluetooth-Standing/dp/B0BG2HS1XH