- Introduction
- Step 1: Check the power supply
- Step 2: Test the wiring and connections
- Step 3: Check the LED bulbs
- Step 4: Test the light bar as a whole
- Conclusion: The Importance of Regularly Testing Your LED Light Bar
- Frequently Asked Questions
- What tools do I need to test a LED light bar?
- How do I test the wiring and connections of a LED light bar?
- How do I test the LED bulbs of a LED light bar?
Introduction
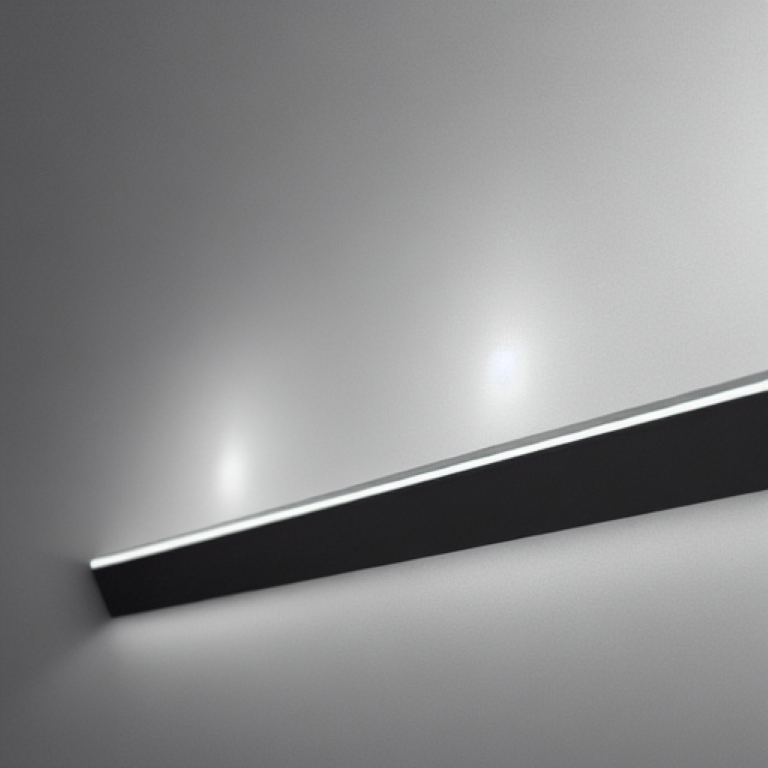
LED light bars are a popular choice for a variety of applications, such as off-roading, emergency vehicles, and even for illuminating work areas. These light bars provide bright and efficient lighting, making them a practical choice for many different situations. However, it’s important to regularly test your LED light bar to ensure it is functioning properly and safely.
There are a few different steps involved in testing a LED light bar. The first step is to check the power supply to make sure it is providing the correct voltage to the light bar. Next, you’ll want to test the wiring and connections to ensure they are secure and functioning properly. It’s also a good idea to test each individual LED bulb to make sure they are all working. Finally, you’ll want to test the light bar as a whole to ensure it is functioning properly and providing adequate lighting.
In this guide, we’ll go through each of these steps in detail to show you how to test a LED light bar. We’ll also provide a list of the tools and materials you’ll need to complete the testing process. By following these steps, you can be sure your LED light bar is functioning properly and safely.
Step 1: Check the power supply
The first step in testing a LED light bar is to check the power supply. It’s important to make sure the power supply is providing the correct voltage to the light bar, as using a power supply with the wrong voltage can damage the light bar or even be a fire hazard.
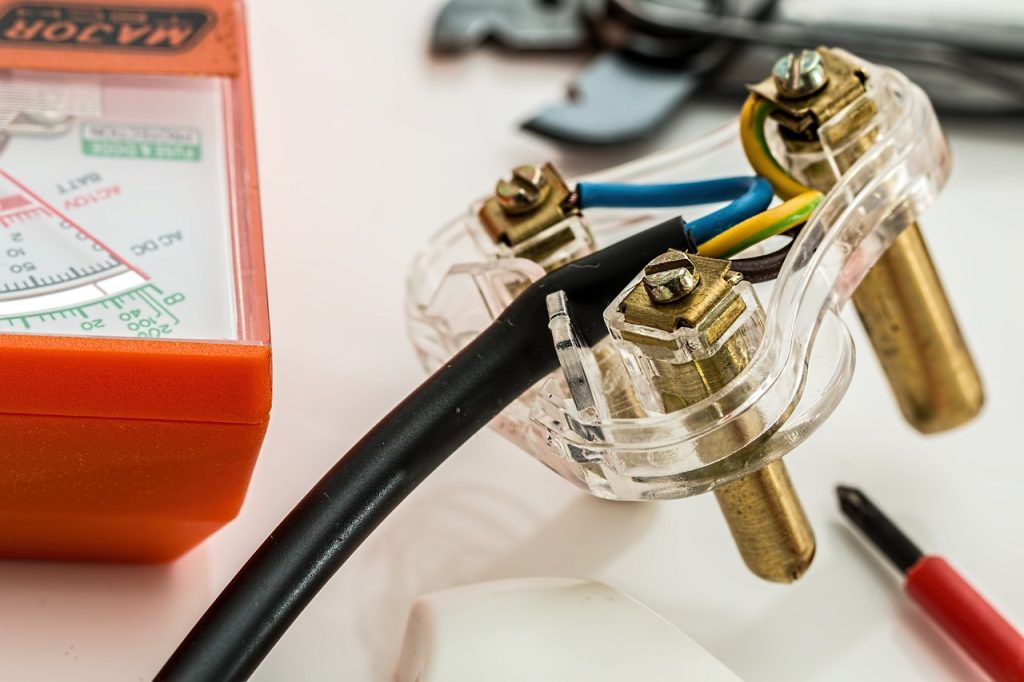
To check the power supply, you’ll need a multimeter. A multimeter is a device that can measure voltage, resistance, and other electrical properties. To use a multimeter to check the power supply, follow these steps:
- Set the multimeter to the appropriate setting for measuring voltage. This is usually indicated by a V with a straight line or a V with a wavy line.
- Connect the red lead (positive) of the multimeter to the positive terminal of the power supply, and the black lead (negative) to the negative terminal.
- Check the reading on the multimeter. It should indicate the voltage of the power supply.
- Compare the reading on the multimeter to the voltage rating of the LED light bar. The voltage rating can usually be found on the label or packaging of the light bar. Make sure the power supply voltage is within the range recommended by the manufacturer.
Troubleshooting the power supply
If the power supply voltage is too low, the LED light bar may not function properly or may not provide adequate lighting. If the power supply voltage is too high, it can damage the light bar or create a fire hazard.
It’s important to note that some LED light bars have built-in voltage regulators, which allow them to function properly with a wide range of power supply voltages. In this case, you’ll still want to check the power supply voltage, but you may not need to worry as much about it being within a specific range.
By checking the power supply, you can be sure that it is providing the correct voltage to the LED light bar and that it is safe to use. In the next step, we’ll discuss how to test the wiring and connections of the light bar.
Step 2: Test the wiring and connections
Once you’ve verified that the power supply is providing the correct voltage to the LED light bar, the next step is to test the wiring and connections. It’s important to check for loose or damaged wiring, as this can cause problems with the function of the light bar or even create a safety hazard.
To test the wiring and connections of the LED light bar, you’ll again need a multimeter. To use a multimeter to test the wiring and connections, follow these steps:
- Set the multimeter to the appropriate setting for measuring resistance. This is usually indicated by a Ω symbol.
- Disconnect the power supply to the LED light bar. This is an important safety precaution, as testing the wiring and connections with the power supply connected can be dangerous.
- Use the multimeter to test the resistance of the wiring and connections. To check the connecting hookup, one lead of the multimeter to one end of the wiring or connection and the other to the other. The multimeter should give a reading of 0 Ω or close to it, indicating that the wiring or connection is functioning properly.
- Repeat this process for all of the wiring and connections in the LED light bar.
If you get a high resistance reading or an open circuit reading (indicated by the multimeter displaying OL or infinity), this could indicate a problem with the wiring or connection. In this case, you’ll want to investigate further to determine the cause of the problem and take appropriate action, such as tightening a loose connection or replacing damaged wiring.
By testing the wiring and connections, you can ensure that the LED light bar is properly connected and functioning properly. In the next step, we’ll discuss how to test the individual LED bulbs.
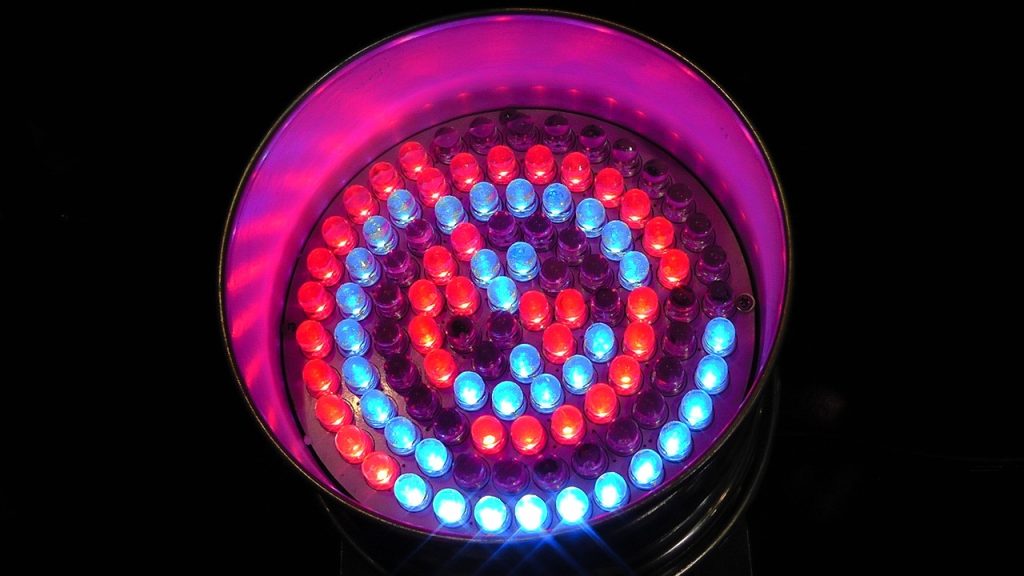
Step 3: Check the LED bulbs
After checking the power supply and testing the wiring and connections, the next step in testing a LED light bar is to check the individual LED bulbs. It’s important to test each bulb to make sure it is functioning properly, as a faulty bulb can affect the overall performance of the light bar.
To check the LED bulbs, you’ll need a multimeter and a small screwdriver (if the light bar has replaceable bulbs). To use a multimeter to test the LED bulbs, follow these steps:
- Set the multimeter to the appropriate setting for measuring resistance. This is usually indicated by a Ω symbol.
- Disconnect the power supply to the LED light bar. As with testing the wiring and connections, it’s important to do this as a safety precaution.
- Use the screwdriver to remove any covers or lenses that protect the bulbs. Some light bars may have a single cover that protects all of the bulbs, while others may have individual covers for each bulb.
- Use the multimeter to test the resistance of each LED bulb. The multimeter should read a few ohms, indicating that the bulb is functioning properly.
- If any of the bulbs are not functioning properly (indicated by a high resistance reading or an open circuit reading), you’ll need to replace the faulty bulb. Some light bars have replaceable bulbs, while others may require the entire light bar to be replaced if a bulb fails.
By checking the individual LED bulbs, you can ensure that each one is functioning properly and contributing to the overall performance of the light bar. In the next step, we’ll discuss how to test the light bar as a whole.
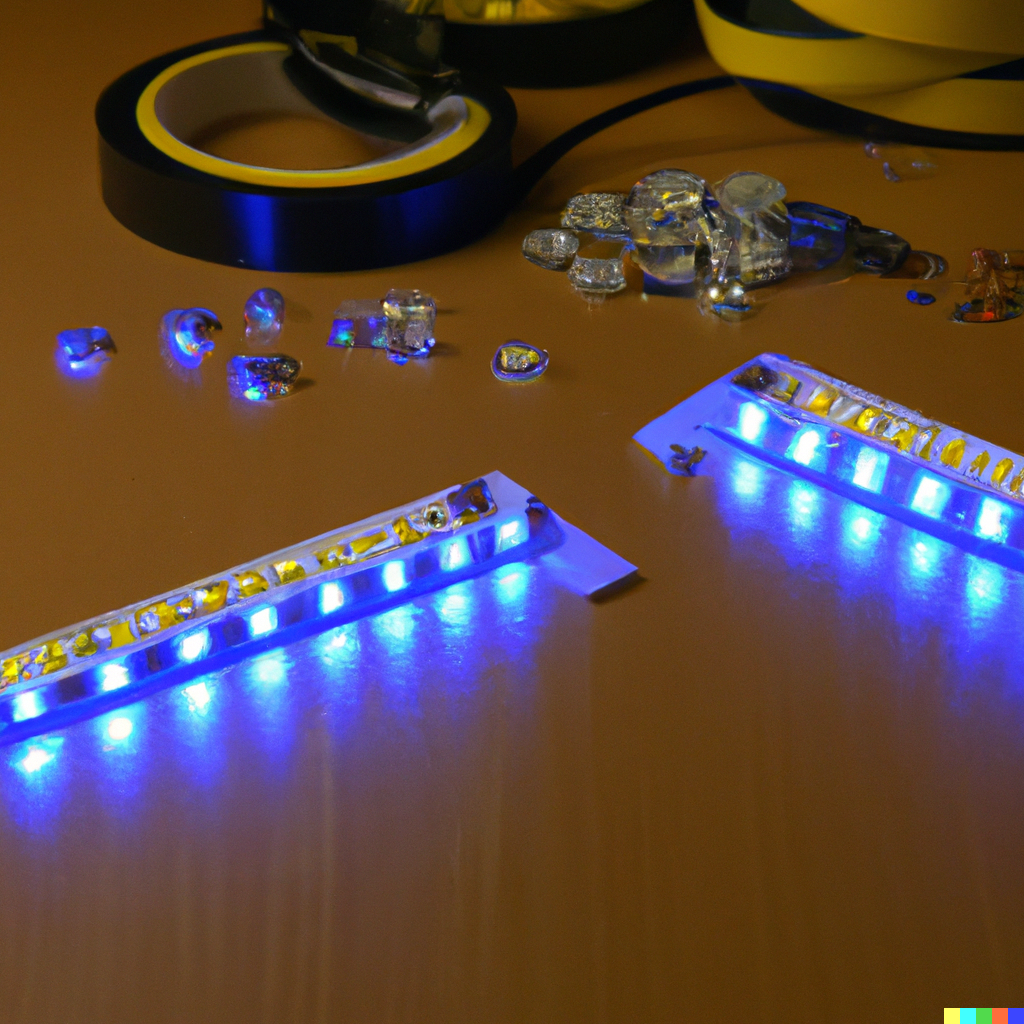
Step 4: Test the light bar as a whole
Once you’ve checked the power supply, tested the wiring and connections, and checked the individual LED bulbs, the final step in testing a LED light bar is to test the light bar as a whole. This will allow you to verify that the light bar is functioning properly and providing adequate lighting.
To test the light bar as a whole, follow these steps:
- Connect the power supply to the light bar.
- Turn on the light bar and observe its performance. Make sure the light bar is providing adequate lighting and that all of the LED bulbs are functioning properly.
- If the light bar is not functioning properly, there may be an issue with one of the components you tested earlier. In this case, you’ll want to go back and check the power supply, wiring and connections, and LED bulbs again to identify the problem and take appropriate action.
- If the light bar is functioning properly, you’re done! You can now use the light bar with confidence, knowing that it is functioning properly and safely.
By testing the light bar as a whole, you can ensure that it is providing adequate lighting and that all of the components are working together properly. In the next section, we’ll discuss some final thoughts on the importance of regularly testing your LED light bar.
Conclusion: The Importance of Regularly Testing Your LED Light Bar
In this guide, we’ve gone through the steps for testing a LED light bar to ensure it is functioning properly and safely. By following these steps and using the right tools, you can be confident that your LED light bar is ready for use.
It’s important to regularly test your LED light bar to ensure it is functioning properly. This is especially important if you use the light bar frequently or in demanding conditions, as the components can wear out or become damaged over time. By performing regular tests, you can identify and fix any problems before they become serious issues.
To summarize, here are the steps for testing a LED light bar:
- Check the power supply to ensure it is providing the correct voltage to the light bar.
- Test the wiring and connections to make sure they are secure and functioning properly.
- Check the individual LED bulbs to ensure they are all functioning properly.
- Test the light bar as a whole to ensure it is providing adequate lighting and that all of the components are working together properly.
By following these steps and regularly testing your LED light bar, you can ensure it is functioning properly and safely.
Frequently Asked Questions
Why is it important to test a LED light bar?
It’s important to test a LED light bar to ensure it is functioning properly and safely. By regularly testing the light bar, you can identify and fix any problems before they become serious issues. This is especially important if you use the light bar frequently or in demanding conditions, as the components can wear out or become damaged over time.
What tools do I need to test a LED light bar?
To test a LED light bar, you’ll need a multimeter and a small screwdriver (if the light bar has replaceable bulbs). A multimeter is a device that can measure voltage, resistance, and other electrical properties, and is essential for testing the power supply, wiring and connections, and LED bulbs. A small screwdriver is needed to remove any covers or lenses that protect the bulbs.
How do I test the power supply of a LED light bar?
To test the power supply of a LED light bar, you’ll need a multimeter. To use a multimeter to test the power supply, set it to the appropriate setting for measuring voltage, connect the red lead (positive) to the positive terminal of the power supply and the black lead (negative) to the negative terminal, and check the reading on the multimeter. The reading should indicate the voltage of the power supply. Compare the reading to the voltage rating of the LED light bar, which can usually be found on the label or packaging. Make sure the power supply voltage is within the range recommended by the manufacturer.
How do I test the wiring and connections of a LED light bar?
To test the wiring and connections of a LED light bar, you’ll need a multimeter. Once you have one, you will be able to test the wiring and connections, set it to the appropriate setting for measuring resistance, disconnect the power supply to the LED light bar, and use the multimeter to test the resistance of the wiring and connections.
To do this, connect one lead of the multimeter to one end of the wiring or connection, and the other lead to the other end. The multimeter should give a reading of 0 Ω or close to it, indicating that the wiring or connection is functioning properly. Repeat this process for all of the wiring and connections in the LED light bar. If you get a high resistance reading or an open circuit reading (indicated by the multimeter displaying OL or infinity), this could indicate a problem with the wiring or connection.
How do I test the LED bulbs of a LED light bar?
To test the LED bulbs of a LED light bar, you’ll need a multimeter and a small screwdriver (if the light bar has replaceable bulbs). Using a multimeter to test the LED bulbs is easy. All you will have to do is set it to the appropriate setting for measuring resistance, disconnect the power supply to the LED light bar, use the screwdriver to remove any covers or lenses that protect the bulbs, and use the multimeter to test the resistance of each LED bulb. To do this, connect one lead of the multimeter to one end of the bulb, and the other lead to the other end.
The multimeter should give a reading of a few ohms, indicating that the bulb is functioning properly. If any of the bulbs are not functioning properly (indicated by a high resistance reading or an open circuit reading), you’ll need to replace the faulty bulb. Some light bars have replaceable bulbs, while others may require the entire light bar to be replaced if a bulb fails.