Are you looking for a way to save on energy costs and add some personality to your home or office? If so, DIY LED light panels may be just what you need! In this step-by-step guide, we’ll show you how to create your own panels using LED lights. Not only are they easy to make, but they also emit minimal heat and last a long time. So why wait? Get started today!
- Choose the right LED light panels for your needs
- Gather the necessary supplies
- Cut the panels to size
- Assemble the light panel frame
- Connect the power supply and LED lights
- Install the light panel frame
- Conclusion
- Frequently Asked Questions
- What are LED light panels?
- What are the benefits of using LED light panels?
- How do I make my own LED light panel?
- What materials do I need to make an LED light panel?
- How do I install my LED light panel?
- How do I use my LED light panel?
- What are some tips for using LED light panels?
- Are there any safety concerns with using LED light panels?
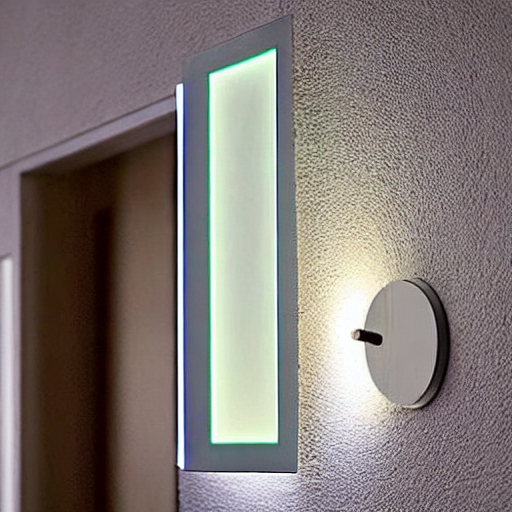
Choose the right LED light panels for your needs
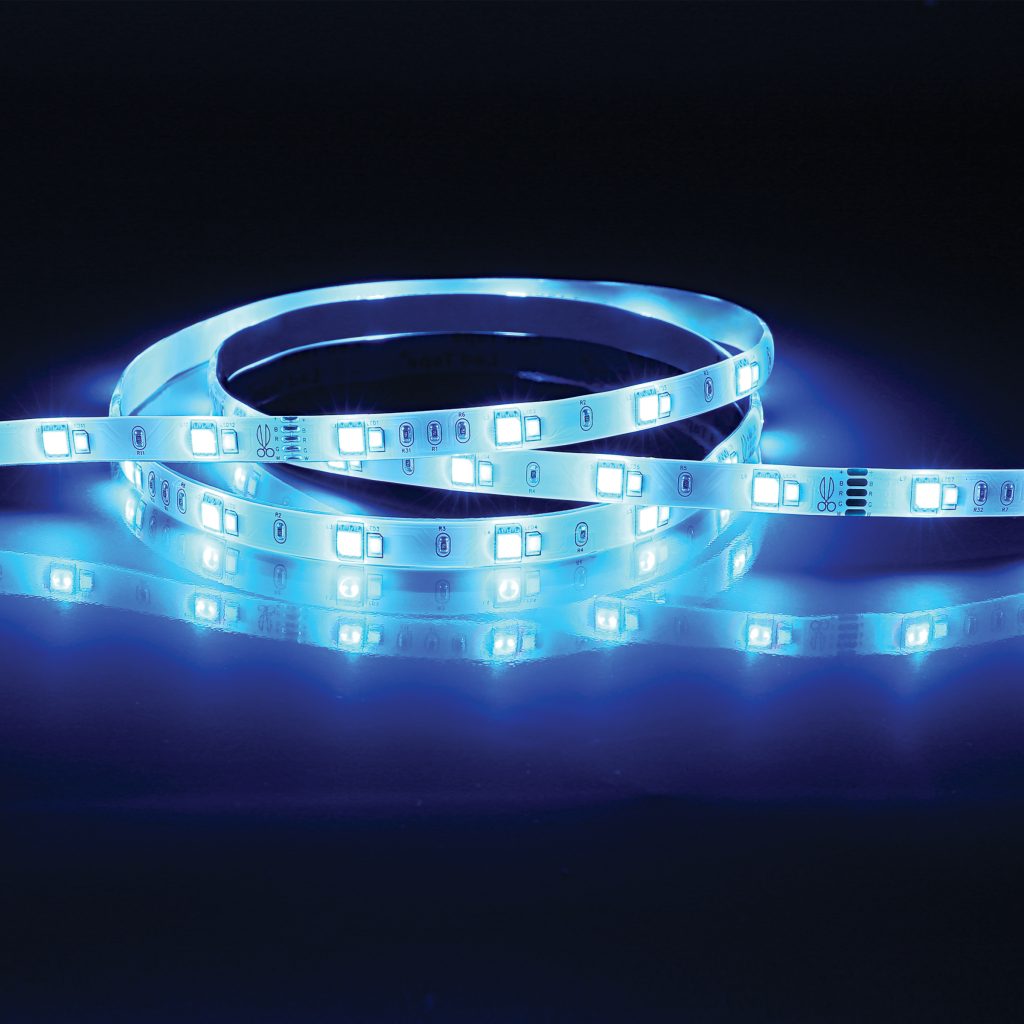
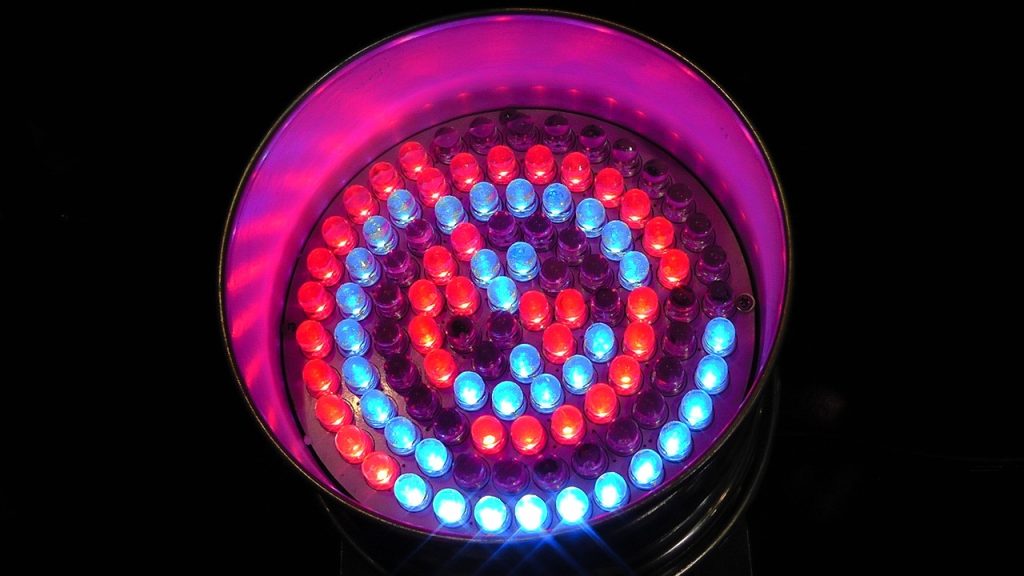
When shopping for LED light panels, it’s important to consider your needs before making a purchase. First, determine the wattage you need: panels come in varying sizes and wattages, so you want to be sure the size and brightness will fit your needs. If you’re looking for something more decorative, then pay attention to the color of the lights; different LEDs will have slightly different colors, ranging from cool whites to warmer yellows. Additionally, check the rated lifespan of each panel.
LED lights are designed to last up to 50 000 hours with minimal degradation of performance over time. Finally, calculate your estimated return on investment (ROI). By choosing energy-efficient lighting fixtures, you can significantly reduce energy bills while still enjoying maximum illumination. And with such an array of options available today, you can surely find an LED light panel that meets all your needs! Though selecting the right LED light panel for your needs may require careful consideration, it is essential for achieving optimal performance and savings in the long run. When done properly, investing in LEDs will ultimately prove to be a highly rewarding experience.
Gather the necessary supplies
Before beginning any project, it is important to make sure that you have the necessary supplies at your house, you don’t want to start something only to have to run to the store to get more tape or wires. Gather whatever materials and tools needed beforehand, as it can save time—not to mention frustration—later on. Start by making a checklist of all the items needed.
When shopping, compare to take advantage of the best deals and prices available. If purchasing special items or supplies online, make sure to research their efficiency and reliability before going ahead with the purchase. Taking a few precautions now can really pay off later when it comes time for completing any number of projects efficiently and effectively. By ensuring that essential material demands are met prior to starting work, anyone can guarantee an easier overall process and outcome in the long run.
Cut the panels to size
Cutting panels to size is a critical step in the panel installation process. When cutting the panels, it is important to use the appropriate tools and techniques to ensure an accurate and precise cut. For best results, begin by measuring the panels with a carpenter’s square or ruler. Once measured, mark out the cut along the lines using a bar or pencil – be sure to keep any markings visible and legible. To make the actual cuts, it’s important to use saws designed for cutting specific panel materials like wood, plastic, metal, or other materials. Additionally, select blades that feature reduced kick-back for greater precision and safety. By taking careful measurements and following these wide range of guidelines for proper panel cutting techniques, users will be well on their way toward getting great results from their next residential panel installation job.
Assemble the light panel frame
Putting together a light panel frame may seem daunting, but it is really just a matter of following a few simple steps. First, start by laying out all the components of the frame in front of you and familiarizing yourself with their names and parts. Next, begin to assemble the frame by connecting each corner joint with the appropriate screws. Securely tightening each screw will ensure that the frame pieces remain connected. When complete, the four joined corners should form a perfect 90-degree angle with each other. Lastly, attach the post caps on top of each corner joint for added support and an aesthetically pleasing look. Following these steps exactly is key for making sure that your light panel frame is safe and functional – so don’t forget to double check once you’ve finished putting it together!
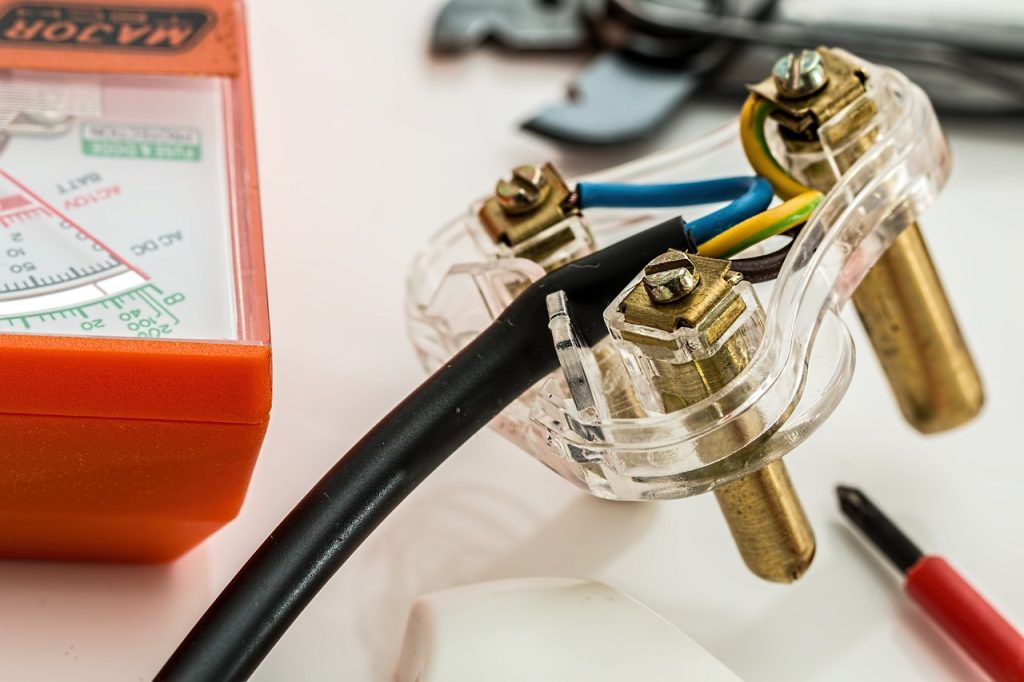
Connect the power supply and LED lights
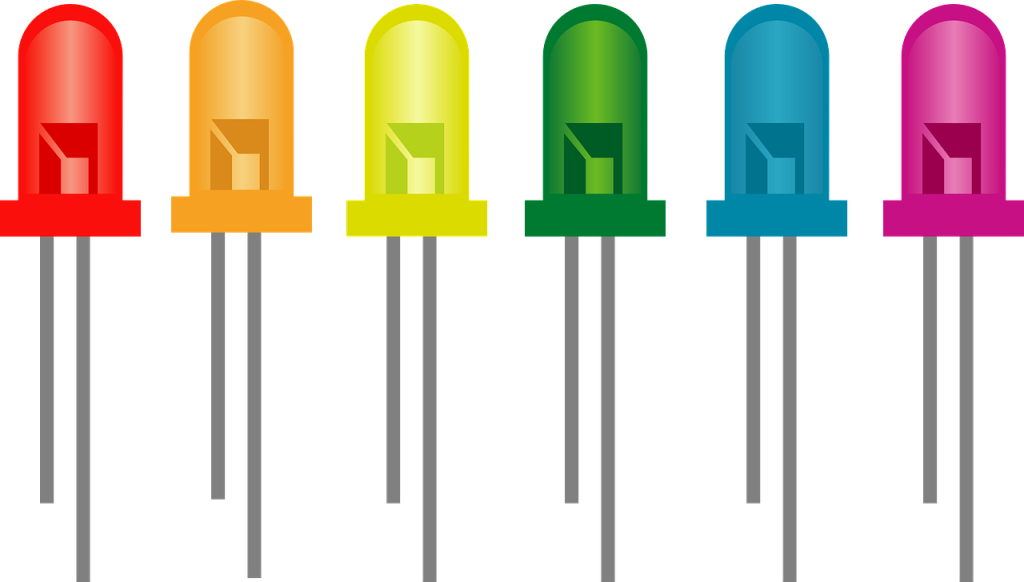
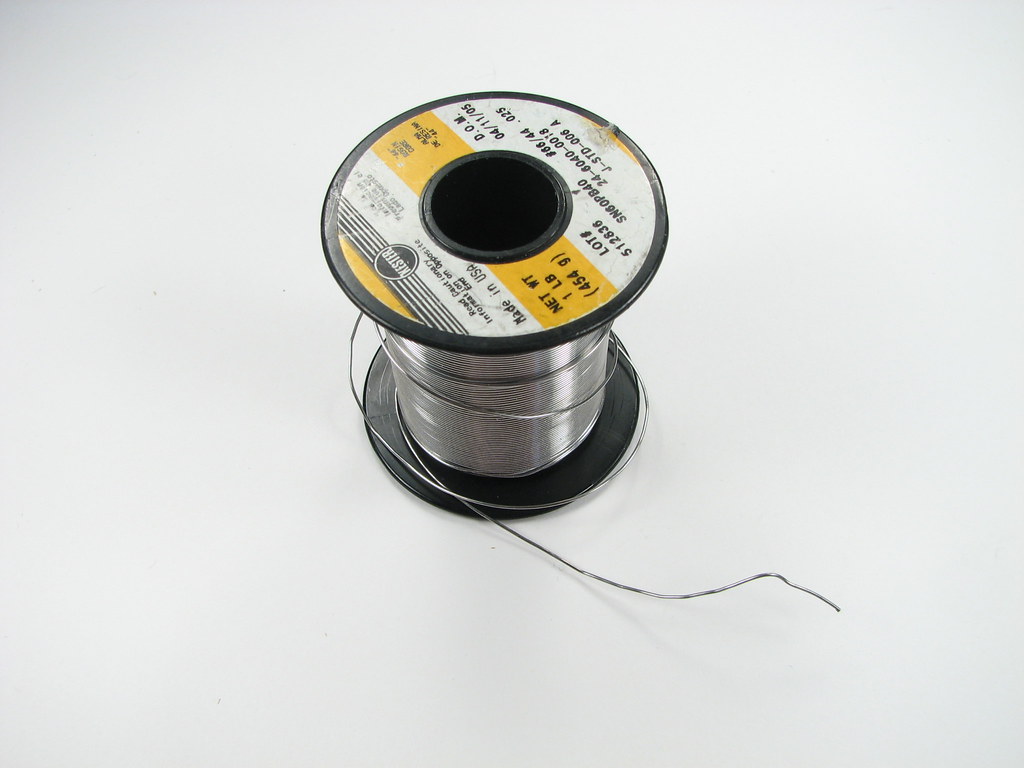
Connecting power supplies to LED lights is an easy procedure that requires basic wiring skills. Before starting, you should make sure you have the necessary components; this includes an appropriate power supply as well as a host of wired LED light bulbs. Once all components are organized, begin by connecting each of the wires from the power supply to each individual light bulb. Depending on the type of wiring used, this may involve splicing or soldering wires together.
Make sure you don’t leave exposed wires or stray strands behind — any exposed metal connectors could cause potentially hazardous shocks. After completing the wiring process, double-check for any mistakes before plugging in and testing the system. Once everything is connected and properly tested, your setup should be ready to go! With these simple steps in mind, it’s now possible to easily connect a power supply to LED bulbs and create a functional lighting system. By using these techniques, anyone can easily connect a power source and LED lights without needing advanced electrical training or an expensive professional electrician. With some patience and practice, it’s possible to build a dependable setup that will serve your needs well into the future. Furthermore, doing things right means no need for added maintenance costs later due to any wiring malfunctions or safety hazards – so always ensure proper connection before powering up that first illuminated bulb!
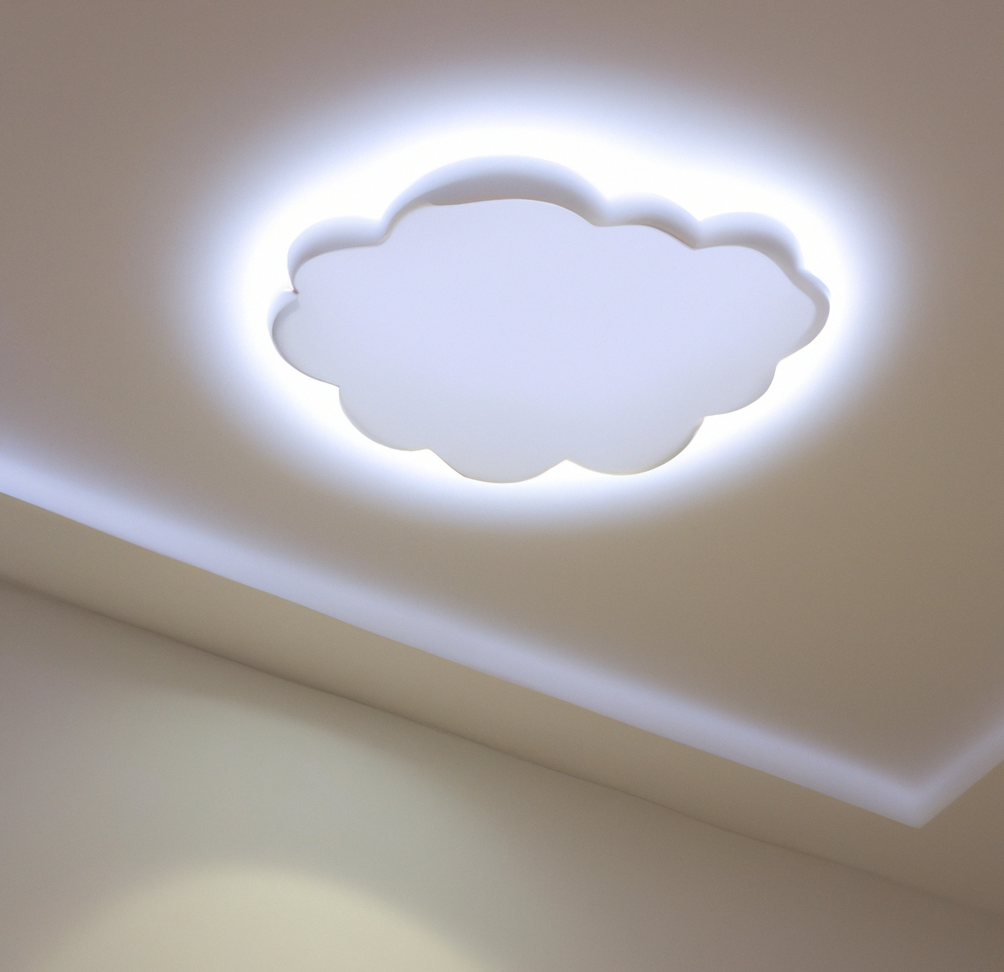
Install the light panel frame
Installing a light panel frame is an important process that needs to be handled with care. First, the wall should be cleared of furniture and other items. Then, you will need to mark the walls where the holes for the screws need to be drilled. When drilling, use a cordless drill on a low power setting in order to ensure accuracy and safety.
Once the holes are drilled, measure each frame for accuracy before inserting it into the wall and driving a screw through each hole with a power drill or screwdriver. Finally, an electrical box is then connected to each of the frames and wired with junction boxes so that all of your lights can be safely completed. Following these necessary steps when doing any installation helps to ensure long-term safety and prevent any potentially hazardous problems down the line. By taking care when installing light panel frames, you can be certain that they are properly secured in place for years to come.
Conclusion
While it is possible to install LED light panels yourself, it may be a better idea to have a professional do the job. If you decide to take on the task yourself, make sure you follow the steps we outlined and gather all of the necessary supplies. Remember, safety should always be your top priority when working with electricity. Good luck with your LED light panel installation!
And, if you are looking for other cool DIY LED projects make sure you check out our list of the projects we’ve done and love. We found that you can even buy a bunch of supplies and use them in different projects as most of them require leds, power source connections, and wiring… that’s it!
Frequently Asked Questions
What are LED light panels?
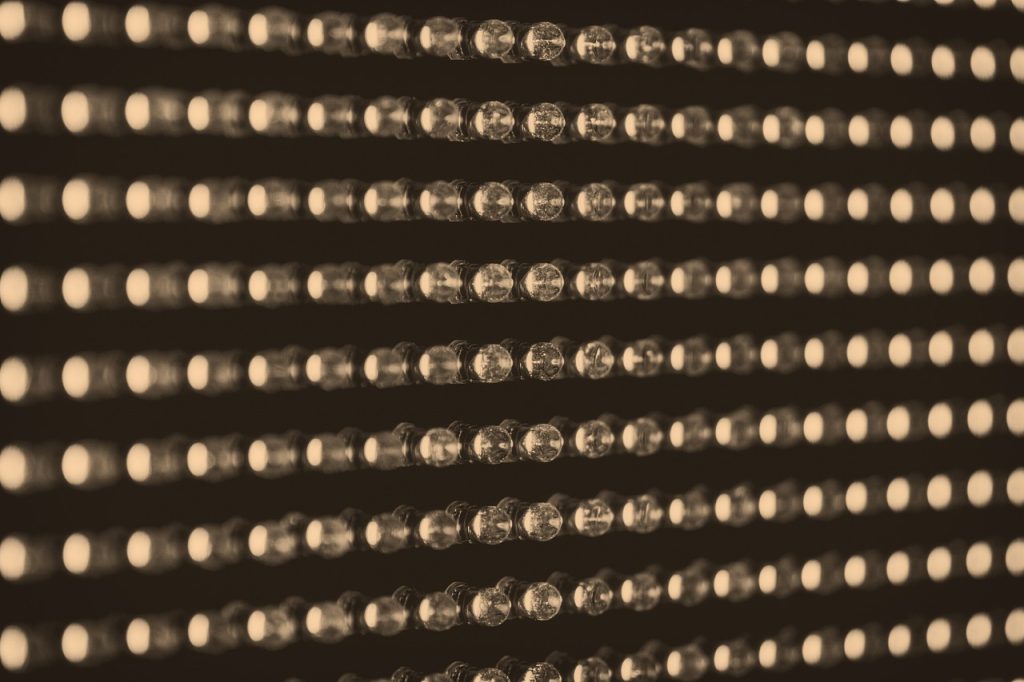
LED light panels are panels with LED lights on them.
What are the benefits of using LED light panels?
Leds have many benefits comparaed to older technologies of lighting. The main ones are the increase in effecncies, which will save you money, reduce heat output, and provide a better lighting experiance. Overall it is very hard to find anywhere that LEDs faulter vs. halogen lights.
How do I make my own LED light panel?
You can make your own LED light panel by following these simple steps. First, make sure you have all of the necessary components, including a power supply and some LED light bulbs. Next, connect each of the wires from the power supply to the light bulbs. Be sure to use appropriate wiring and connectors, and double-check for any mistakes before plugging in and testing the system. Finally, install the light panel frame and connect an electrical box to each frame. Make sure everything is properly connected and tested before powering on your new LED light panel!
What materials do I need to make an LED light panel?
To make an LED light panel, you will need a power supply, some LED light bulbs, wiring, and connectors. You will also need a light panel frame and an electrical box for each frame. Make sure everything is connected properly before powering on your new LED light panel!
How do I install my LED light panel?
LED light panels can be installed by following these simple steps. First, make sure you have all of the necessary components, including a power supply and some LED light bulbs. Next, connect each of the wires from the power supply to the light bulbs. Be sure to use appropriate wiring and connectors, and double-check for any mistakes before plugging in and testing the system. Finally, install the light panel frame and connect an electrical box to each frame. Make sure everything is properly connected and tested before powering on your new LED light panel!
How do I use my LED light panel?
LED light panels can be used for a variety of purposes. For example, you can use them to light up a room or as a backlight for a television. To use your LED light panel, first make sure that it is properly installed. Then, connect the power supply to the panel and plug it in. Turn on the power switch and test the system to make sure everything is working correctly. Finally, enjoy your new LED light panel!
What are some tips for using LED light panels?
LED light panels can be used for a variety of purposes. Some examples are lighting up a room or using it as a backlight for a television. To use your LED light panel, first make sure that it is properly installed. Next, connect the power supply to the panel and plug it in. Turn on the power switch and test the system to make sure everything is working correctly. Finally, enjoy your new LED light panel!
Are there any safety concerns with using LED light panels?
Yes, there are some safety concerns with using LED light panels. First, make sure you have all of the necessary components, including a power supply and some LED light bulbs. Next, connect each of the wires from the power supply to the light bulbs. Be sure to use appropriate wiring and connectors, and double-check for any mistakes before plugging in and testing the system. Finally, install the light panel frame and connect an electrical box to each frame. Make sure everything is properly connected and tested before powering on your new LED light panel!