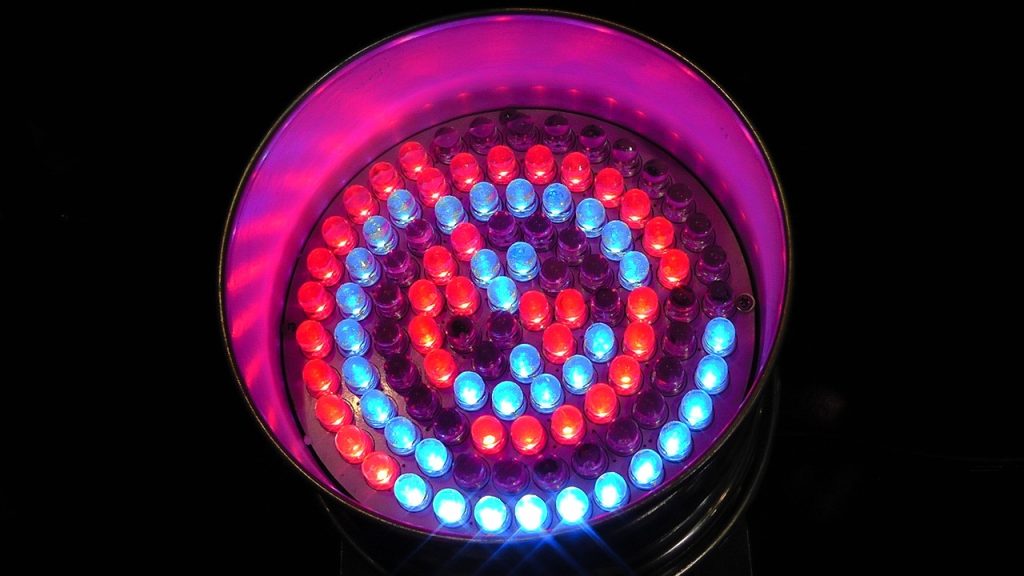

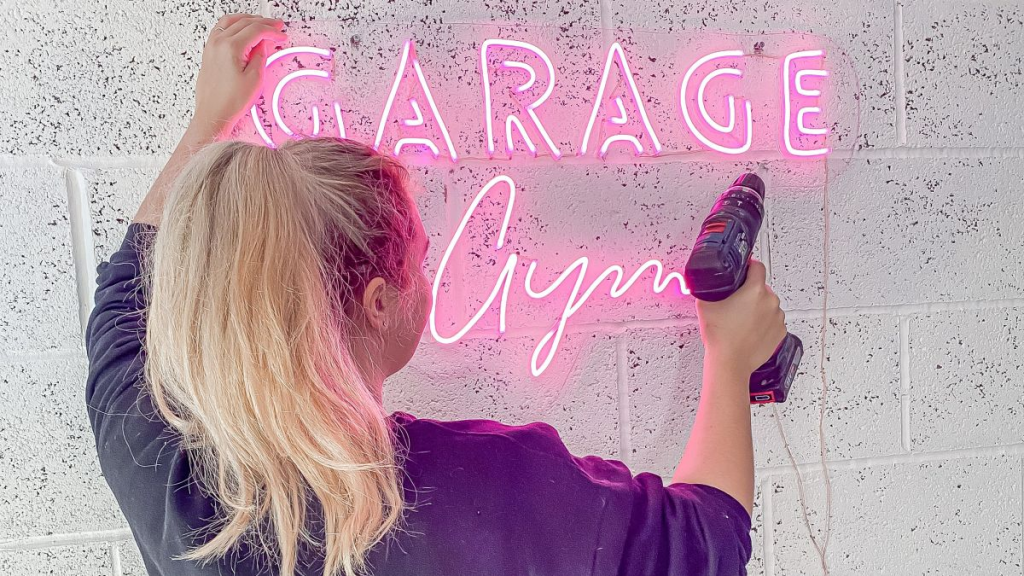
If you want to add a unique and eye-catching touch to your home décor, consider creating your own neon sign with LED rope. We know, we know the sign above is a neon light but we couldn’t find a good example of the light setup with an LED rope as we didn’t take pictures of ours and after the birthday was over we undid the strip for use in another project.
BUT, we will show you how to do it in our guide as we will teach you everything you need to know to make your own stunning neon sign, from choosing the right materials to crafting the perfect design. With a little time and effort, you can create a truly one-of-a-kind illuminated statement piece for your home. Don’t worry as it is pretty easy to do and would take maybe 45 minutes to an hour, depending on the length of your word and skills.
- What you’ll need to make your sign
- Next Steps – Drilling the holes to hold the LEDs
- Hang up your new neon sign and enjoy!
- Conclusion
- Frequently Asked Questions
- What are the materials needed to create a neon sign with LED rope?
- How do you cut the LED rope to the desired length?
- What is the process for creating the neon sign with LED rope?
- How do you mount the neon sign with LED rope?
- How do you power the sign with LED rope?
- What are the benefits of using LED rope over traditional neon tubing?
- How do you troubleshoot problems with a neon sign with LED rope?
What you’ll need to make your sign
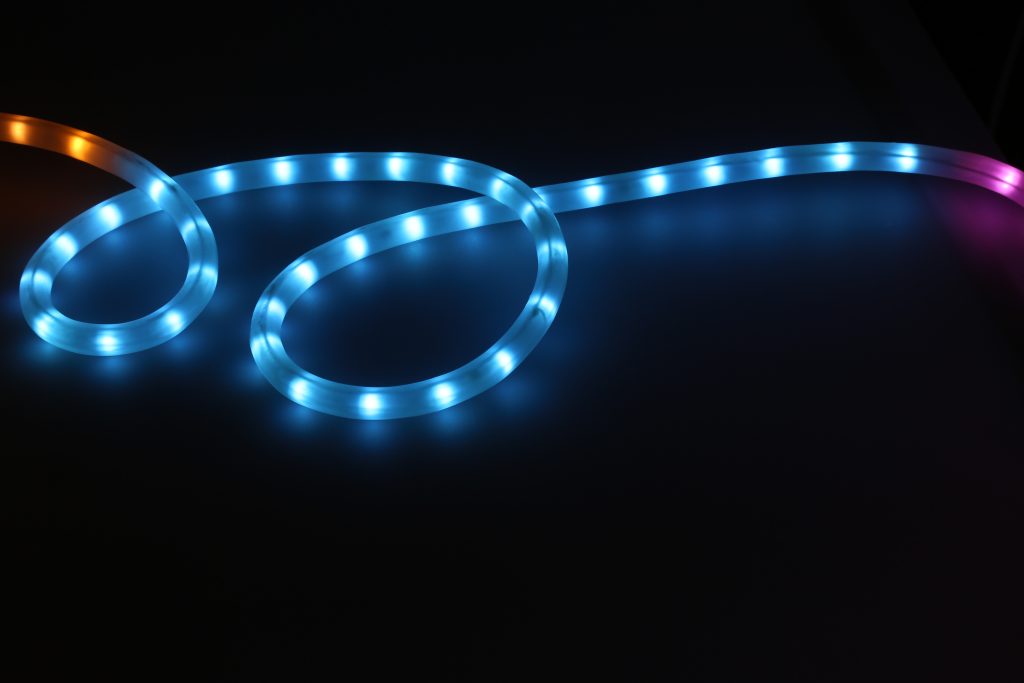
Making a neon sign ( well not really neon per se but more so neon styled with LED lights) is an exciting and creative project requiring a little technical know-how. To start, make sure you have all the essential supplies, which include LED rope lights, clear tubing, a power drill, and a neon sign transformer. Once these items have been secured, use the continuous running of the LEDs to build the desired shape of your sign.
With careful assembly and accurate measuring of the clear tubing, you can create a wonderful glowing spectacle that serves as both decoration and lighting for your space. A steady power source is necessary to ensure the electricity is properly regulated and putting it all together may require patience but to be honest it isn’t that much harder than feeding your LED rope through the clear tubing.
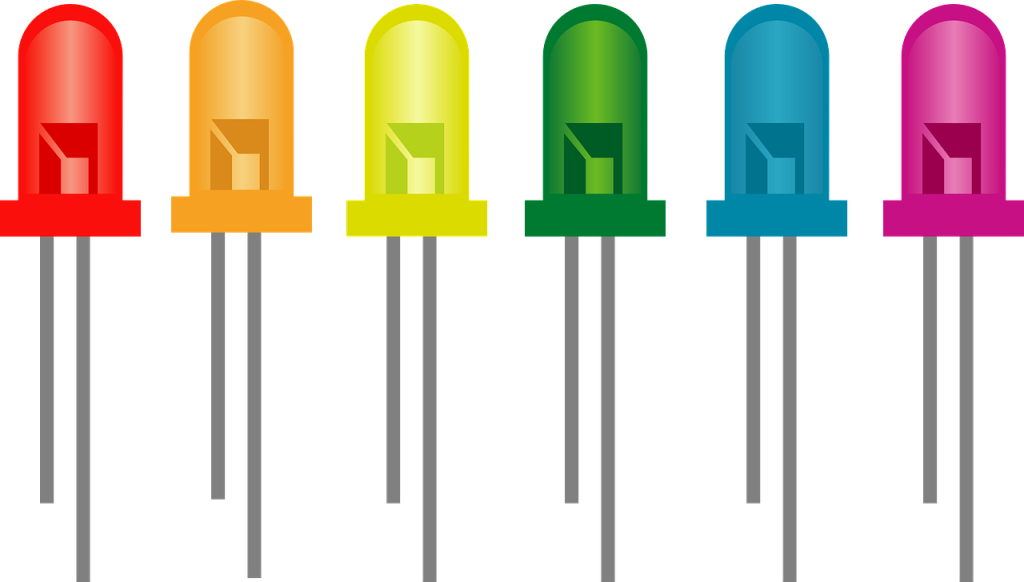
SO, the things you will want to take note of you want your tubing to be wide enough for your led string to fit through, but not so big that it is loose as the LEDs might move and then the light won’t be going the direction you need it to. AND, you will want to get high output LEDs, because you want it to be BRIGHT, RIGHTTT?!
Next Steps – Drilling the holes to hold the LEDs
Drilling holes into the back of clear tubing is an efficient way to install LED rope lights in the desired location. Before doing so, it is important to measure and make sure that the hole created will be big enough for the rope lights to fit through snugly. This will ensure that the tubing safely and securely holds the lights in place. Additionally, consider whether adhesives or glues are needed to ensure a secure bond between the tube and light. Following these steps will lead to an LED sign that you’ll be happy with so here are the steps you need to follow to make that happen:
String the LED rope lights through the holes in the tubing.
With careful planning and effort, threading the LED rope lights through the holes in the tubing can create a beautiful effect. Before beginning, make sure to measure twice and cut once when creating holes in the tubing to ensure that you have enough room for each rope light to fit snuggly.
Connect the end of the LED rope light to the power source
So now we get into the biggest benefit of using LEDs for your sign and that is that unlike neon lights you don’t need a transformer. Personally, they freak me out, as I am always worried about getting electrocuted and it exploding… for no logical reason and this is why I love LED lights. Worst case they might short out, but they just don’t have the same explodability that neons and transformers hold in my head.
So now that we have that out of the way the only thing you need to do is to make sure that connection to the power Connecting the end of an LED rope light to a neon sign transformer may seem like a difficult task upon first glance, however with some simple tools and preparation it can be quite simple. All that is needed is wire cutters, electrical tape, and crimp connectors. Uncoil the LED rope light and its connector as much as you need to reach the neon sign transformer comfortably.
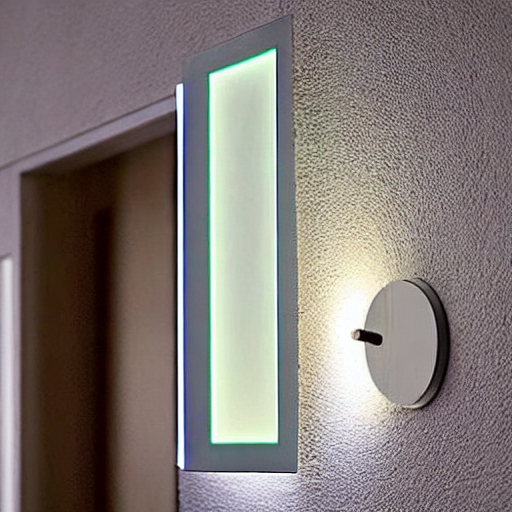
Hang up your new neon sign and enjoy!
So now that you have your LED lights run through the protective covering, laid the rope in the style/wording that you want to and plugged them in you are almost done. All you have to do now is hang the sign up and you are good to go and enjoy it. The best thing about this is project is that your sign can be repurposed. You have the rope in the protective covering, so if you want a new shape or word you have the ability to modify it for a different use whenever you want.
Conclusion
Now that you know how to make an LED sign you are ready to go and hang it up. The next step and DIY LED Project that we are going to take a shot at is going to be using an LED to illuminate an image through a sign. We still have to find the right set of drivers needed to put enough light through, but for now, we were satisfied with how this one turned out.
Frequently Asked Questions
What are the materials needed to create a neon sign with LED rope?
You will need LED rope lights, clear tubing, a power drill, and a neon sign transformer to make your LED neonlike sign.
How do you cut the LED rope to the desired length?
To cut the LED rope to the desired length, use wire cutters to clip off any excess wire. Most LED ropes have cut lines clearly lined on them
What is the process for creating the neon sign with LED rope?
To make a neon sign with LED rope, you will need LED rope lights, clear tubing, a power drill, and a neon sign transformer. First, use wire cutters to remove any excess wire from the LED rope lights. Then use a power drill to make holes in the clear tubing. Next, thread the LED rope lights through the holes in the tubing. Finally, connect the end of the LED rope light to the neon sign transformer and hang up your new neon sign!
How do you mount the neon sign with LED rope?
To mount a neon sign with LED rope, you will need some simple tools and supplies. You will need wire cutters, electrical tape, crimp connectors, and a power drill. First, use the wire cutters to cut any excess wire from the LED rope light. Next, use the power drill to make holes in the clear tubing. Then thread the LED rope light through the holes in the tubing. Finally, connect the end of the LED rope light to the neon sign transformer and hang up your new neon sign!
How do you power the sign with LED rope?
To power the neon sign with LED rope, you will need to connect the end of the LED rope light to the power source with a power plugin or USB cable.
What are the benefits of using LED rope over traditional neon tubing?
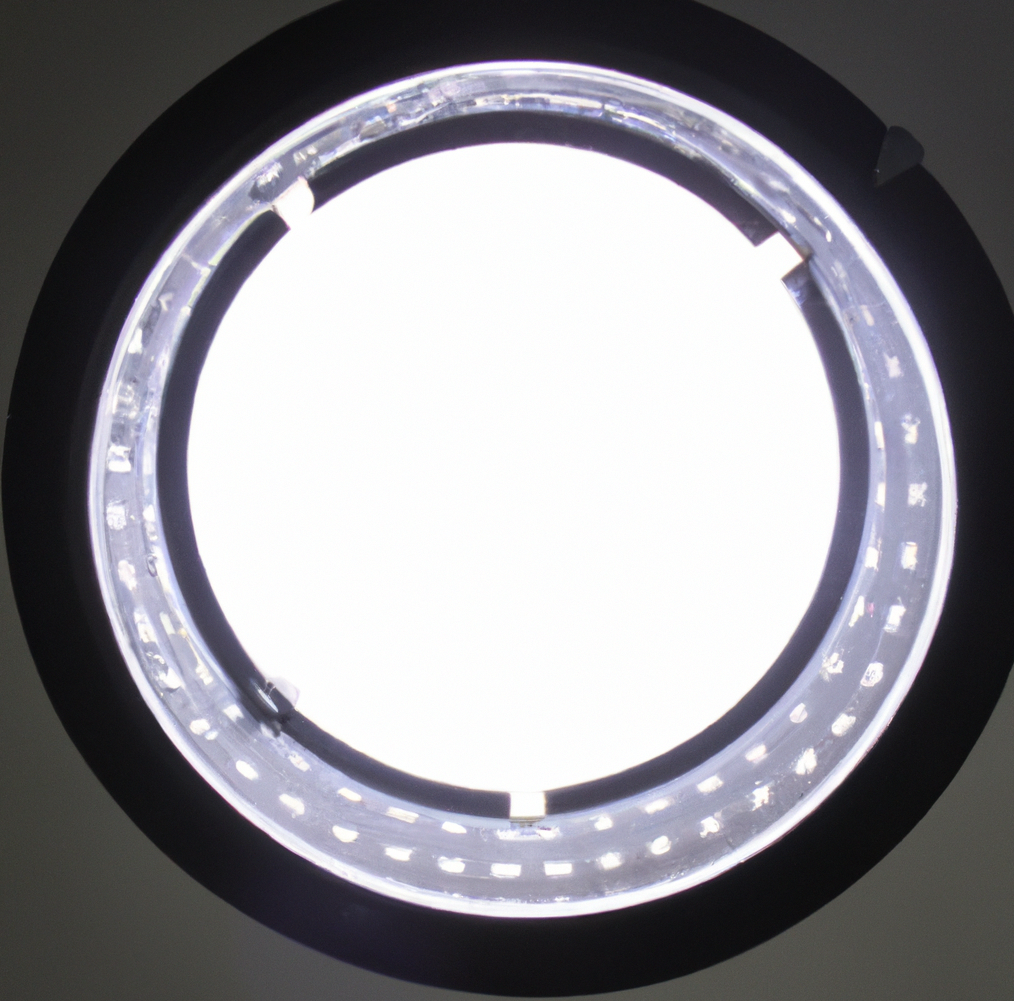
LED rope lights are a type of light that is becoming more popular in neon signs. They have a lot of benefits over traditional neon tubing. LED rope lights are brighter, last longer, and are more reliable than traditional neon tubing.
How do you troubleshoot problems with a neon sign with LED rope?
If you have any problems with your neon sign with LED rope, you can troubleshoot them by checking the transformer, the rope light, and the tubing. First, check to ensure the transformer is turned on and plugged in. Next, check to ensure the LED rope light is properly connected to the transformer. Finally, check to make sure that there are no holes in the clear tubing.