Introduction to Landscape lights replacement
Landscape lighting can add beauty and functionality to your outdoor space, whether it’s for illuminating pathways, highlighting architectural features, or creating a warm and inviting atmosphere. However, over time, your landscape lights may need to be replaced due to wear and tear, outdated style, or a desire for more energy-efficient options. Replacing landscape lights can seem like a daunting task, but with the right tools, materials, and knowledge, it’s a relatively straightforward process that can significantly improve the look and functionality of your outdoor space.
In this guide, we’ll walk you through the steps of how to replace landscape lights, including preparation, choosing new fixtures, installing them, and testing and final touches. Whether you’re a seasoned DIYer or a beginner, this guide will provide you with the information you need to confidently replace your landscape lights and enjoy the benefits of updated outdoor lighting.
Before you get started, it’s important to gather all the necessary tools and materials, including a screwdriver, wire stripper, wire nuts, and any mounting hardware or connectors specified by the manufacturer of your new light fixtures. You’ll also want to make sure you turn off the power to the lighting circuit before removing the old light fixtures to avoid any accidents. Once you’ve prepared your workspace and gathered the necessary tools and materials, you can move on to selecting the new light fixtures that will best suit your needs and style.
When choosing new light fixtures, there are several factors to consider, such as the style of the fixtures, the wattage of the bulbs, and the type of bulb (e.g. LED, halogen, etc.). It’s also important to ensure that the new fixtures are the appropriate size for the space and will fit in the desired locations. Once you’ve chosen the new fixtures, the next step is to install them according to the manufacturer’s instructions, which may include digging trenches for the wiring, running the wiring from the fixtures to the power source, and connecting the wiring to the fixtures and power source.
Finally, once the fixtures are installed, it’s important to turn the power back on and test the new lights to ensure they are functioning properly. You may need to make some adjustments to the fixtures or their placement, and you can add any final touches, such as mulch or gravel around the base of the fixtures, to complete the look. With these steps in mind, you can confidently replace your landscape lights and enjoy the benefits of updated outdoor lighting.
Preparation
Before you begin the process of replacing your landscape lights, it’s important to properly prepare your workspace and gather all the necessary tools and materials. This will make the job go more smoothly and ensure that you have everything you need to complete the task.
Gathering tools and materials:
- Screwdriver: You’ll need a screwdriver to remove the old light fixtures and install the new ones.
- Wire stripper: A wire stripper is used to strip the insulation off the ends of electrical wires so they can be connected to the new fixtures.
- Wire nuts: Wire nuts are used to securely connect the wires from the new fixtures to the wiring in your landscape.
- Mounting hardware and connectors: Depending on the type of fixtures you choose, you may need additional hardware or connectors to install them. Make sure to have these on hand before you begin the installation process.
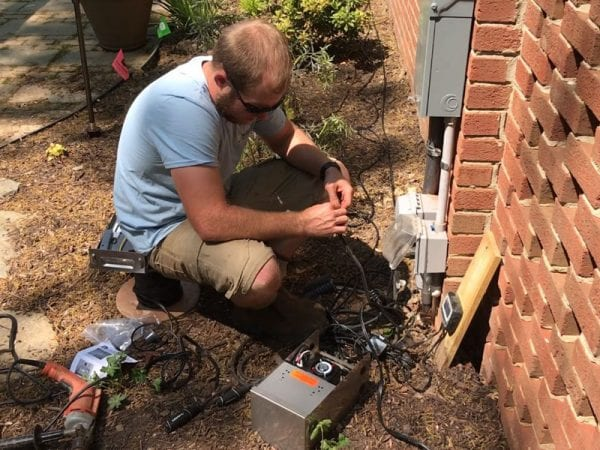
Turning off power to the lighting circuit:
- Before you start working on the landscape lights, it’s important to turn off the power to the lighting circuit to avoid any accidents.
- Locate the circuit breaker or fuse that controls the power to the landscape lighting and switch it off.
- Test the circuit to make sure it’s off by using a voltage tester or by turning on a light switch connected to the circuit.
Removing the old light fixtures:
- Once you’ve gathered the necessary tools and materials and turned off the power to the lighting circuit, you can begin removing the old light fixtures.
- Start by using the screwdriver to loosen and remove the mounting screws that hold the fixtures in place.
- Carefully lift the fixtures out of the ground and set them aside.
- If the old fixtures are hardwired, you’ll need to carefully disconnect the wires from the fixtures and the power source.
- If the fixtures are connected with plugs, simply unplug them from the power source.
- It’s a good idea to take a photo or make a sketch of the wiring configuration before you remove the old fixtures, as this can help you with the installation of the new fixtures.
By properly preparing your workspace, gathering the necessary tools and materials, and turning off the power to the lighting circuit, you can ensure a smooth and safe process for replacing your landscape lights.
Choosing new light fixtures
When it comes to replacing your landscape lights, one of the most important decisions you’ll make is choosing the new light fixtures. There are a variety of factors to consider when selecting new fixtures, including style, wattage, and type of bulb.
Considerations for selecting new fixtures:
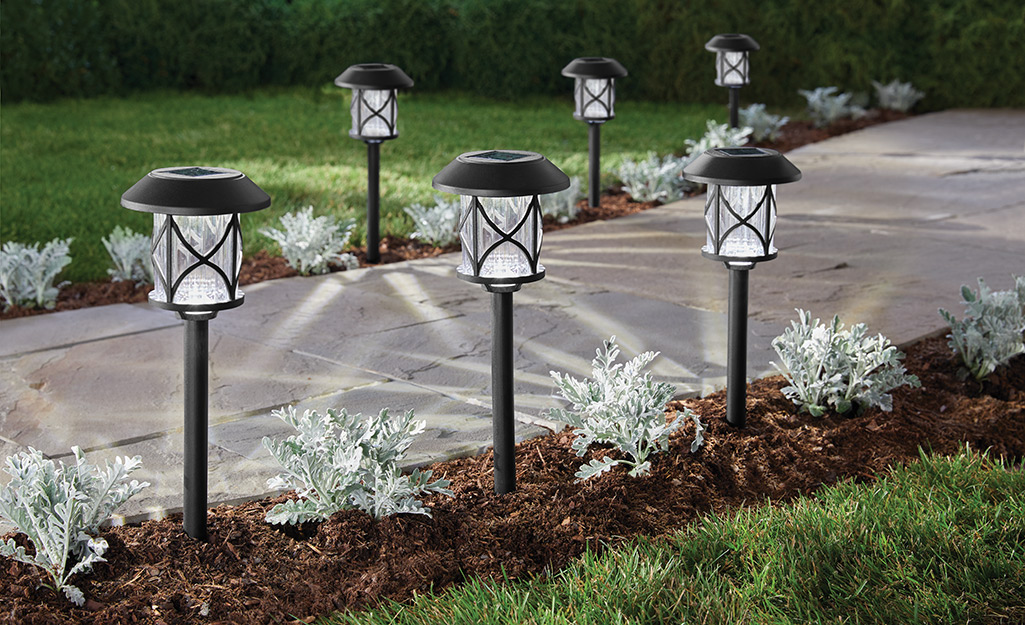
- Style: Landscape light fixtures come in a range of styles, from modern and sleek to traditional and ornate. Consider the overall aesthetic of your outdoor space and choose fixtures that will complement it.
- Wattage: The wattage of the bulbs in your light fixtures will affect both the brightness and energy efficiency of the fixtures. Choose fixtures with bulbs that are the appropriate wattage for the size and purpose of the space.
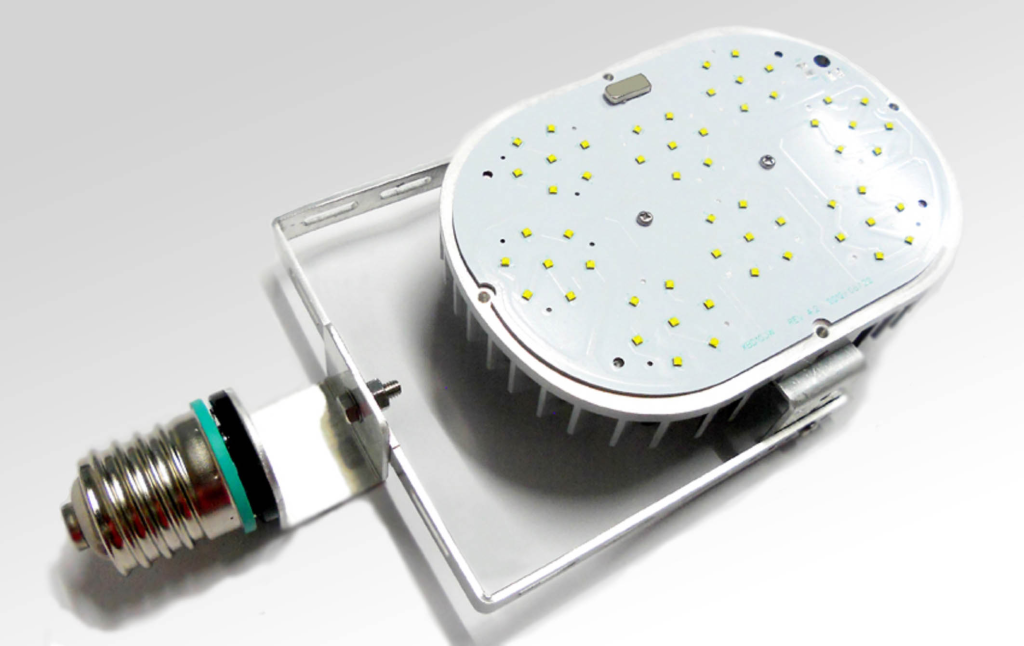
- Type of bulb: There are several types of bulbs to choose from, including LED, halogen, and incandescent. LED bulbs are the most energy-efficient and long-lasting, but they may be more expensive upfront. Halogen bulbs are also energy-efficient, but they produce more heat than LED bulbs. Incandescent bulbs are the least energy-efficient, but they produce a warm, soft light that may be desirable in some situations.
Sizing the new fixtures to fit the space:
- It’s important to ensure that the new light fixtures are the appropriate size for the space and will fit in the desired locations.
- Measure the dimensions of the area where the fixtures will be installed and compare them to the dimensions of the new fixtures to make sure they will fit properly.
- Keep in mind that the fixtures should be spaced appropriately to provide adequate lighting and to avoid overloading the circuit.
By considering style, wattage, and type of bulb, and ensuring that the new fixtures are the appropriate size for the space, you can choose light fixtures that will suit your needs and style.
Installing the new light fixtures
Once you’ve chosen the new light fixtures, the next step is to install them according to the manufacturer’s instructions. This process typically includes laying out the new fixtures in the desired locations, digging trenches for the wiring, running the wiring from the fixtures to the power source, and connecting the wiring to the fixtures and power source.
Laying out the new fixtures in the desired locations:
- Start by deciding where you want to install the new light fixtures.
- Consider the layout of your outdoor space and the purpose of the lighting (e.g. illuminating pathways, highlighting architectural features, etc.)
- Once you’ve determined the locations for the new fixtures, mark the spots with spray paint or flags to help guide the installation process.
Digging trenches for the wiring:
- If the wiring for the new light fixtures will be run underground, you’ll need to dig trenches for the wiring to run through.
- Use a shovel or trencher to carefully dig the trenches, taking care not to damage any existing utilities or irrigation lines.
- The trenches should be deep enough to cover the wiring and allow for at least a few inches of soil or mulch on top to help camouflage the wiring.
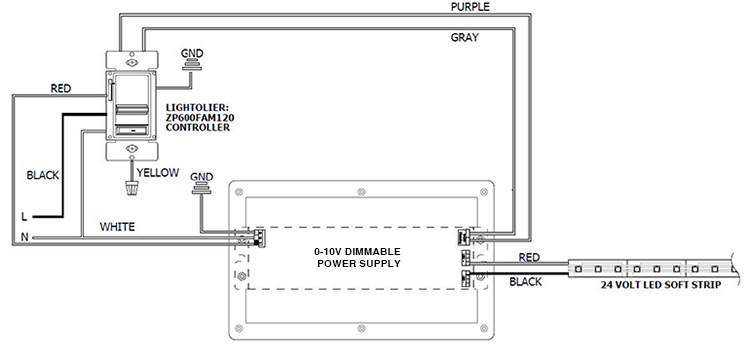
Running the wiring from the fixtures to the power source:
- Once the trenches are dug, you can begin running the wiring from the fixtures to the power source.
- If you’re using wire that is already coated in a protective sheath, you’ll need to strip the ends of the wire to expose the individual wires inside.
- Use the wire stripper to carefully remove a few inches of the protective sheath from the ends of the wire.
- If you’re using uncoated wire, you’ll need to run it through a conduit (a protective tube) to protect it from damage.
- Secure the wire to the fixtures and power source using wire nuts or other connectors specified by the manufacturer.
Connecting the wiring to the fixtures and power source:
- Once the wiring is in place, you can begin connecting it to the fixtures and the power source.
- Follow the manufacturer’s instructions for connecting the wiring to the fixtures, making sure to use the appropriate connectors and wire nuts to secure the connections.
- If the fixtures are hardwired, you’ll need to connect the wires from the fixtures to the wiring in your landscape using wire nuts or other connectors.
- If the fixtures are connected with plugs, simply plug them into the power source.
Installing the fixtures according to the manufacturer’s instructions:
- With the wiring in place, you can proceed with installing the fixtures according to the manufacturer’s instructions.
- This may involve mounting the fixtures to a wall or post, securing them to the ground, or both.
- Follow the instructions carefully to ensure that the fixtures are installed correctly and will be stable and secure.
By following these steps for installing the new light fixtures, you can ensure that your new landscape lighting is properly installed and ready to use.
Testing and final touches
Once the new light fixtures are installed, it’s important to test them to ensure they are functioning properly and make any necessary adjustments. You may also want to add any finishing touches to complete the look of your outdoor lighting.
Turning the power back on and testing the new fixtures:
- After the fixtures are installed, it’s time to turn the power back on and test them to ensure they are functioning properly.
- Return to the circuit breaker or fuse box and switch the power back on to the lighting circuit.
- Test the new fixtures by turning on the light switch or using a remote control (if the fixtures are controlled by a remote).
- If the fixtures don’t turn on or don’t function properly, check the connections and wiring to make sure everything is secure and properly connected.
Adjusting the fixtures as needed:
- If the fixtures are not positioned or aimed as desired, you may need to make some adjustments.
- Use the mounting hardware or brackets to adjust the position of the fixtures, and aim the fixtures by adjusting the direction of the light.
- Make sure the fixtures are level and stable to ensure they won’t tip over or move out of position.
Adding any necessary finishing touches:
- Once the fixtures are installed and adjusted, you may want to add any necessary finishing touches to complete the look of your outdoor lighting.
- This may include adding mulch or gravel around the base of the fixtures to help camouflage them and create a cohesive look.
- You may also want to add additional lighting elements, such as accent lights or string lights, to create a more festive or decorative atmosphere.
By testing the new fixtures, making any necessary adjustments, and adding any finishing touches, you can ensure that your landscape lighting is functioning properly and looks its best.
Conclusion: A Step-by-Step Guide to Replacing Landscape Lights
In this guide, we’ve provided a step-by-step guide for how to replace landscape lights, including preparation, choosing new fixtures, installing them, and testing and final touches. By following these steps, you can confidently replace your landscape lights and enjoy the benefits of updated outdoor lighting.
To recap, here are the steps involved in replacing landscape lights:
- Gather the necessary tools and materials, including a screwdriver, wire stripper, wire nuts, and any mounting hardware or connectors specified by the manufacturer of your new light fixtures.
- Turn off the power to the lighting circuit by switching off the circuit breaker or fuse that controls it.
- Remove the old light fixtures by loosening and removing the mounting screws, and carefully disconnecting the wires if the fixtures are hardwired.
- Choose new light fixtures that suit your needs and style, taking into consideration factors such as style, wattage, and type of bulb, and ensure that the fixtures are the appropriate size for the space.
- Install the new fixtures according to the manufacturer’s instructions, including laying out the fixtures in the desired locations, digging trenches for the wiring, running the wiring from the fixtures to the power source, and connecting the wiring to the fixtures and power source.
- Turn the power back on and test the new fixtures to ensure they are functioning properly. Make any necessary adjustments to the fixtures or their placement.
- Add any necessary finishing touches, such as mulch or gravel around the base of the fixtures, to complete the look of your outdoor lighting.
In addition to following these steps, there are a few tips to keep in mind to help maintain your new landscape lights:
- Keep the fixtures clean by periodically wiping them down with a soft, dry cloth.
- Replace the bulbs as needed to ensure the fixtures are always functioning at their best.
- Consider using a timer or other automatic control system to help conserve energy and extend the life of the bulbs.
By following these steps and tips, you can successfully replace your landscape lights and enjoy the benefits of updated outdoor lighting for years to come.
FAQs about Landscape lights replacement
To replace landscape lights, you’ll need a screwdriver to remove the old fixtures and install the new ones, a wire stripper to strip the insulation off the ends of the electrical wires, and wire nuts to securely connect the wires. You may also need additional mounting hardware or connectors specified by the manufacturer of your new light fixtures.
To turn off the power to the lighting circuit, locate the circuit breaker or fuse that controls the power to the landscape lighting and switch it off. Test the circuit to make sure it’s off by using a voltage tester or by turning on a light switch connected to the circuit.
When choosing new light fixtures, consider the style of the fixtures, the wattage of the bulbs, and the type of bulb (e.g. LED, halogen, etc.). Make sure the fixtures are the appropriate size for the space and will fit in the desired locations.
To install the new light fixtures, follow the manufacturer’s instructions, which may include laying out the fixtures in the desired locations, digging trenches for the wiring, running the wiring from the fixtures to the power source, and connecting the wiring to the fixtures and power source.
After the new fixtures are installed, turn the power back on and test them to ensure they are functioning properly. If the fixtures are not positioned or aimed as desired, use the mounting hardware or brackets to adjust the position and aim of the fixtures. Make sure the fixtures are level and stable to ensure they won’t tip over or move out of position.
To maintain the new landscape lights, keep the fixtures clean by periodically wiping them down with a soft, dry cloth. Replace the bulbs as needed to ensure the fixtures are always functioning at their best. Consider using a timer or other automatic control system to help conserve energy and extend the life of the bulbs.