- Introduction to reconnecting cut LED strips
- Materials needed
- Steps for reconnecting cut LED strips
- Step 1: Determine the cut point on the LED strip and locate the copper pads on either side of the cut.
- Step 2: Strip the insulation from the ends of the wire on both sides of the cut using a wire stripper.
- Step 3: Use the soldering iron to apply heat to the copper pads and melt a small amount of solder onto each pad.
- Step 4: Quickly connect the wire from one side of the cut to the corresponding pad on the other, ensuring the wires are securely attached.
- Step 5: Repeat the process for the other wire.
- Step 6: Use heat shrink tubing to cover and protect the connections.
- Step 7: Test the LED strip to ensure it is functioning properly.
- Tips for a successful reconnection
- Conclusion: A Simple and Effective Solution for Repairing Cut LED Strips
- FAQs about reconnecting cut LED strips
Introduction to reconnecting cut LED strips
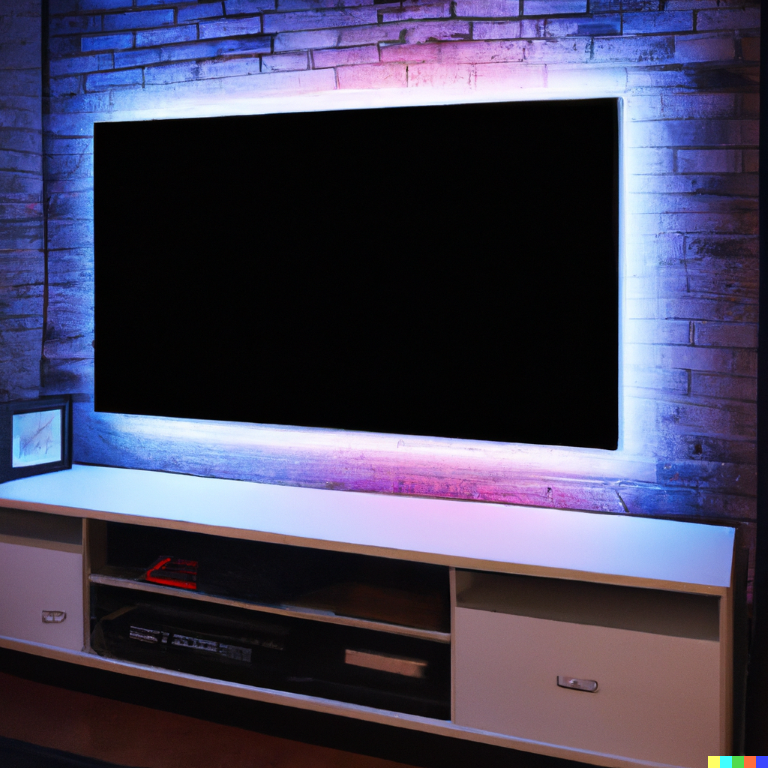
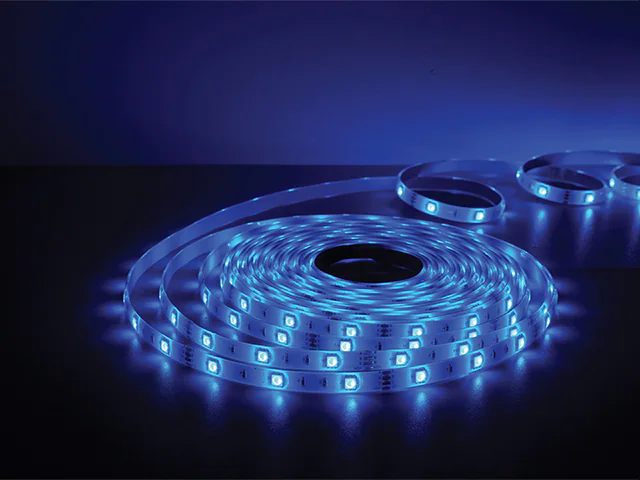
LED strip lights have become a popular choice for modern lighting design due to their versatility and energy efficiency. One of the great things about LED strips is that they can easily be cut to fit specific spaces and shapes. However, this customization can also lead to the need for repair if the strips are accidentally cut or damaged.
If you find yourself in this situation, don’t panic! Reconnecting cut LED strips is a relatively simple process that can be done with a few essential tools and patience. This article will provide a step-by-step guide on reconnecting cut LED strips quickly.
Before diving into the instructions, gathering the necessary materials is essential. You will need LED strip lights, a soldering iron and solder, heat shrink tubing, a wire stripper, and electrical tape. Make sure to have these items on hand before starting the repair process.
It’s also worth mentioning that working with electricity can be dangerous if proper safety guidelines are not followed. Unplug the LED strips and be cautious when handling the soldering iron and exposed wires.
Now that we have all the necessary materials and have emphasized safety’s importance let’s move on to the step-by-step guide for reconnecting cut LED strips. By following these instructions, you’ll be able to repair your damaged or customized LED lighting and get it up and running again in no time.
Materials needed
- LED strip lights
- Soldering iron and solder
- Heat shrink tubing
- Wire stripper
- Electrical tape
Steps for reconnecting cut LED strips
Step 1: Determine the cut point on the LED strip and locate the copper pads on either side of the cut.
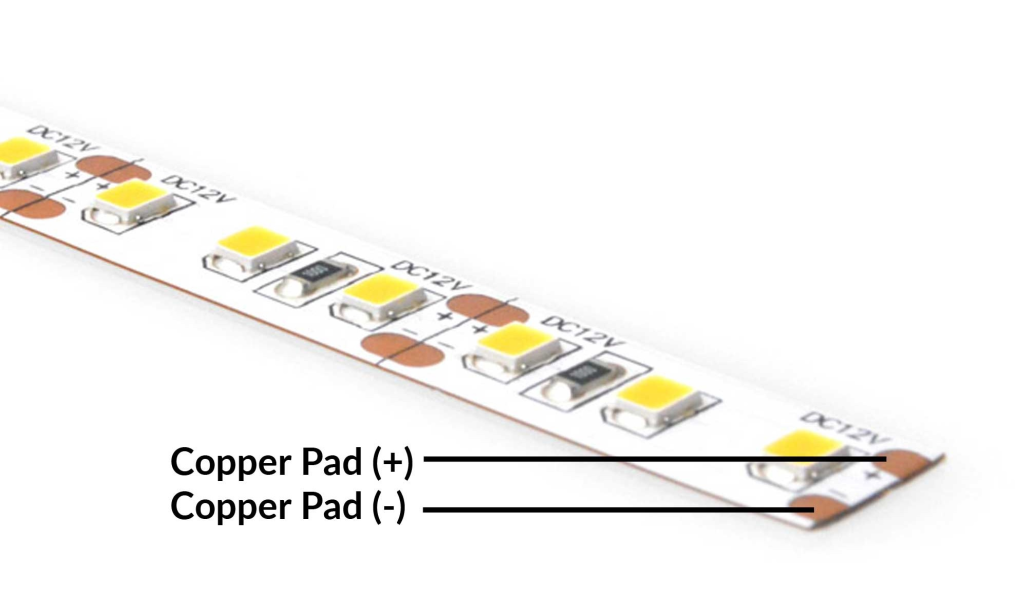
The first step in reconnecting cut LED strips is to determine the cut point and locate the copper pads on either side of the cut. The copper pads are small squares of metal located on the back of the LED strip, and they are used to connect the wires that provide power to the strip.
To find the copper pads, you will need to carefully peel back the adhesive backing on the LED strip to expose the wires and pads. Once you have located the pads, you can proceed to the next step.
Step 2: Strip the insulation from the ends of the wire on both sides of the cut using a wire stripper.
The next step is to strip the insulation from the ends of the wires on both sides of the cut. You can use a wire stripper to remove a small insulation section, exposing the bare wire beneath. Be sure only to strip a small section of the wire, as you want to avoid damaging it or leaving it too short to work with.
Step 3: Use the soldering iron to apply heat to the copper pads and melt a small amount of solder onto each pad.
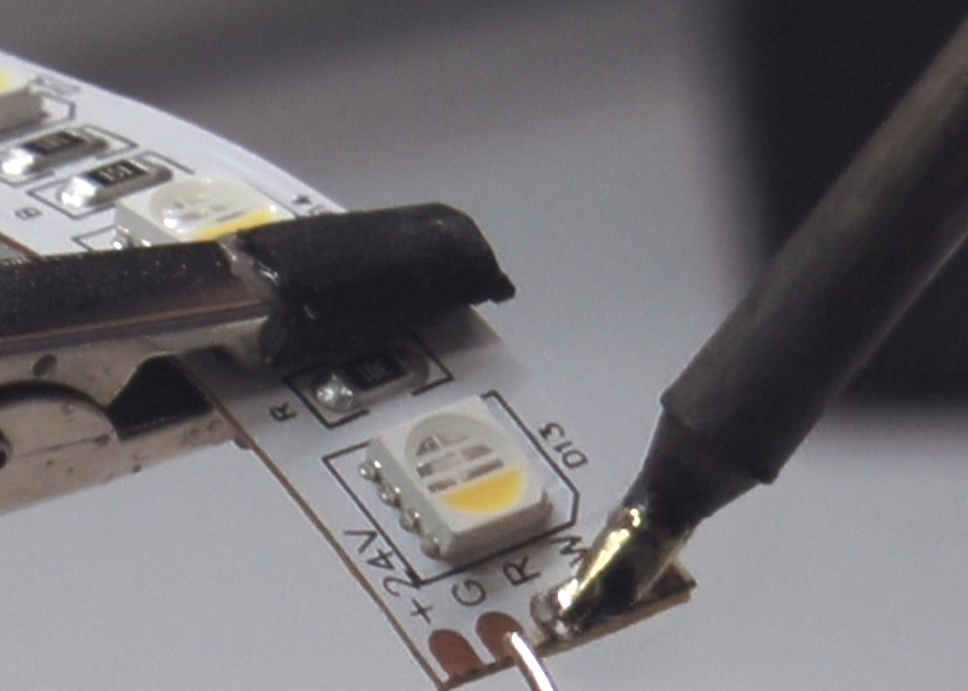
Once the wire is exposed, it’s time to bring out the soldering iron. Using the soldering iron, apply heat to the copper pads and melt a small amount of solder onto each pad. You want to apply enough solder to create a secure connection but not so much that it overflows and creates a mess.
Step 4: Quickly connect the wire from one side of the cut to the corresponding pad on the other, ensuring the wires are securely attached.
With the soldering iron still hot, quickly connect the wire from one side of the cut to the corresponding pad on the other side. Make sure the wire is securely attached to the pad, as this will ensure a reliable connection.
Step 5: Repeat the process for the other wire.
Repeat this process for the other wire on the opposite side of the cut.
Step 6: Use heat shrink tubing to cover and protect the connections.
At this point, you should have two wires securely attached to the copper pads on either side of the cut. To protect the connections and prevent any short circuits, it’s a good idea to use heat shrink tubing to cover the wires and pads. Heat shrink tubing is a thin, transparent plastic material that shrinks when exposed to heat, creating a tight seal around the wires.
To use heat shrink tubing, simply slide the tubing over the wire and pad connection, ensuring it covers both the wire and pad. Then, use the soldering iron or a heat gun to apply heat to the tubing. As the tubing shrinks, it will create a secure seal around the connection, protecting it from any potential damage.
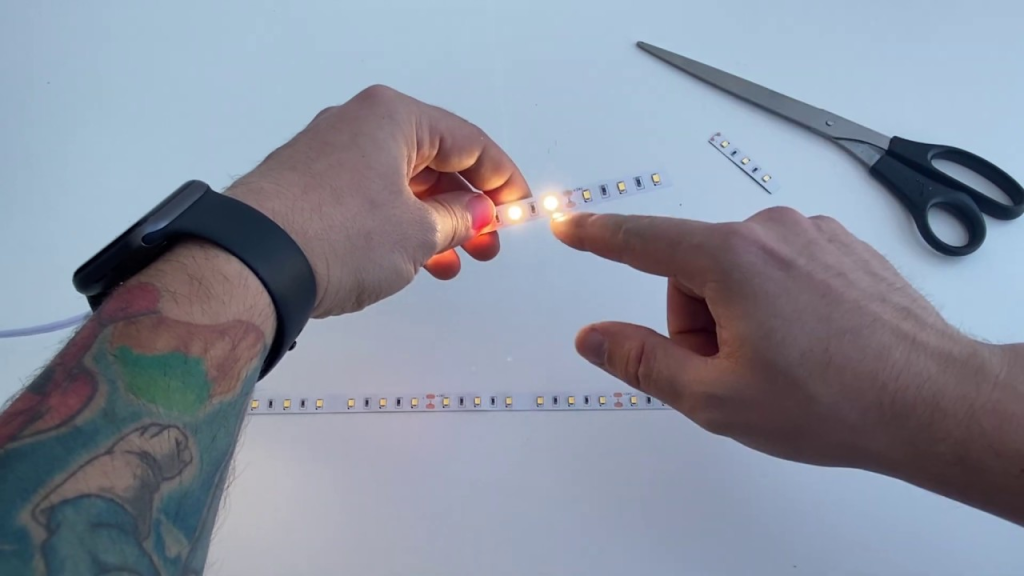
Step 7: Test the LED strip to ensure it is functioning properly.
Once you have used heat shrink tubing to cover the connections, you can test the LED strip to ensure it is functioning correctly. Simply plug the strip back in and turn it on to see if it works as expected. If the strip functions correctly, you can consider the repair a success!
If the LED strip is not working properly after the repair, there may be an issue with the connections or the strip itself. It may be necessary to go back and double-check the connections to ensure they are secure or consider replacing the damaged LED strip.
By following these steps and using the suitable materials, you should be able to easily reconnect cut LED strips and get your damaged or customized lighting back up and running.
Tips for a successful reconnection
Now that you have successfully reconnected your cut LED strip, a few tips and tricks can help make the process even easier and more successful.
First, it’s important to use the correct size and type of heat shrink tubing for the wire and LED strip being used. Heat shrink tubing comes in a variety of sizes and materials, and it is important to choose the one that is best suited for your specific application. Make sure to carefully measure the wire and LED strip and choose the appropriate heat shrink tubing size to ensure the best possible fit and protection.
Another helpful tip is to have an assistant hold the LED strip steady while soldering the connections. This can make it easier to work with the strip and ensure that the connections are secure and properly aligned. Having an extra set of hands can also make the process go more smoothly and reduce the risk of accidents or mistakes.
Finally, it’s always important to use caution when working with electricity and follow all safety guidelines. This includes unplugging the LED strip before making any repairs, wearing protective gear such as gloves and eye protection, and following proper soldering techniques to avoid burns or electrical shocks. Following these safety guidelines can minimize the risk of injury and ensure a successful and stress-free repair process.
Conclusion: A Simple and Effective Solution for Repairing Cut LED Strips
Overall, reconnecting cut LED strips is a simple and cost-effective way to repair and reuse damaged or customized LED lighting. With suitable materials and patience, anyone can learn how to successfully reconnect cut LED strips and get their lighting up and running again. By following the step-by-step guide and using the helpful tips provided in this article, you’ll be able to quickly and easily repair your LED strip and get back to enjoying your beautifully illuminated space.
FAQs about reconnecting cut LED strips
To reconnect cut LED strips, you will need a soldering iron and solder, heat shrink tubing, a wire stripper, and electrical tape.
It is possible to reconnect cut LED strips without a soldering iron, but it is not recommended. Soldering is the most reliable and secure method for making electrical connections, and it is generally considered the best practice for repairing LED strips. If you do not have access to a soldering iron, you may be able to use electrical tape or wire connectors to repair the strip temporarily, but these methods are less reliable and may not provide a long-lasting repair.
Reconnecting cut LED strips is a relatively simple process that can be done with a few essential tools and patience. It may take some practice to get the hang of it, but with a little time and effort, anyone can learn how to reconnect and cut LED strips.
If your LED strips are not working properly, repair them by reconnecting the cut ends. However, it’s crucial to identify the root cause of the problem before attempting to repair the strip. If the issue is not a simple cut in the strip, you may need professional assistance or consider replacing the strip entirely.
If your LED strips are not working properly, repair them by reconnecting the cut ends. However, it’s crucial to identify the root cause of the problem before attempting to repair the strip. If the issue is not a simple cut in the strip, you may need professional assistance or consider replacing the strip entirely.
The amount of time it takes to reconnect cut LED strips will depend on your experience level and the repair’s complexity. It should take anywhere from a few minutes to an hour to reconnect a cut LED strip, depending on the length of the strip and the number of connections that need to be made.