Why do you need to know how to solder with doing DIY LED projects?
When taking on a do-it-yourself (DIY) LED project for your house or somewhere else, one of the most important skills you need to learn is how to solder. While it may seem daunting at first, with a bit of practice, you’ll be able to solder like a pro in no time.
So why is soldering so important when working with LEDs? First, soldering provides a strong and reliable connection between the LED and its circuit. This is especially important when connecting delicate components like LEDs, which can easily be damaged by heat or mechanical stress.
In addition, soldering helps to protect the LED from vibration and other physical stresses that could cause it to fail prematurely. By securely attaching the LED to its circuit board with solder, you can help ensure that your DIY LED project will last for years.
What is soldering?
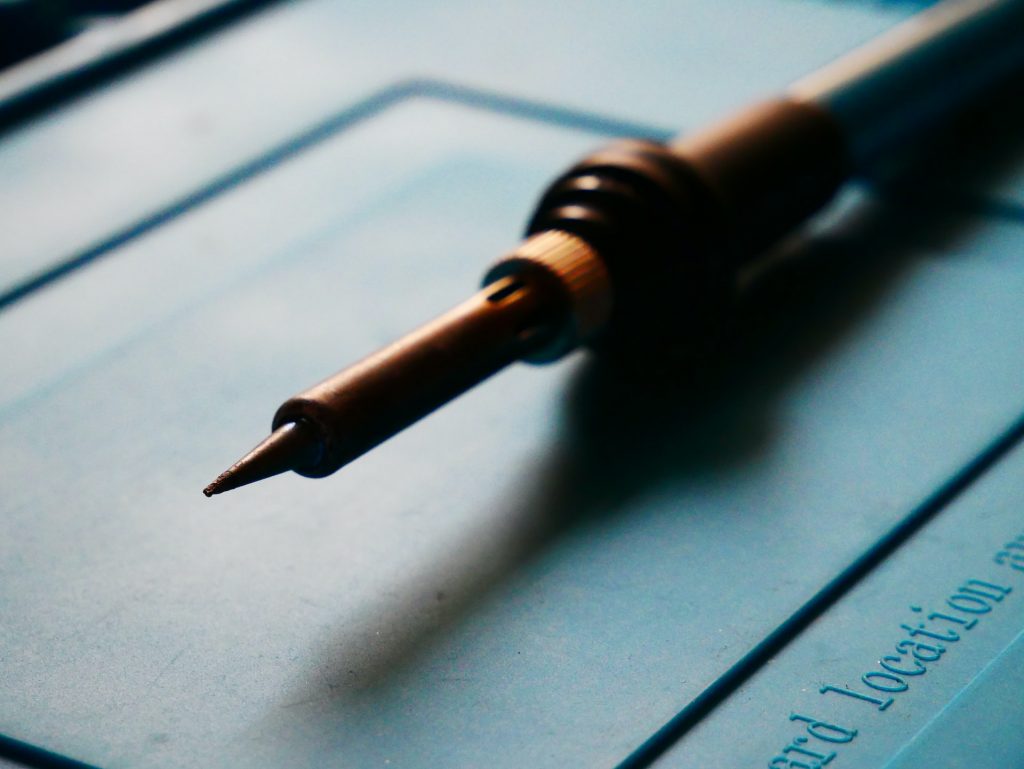
A soldering iron is a hand tool used in soldering. It consists of an electrically heated tip and an insulated handle. The tip is made of a conductive metal, such as copper, and is coated with a thin layer of solder.
The heat from the soldering iron melts the solder, which then flows between the two pieces of metal being joined. The molten solder forms a strong bond between the metals, and the bond becomes even stronger when it cools.
Soldering is a great way to combine two pieces of metal, and it’s also straightforward. All you need is a soldering iron, some solder, and a little bit of patience.
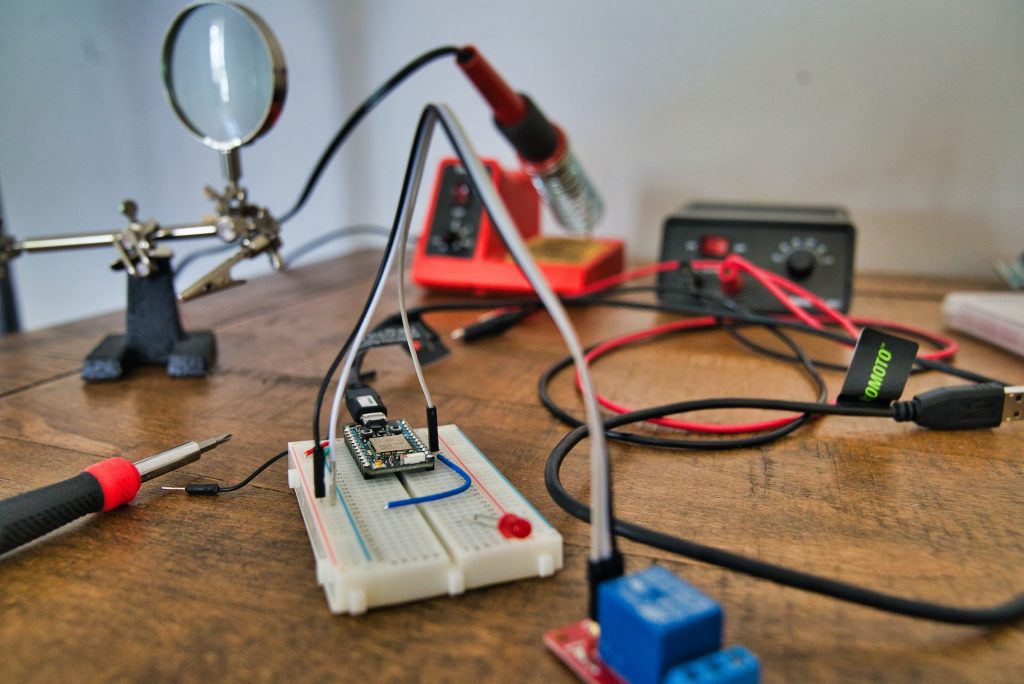
Preparation: what do you need?
When it comes to soldering LEDs, you’ll need a few things to get started. First, you’ll need a soldering iron and some solder, and you’ll also need a heat sink for the LED and a power supply.
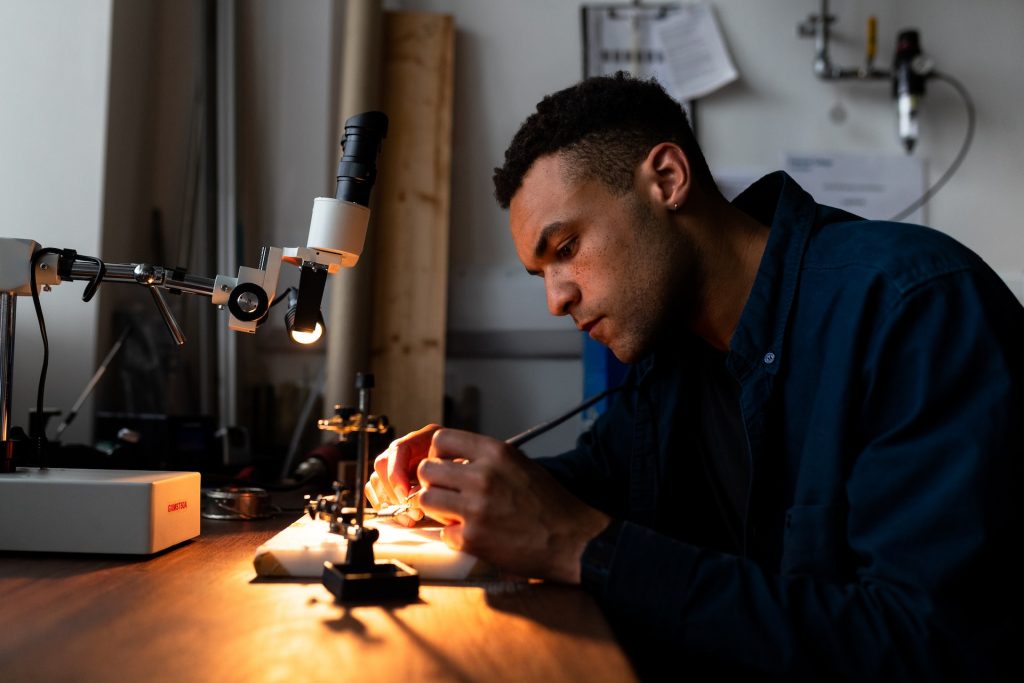
If you’re new to soldering, it’s essential to practice some scrap material before you start working on your project. This will help you get a feel for the process and avoid making any mistakes.
Once you have all of your supplies, it’s time to get started! Follow the instructions below, and you’ll be an expert at soldering LEDs.
Step 1: strip the wire
If you’re interested in soldering your own LED lights, the first step is to strip the wire. This can be done with a simple pair of wire strippers. Just insert the wires into the appropriate slots and squeeze the handles. The wire should quickly come out of the places without any damage.
If you don’t have a pair of wire strippers, you can also use a sharp or utility knife. Just be careful not to damage the wire while you’re stripping it. Once you’ve stripped the wire, you’re ready to move on to soldering the LEDs onto it.
Step 2: tin the wire
If you’re new to soldering, the thought of working with tiny electronic components and a hot iron can be daunting. Have no fear! This guide will take you through the basics of soldering an LED to a wire. The first step is to tin the wire.
Tinning is the process of applying a small amount of solder to the end of a wire. This will help create a strong connection between the wire and the LED. To tin a wire, start by heating up your soldering iron and then touching it to the end of the wire. Apply a small amount of solder to the end of the wire and then remove the heat. The solder should flow evenly over the exposed metal. If it doesn’t, try adding a bit more solder until it does.
Step 3: solder the LED
If you’re looking to add an LED to your project, you’ll need to know how to solder. This guide will show you how to solder an LED to last properly.
Solder the LED by first adding a small amount of solder to the tip of your iron. Then, touch the solder to the lead of the LED (the longer leg) and hold it there for a few seconds until the solder melts and flows onto the lead. Next, touch the other tip of the LED (the shorter leg) to the soldering iron and hold it there for a few seconds until the solder melts and flows onto the lead.
Now that you know how to solder an LED, you can add one to any project! It isn’t hard to start a diy led project and need to know how to solder, as it does involve circuits. But you can easily get the hang of it pretty quickly.
Step 4: heat shrink the connection
After you’ve soldered the connection and trimmed the excess wire, it’s time to heat shrink the link. This will help to insulate the connection and prevent any shorts.
First, place the heat shrink tubing over the exposed wire to heat shrink the connection. Then use a heat gun or lighter to shrink the tubing evenly. Be careful not to overheat the tubing, as this can damage it.
Once the tubing has shrunk, allow it to cool for a few seconds before testing the connection. If everything is working correctly, you can now move on to step 5.
Step 5: Test out your project
Now that you have checked your connections, the power is flowing, and you have covered up all the critical areas, all you have to do is plug in your DIY LED project and bask in its glory… and light! And as a side note , you don’t need to know how to solder but it can really make your projects last a long longer, which is why we suggest trying it out if you are going to be doing an LED DIY project like these DIY LED Clouds.
Conclusion
If you’re one of those people who like to make things yourself, then you might be interested in soldering your own LED lights. LEDs are becoming increasingly popular because they use less energy and last longer than traditional light bulbs. Soldering is a relatively simple process that anyone can learn with practice.
Here’s a quick overview of what you’ll need to do:
First, gather your materials. You’ll need an LED, a soldering iron, some solder, and something to protect your work surface.
Next, tin the leads of the LED. This means applying a small amount of solder to each tip so it will be easier to join them together later.
Now it’s time to join the leads together. Place the soldering iron on one lead and touch the solder to the other lead.
Honestly, soldering is not a hard thing to do, it just takes some time and practice. It doesn’t even cost that much money as there are a lot of DIY Solder kits on Amazon at great prices. So get one, try it out and see if you enjoy it or not.