- Introduction to connecting LED lights to a battery
- Tools and Materials Needed
- Step-by-Step Guide
- Tips and Troubleshooting
- Conclusion: Connecting LED Lights to a Battery Made Easy
- FAQS about connecting LED lights to a battery
- What tools and materials do I need to connect LED lights to a battery?
- What type of battery should I use for LED lights?
- How do I determine the positive and negative wires on my LED lights?
- Can I use a different type of power source besides a battery to power my LED lights?
- How can I troubleshoot problems with my LED lights?
Introduction to connecting LED lights to a battery
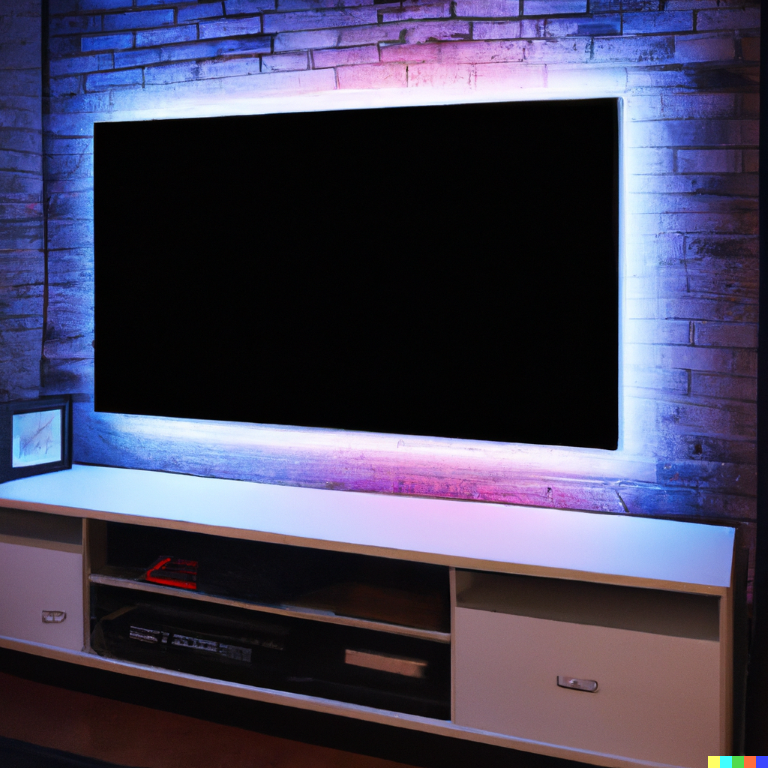
LED lights are a popular choice for both indoor and outdoor lighting due to their energy efficiency, long lifespan, and versatility. They are available in a wide range of colors and styles, making them suitable for many different applications. However, in order to get the most out of LED lights, it is important to make sure they are properly connected to a power source. In this blog post, we will go over the steps for how to connect LED lights to a battery, including what tools and materials you will need and how to test the connection.
LED lights are a type of solid-state lighting that uses a semiconductor to convert electricity into light. They are much more efficient than traditional incandescent bulbs, which waste most of their energy as heat. LED lights also have a longer lifespan, lasting up to 50,000 hours or more depending on the type of bulb. This makes them a cost-effective choice in the long run, as they will need to be replaced less frequently.
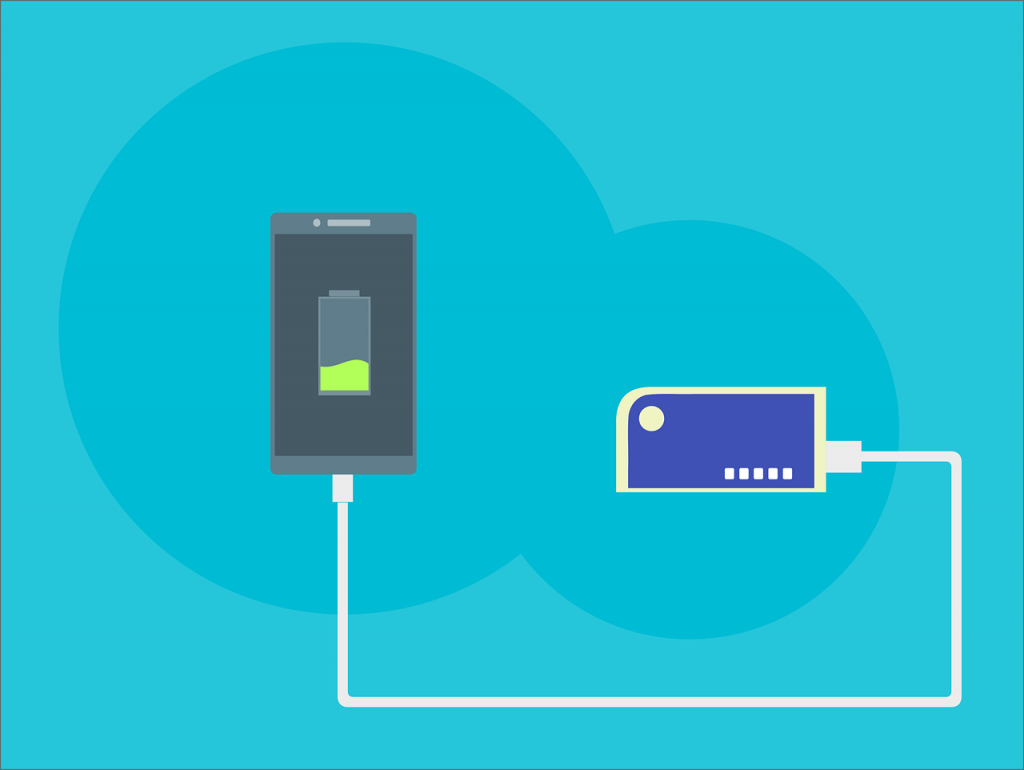
There are several different types of batteries that can be used to power LED lights, including AA, AAA, and 9V batteries. These batteries are commonly used in a variety of household and portable electronic devices, making them easy to find and relatively inexpensive. However, it is important to choose the right type of battery for your LED lights, as using the wrong type of battery can damage the lights or even cause them to explode.
In order to connect LED lights to a battery, you will need a few basic tools and materials. These include the LED lights themselves, a battery, a wire stripper, and optionally a soldering iron and solder, and heat shrink tubing. The wire stripper is used to remove the insulation from the ends of the wires, while the soldering iron and solder are used to create a more permanent connection. Heat shrink tubing is used to protect the connection and prevent short circuits.
In the following sections, we will go over the step-by-step process for how to connect LED lights to a battery, including tips and troubleshooting advice. By following these steps, you can easily set up your LED lights and enjoy their bright, energy-efficient illumination.
Tools and Materials Needed
Before you get started with connecting your LED lights to a battery, it’s important to gather all the necessary tools and materials. This will ensure that you have everything you need on hand and can complete the task efficiently and safely. Here is a list of the tools and materials you will need for this project:
- LED lights: This is the most important item on the list, as it’s what you will be connecting to the battery. Make sure you have the correct type of LED lights for your project, and that they are in good working order.
- Battery: You will need a battery to power the LED lights. There are several different types of batteries that can be used, including AA, AAA, and 9V batteries. Choose the type of battery that is most suitable for your LED lights and the application.
- Wire stripper: This tool is used to remove the insulation from the ends of the wires. It is important to strip the insulation off the wires so that you can properly connect them to the battery.
- Soldering iron and solder (optional): A soldering iron and solder can be used to create a more permanent connection between the wires and the battery. This is a good option if you plan on using the LED lights for an extended period of time and want to ensure that the connection is secure.
- Heat shrink tubing (optional): Heat shrink tubing is a type of insulating material that is used to protect the connection between the wires and the battery. It shrinks when heated, creating a tight, secure fit around the connection. This is especially useful if you are using the LED lights in an outdoor environment, as it will help protect the connection from the elements.
Now that you have all the necessary tools and materials, you are ready to move on to the next step in the process: connecting the LED lights to the battery. In the following section, we will go over the step-by-step guide for how to do this. Follow these steps carefully to ensure a successful and safe connection.
Step-by-Step Guide
Connecting LED lights to a battery is a simple process that can be completed in a few easy steps. Here is a step-by-step guide for how to do it:
Step 1: Strip the insulation off the ends of the wires. Using a wire stripper, carefully remove the insulation from the ends of the wires that will be connected to the battery. Make sure to strip enough of the insulation off so that the bare wire is exposed.
Step 2: Determine the positive and negative wires. LED lights typically have two wires: one positive and one negative. The positive wire is usually marked with a plus sign (+) or the letter “P,” while the negative wire is marked with a minus sign (-) or the letter “N.” It is important to identify the positive and negative wires correctly, as connecting them in the wrong way can damage the LED lights or even cause them to explode.
Step 3: Connect the positive wire to the positive terminal of the battery. The positive terminal is usually marked with a plus sign or the letter “P.” Carefully connect the positive wire to the positive terminal, making sure that the connection is secure.
Step 4: Connect the negative wire to the negative terminal of the battery. The negative terminal is usually marked with a minus sign or the letter “N.” Connect the negative wire to the negative terminal in the same way that you connected the positive wire to the positive terminal.
Step 5: Test the connection by turning on the LED lights. Once you have connected the LED lights to the battery, it’s a good idea to test the connection to make sure it is working properly. To do this, simply turn on the LED lights and see if they are functioning as expected. If the lights are dim or flickering, or if they don’t turn on at all, there may be a problem with the connection. In this case, you will need to troubleshoot the problem and make any necessary adjustments.
By following these steps, you can easily connect LED lights to a battery and get them up and running in no time. In the next section, we will go over some tips and troubleshooting advice for ensuring a successful and safe connection.
Tips and Troubleshooting
Here are a few tips and troubleshooting suggestions to help you get the most out of your LED lights and ensure a successful and safe connection:
- Solder the connection for a more secure and permanent connection. If you are using the LED lights for an extended period of time or in a demanding environment, it is a good idea to solder the connection between the wires and the battery. This will create a more secure and permanent connection that is less likely to come loose or break over time. To solder the connection, simply heat up the soldering iron and apply a small amount of solder to the connection.
- Use heat shrink tubing to protect the connection. Heat shrink tubing is a type of insulating material that shrinks when heated, creating a tight, secure fit around the connection between the wires and the battery. This is especially useful if you are using the LED lights in an outdoor environment, as it will help protect the connection from the elements. To use heat shrink tubing, simply slide it over the connection and apply heat using a heat gun or hair dryer until it shrinks and forms a tight fit.
- Troubleshoot common problems. If you are experiencing problems with the LED lights, such as dim or flickering lights, there may be a problem with the connection. Some common causes of these problems include loose connections, damaged wires, or a faulty battery. To troubleshoot these issues, start by checking the connections and making sure they are secure. If the connections seem fine, try replacing the battery or the LED lights themselves.
By following these tips and troubleshooting suggestions, you can help ensure a successful and safe connection between your LED lights and the battery. In the next section, we will summarize the steps for connecting LED lights to a battery and provide a few final thoughts on the topic.
Conclusion: Connecting LED Lights to a Battery Made Easy
Connecting LED lights to a battery is a simple process that can be completed in just a few easy steps. By following the steps outlined in this guide, you can easily set up your LED lights and enjoy their bright, energy-efficient illumination. Whether you are using LED lights for indoor or outdoor lighting, it is important to make sure they are properly connected to a power source in order to get the most out of them. By following proper safety precautions and using the right tools and materials, you can ensure a successful and safe connection that will last for years to come.
FAQS about connecting LED lights to a battery
To connect LED lights to a battery, you will need the LED lights themselves, a battery, a wire stripper, and optionally a soldering iron and solder, and heat shrink tubing. The wire stripper is used to remove the insulation from the ends of the wires, while the soldering iron and solder are used to create a more permanent connection. Heat shrink tubing is used to protect the connection and prevent short circuits.
There are several different types of batteries that can be used to power LED lights, including AA, AAA, and 9V batteries. These batteries are commonly used in a variety of household and portable electronic devices, making them easy to find and relatively inexpensive. However, it is important to choose the right type of battery for your LED lights, as using the wrong type of battery can damage the lights or even cause them to explode.
LED lights typically have two wires: one positive and one negative. The positive wire is usually marked with a plus sign (+) or the letter “P,” while the negative wire is marked with a minus sign (-) or the letter “N.” It is important to identify the positive and negative wires correctly, as connecting them in the wrong way can damage the LED lights or even cause them to explode.
Yes, there are many other types of power sources that can be used to power LED lights, including AC wall outlets, solar panels, and car batteries. However, the steps for connecting LED lights to these power sources may vary, so it is important to follow the specific instructions for the type of power source you are using.
If you are experiencing problems with your LED lights, such as dim or flickering lights, there may be a problem with the connection. Some common causes of these problems include loose connections, damaged wires, or a faulty battery. To troubleshoot these issues, start by checking the connections and making sure they are secure. If the connections seem fine, try replacing the battery or the LED lights themselves. If the problem persists, it may be a good idea to seek the advice of a professional electrician.