- Why Use a Diffuser with LED Strip Lighting?
- Materials Needed for the DIY LED Strip Diffuser
- Step-by-Step Instructions for Making a LED Strip Diffuser
- Optional Customizations and Variations
- Conclusion: A Custom LED Strip Diffuser Can Improve the Lighting Quality and Aesthetics of Your Space
- Frequently Asked Questions
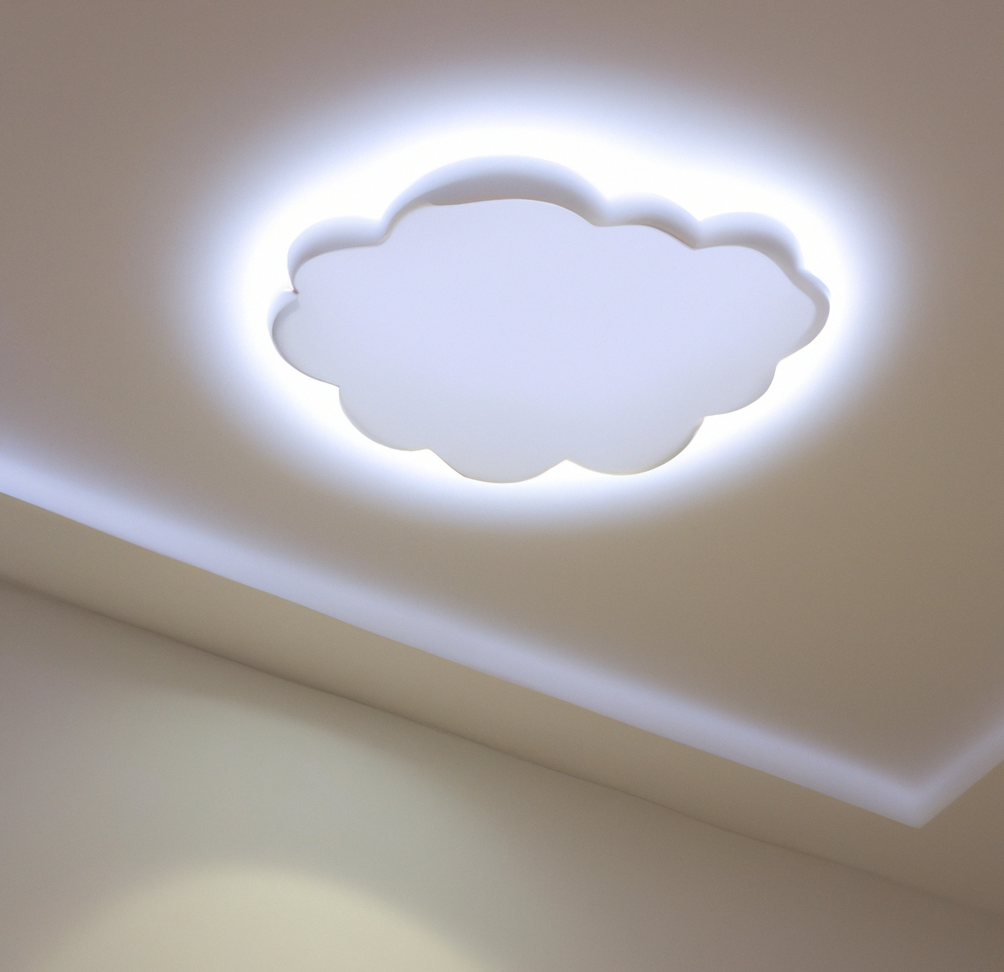
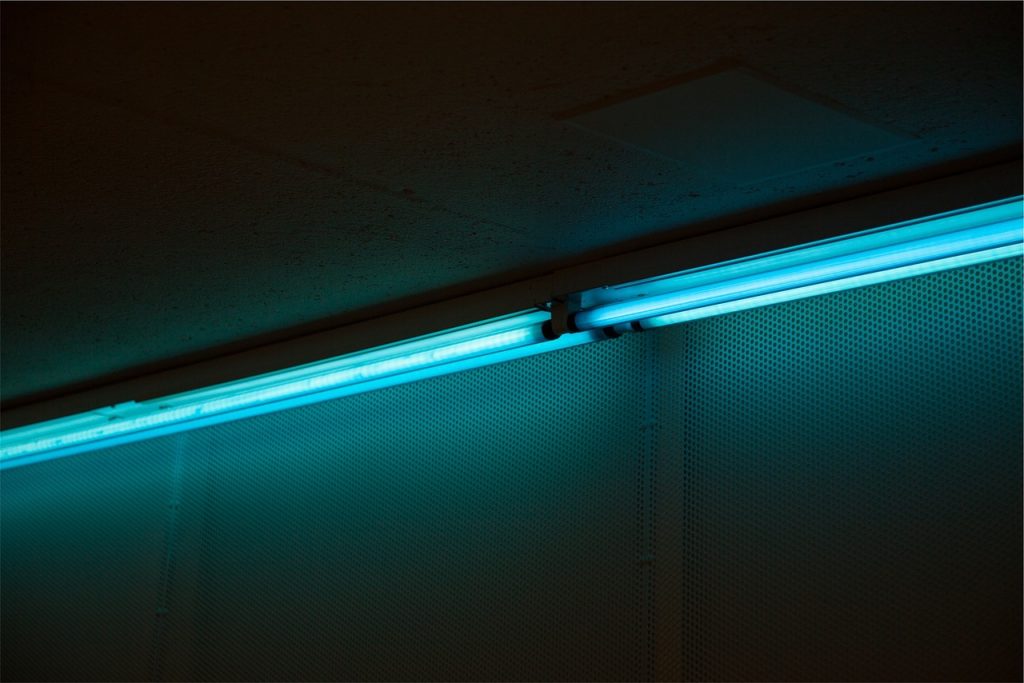
LED strip lighting is a popular and versatile option for illuminating various spaces, including under cabinets, behind televisions, and along stairs. While LED strip lighting is known for its energy efficiency and long lifespan, it can sometimes produce harsh and uneven lighting that can be less than desirable. One way to soften and spread the light from LED strips is to use a diffuser, which helps to eliminate glare and hot spots and create a more pleasing and even lighting effect.
In this tutorial, we’ll walk you through the process of creating your own LED strip diffuser using frosted acrylic or silicone as the diffuser material. This simple and cost-effective DIY project can be completed in just a few hours and requires only a few essential tools. By the end of this tutorial, you’ll have a custom LED strip diffuser that will improve the lighting quality in your space and enhance the overall aesthetics.
Before we dive into the steps for creating a DIY LED strip diffuser, let’s first discuss the benefits of using a diffuser with LED strip lighting and the materials you’ll need for the project.
Why Use a Diffuser with LED Strip Lighting?
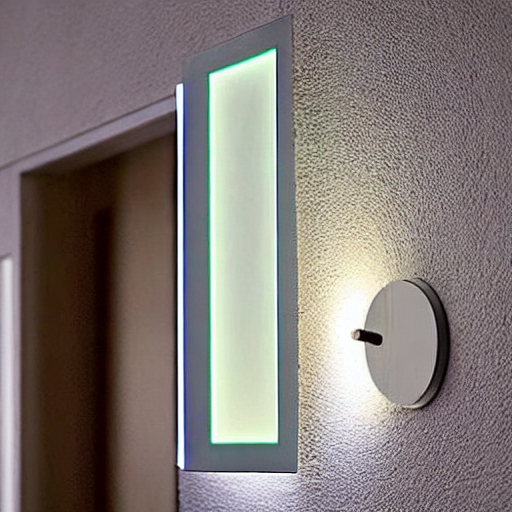
There are several benefits to using a diffuser with LED strip lighting. The primary purpose of a diffuser is to soften and spread the light from the LED strips, creating a more even and pleasing lighting effect. Without a diffuser, LED strip lighting can produce harsh and directional light that can be too bright or create unwanted shadows. A diffuser helps to eliminate these issues by diffusing the light and creating a more even distribution of light.
In addition to improving the lighting quality, a diffuser with LED strip lighting can also reduce glare and hot spots. Glare can be particularly problematic with LED strip lighting, as it can be hard on the eyes and make it difficult to see in certain areas. A diffuser helps reduce glare by scattering the light and reducing the source’s intensity. On the other hand, hot spots are areas of concentrated light that can be too bright and overwhelming. A diffuser helps to eliminate hot spots by evenly distributing the light and creating a more consistent level of illumination.
In addition to the practical benefits, using a diffuser with LED strip lighting can also improve the overall aesthetics of the space. A diffuser helps to create a softer and more subtle lighting effect that can be more visually appealing and less jarring than harsh, directional light. This can be especially beneficial in areas where you want to create a relaxing and welcoming atmosphere, such as in a bedroom or living room.
Using a diffuser with LED strip lighting can significantly improve a space’s lighting quality and aesthetics, making it a worthwhile investment for any home or business.
Materials Needed for the DIY LED Strip Diffuser
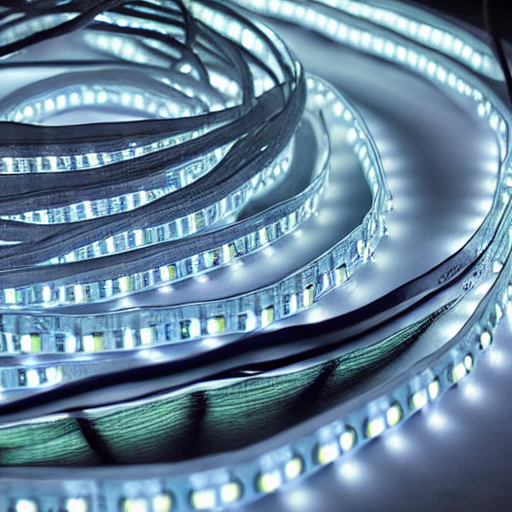
You’ll need a few basic materials to create a DIY LED strip diffuser. The most important material is a diffuser, which will help soften and spread the light from the LED strips. There are several options for diffuser materials, including frosted acrylic and silicone. Frosted acrylic is a sturdy and rigid material that is easy to cut and attach to the LED strips and is transparent, allowing light to pass through and be diffused. Silicone, on the other hand, is a flexible and heat-resistant material that can be molded to fit around the LED strips. It is also transparent but has a softer and more muted appearance than frosted acrylic. Both materials work well as LED strip diffusers, so you can choose the one that best fits your needs and preferences.
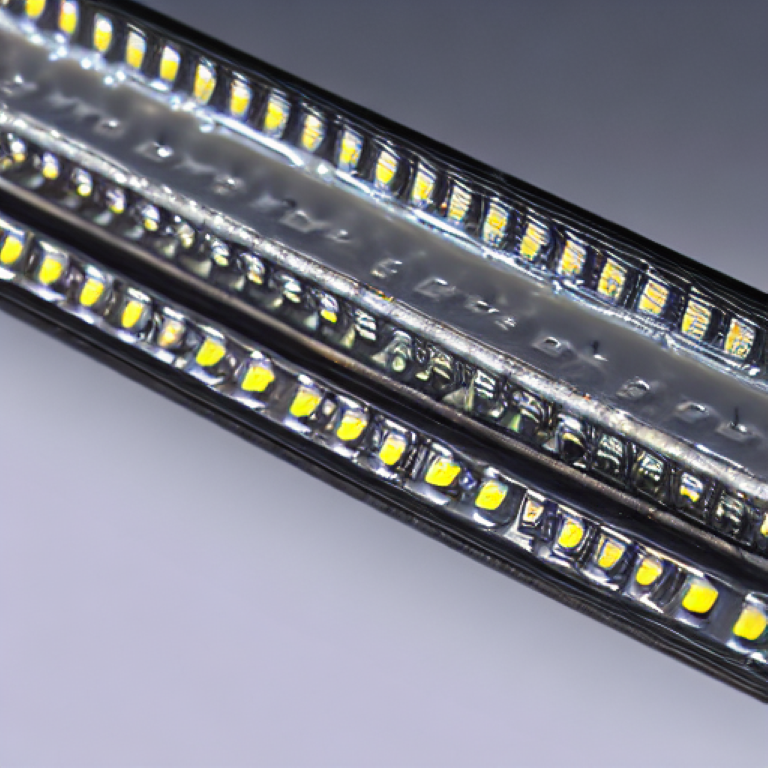
In addition to a diffuser material, you’ll also need LED strip lighting, a ruler or measuring tape, a pencil or pen, and a cutter or scissors. You may also need a heat gun or hair dryer to heat the silicone diffuser material and a pair of gloves to protect your hands. You’ll also need a saw or jigsaw to cut it to size if you use frosted acrylic.
Finally, you’ll need tools for attaching the diffuser to the LED strips. This can include adhesive tape, hot glue, or silicone sealant, depending on your material. It’s essential to choose a solid and durable adhesive that can withstand the heat and weight of the diffuser and LED strips.
With these materials, you’ll be ready to create your own DIY LED strip diffuser.
Step-by-Step Instructions for Making a LED Strip Diffuser
Now that you have all the materials you need, it’s time to start creating your DIY LED strip diffuser. Here are the step-by-step instructions for making a LED strip diffuser using frosted acrylic or silicone as the diffuser material:
- Measure and cut the diffuser material to size. Using a ruler or measuring tape, measure the length and width of the LED strips. Add a few inches to the height and width to allow for overlap and to ensure that the diffuser covers the entire surface of the LED strips. Cut the diffuser material to size using a cutter or scissors for silicone or a saw or jigsaw for frosted acrylic.
- Attach the diffuser to the LED strips. If you use adhesive tape, apply a strip of tape to the back of the diffuser material and press it firmly onto the LED strips. If you are using hot glue, apply a small amount of glue to the back of the diffuser material and press it onto the LED strips. If you are using silicone sealant, apply a bead of sealant along the edges of the diffuser material and press it firmly onto the LED strips. Make sure to smooth out any air bubbles or wrinkles to ensure a secure and seamless fit.
- Optional: Heat the silicone diffuser material. If you use silicone as the diffuser material, you may need to heat it up to mold it around the LED strips. Use a heat gun or hair dryer to heat the silicone until it becomes pliable gently. Be careful not to overheat the silicone, as it can become brittle and break. Once the silicone is heated, carefully press it onto the LED strips and smooth out any wrinkles or air bubbles.
- Test the LED strip diffuser. Once the diffuser is attached to the LED strips, turn on the lights to see how the diffuser affects the lighting. If the diffuser evenly diffuses the light and there are no hot spots or glare, then the LED strip diffuser is ready to use. If you notice any issues, you may need to adjust the placement of the diffuser or use additional adhesive to secure it in place.
With these steps, you should now have a fully functioning LED strip diffuser that will improve your space’s lighting quality and aesthetics. Congratulations on completing this DIY project!
Optional Customizations and Variations
Now that you’ve successfully created a DIY LED strip diffuser, you may want to consider adding some customizations or variations to your design. Here are a few ideas for customizing and enhancing your LED strip diffuser:
- Add a pattern or color to the diffuser. One way to add some personality and flair to your LED strip diffuser is to add a pattern or color to the diffuser material. If you are using frosted acrylic, you can use a CNC router or laser cutter to etch a pattern or design into the surface of the acrylic. If you are using silicone, you can add color to it by mixing in a small amount of silicone dye before heating and attaching it to the LED strips.
- Use a flexible diffuser material. If you want to create a LED strip diffuser that can be easily bent and shaped, you may consider using a flexible diffuser material such as silicone. This can be especially useful for LED strips installed in curved or irregularly shaped spaces. Heat the silicone and mold it to the desired shape, then attach it to the LED strips using adhesive or sealant.
- Create a removable LED strip diffuser. If you want to easily remove and replace your LED strip diffuser, you may consider using a removable adhesive or a magnet to attach the diffuser to the LED strips. This can be especially useful if you want to switch out the diffuser for a different color or pattern or if you need to access the LED strips for maintenance.
With these customizations and variations, you can create a LED strip diffuser that is uniquely yours and ideally suited to your needs and preferences. Experiment with different materials and designs to find your space’s perfect LED strip diffuser.
Conclusion: A Custom LED Strip Diffuser Can Improve the Lighting Quality and Aesthetics of Your Space
In this tutorial, we’ve walked you through the process of creating a DIY LED strip diffuser using frosted acrylic or silicone as the diffuser material. By following the step-by-step instructions and choosing the right materials and tools, you can easily create a custom LED strip diffuser that will improve your space’s lighting quality and aesthetics.
Using a diffuser with LED strip lighting has several benefits, including softer and more even lighting, reduced glare and hot spots, and improved aesthetics. Whether you are using LED strip lighting in a residential or commercial setting, a diffuser can significantly enhance the lighting experience and create a more inviting and comfortable atmosphere.
If you’ve enjoyed this tutorial and are looking for more ideas for improving the lighting in your space, consider trying out some of the optional customizations and variations mentioned in this tutorial. By adding a pattern or color to the diffuser, using a flexible diffuser material, or creating a removable diffuser, you can make a LED strip diffuser that is uniquely yours and ideally suited to your needs and preferences.
We hope this tutorial has inspired you to try out this DIY project and enhance the lighting in your space with a custom LED strip diffuser.
Frequently Asked Questions
What is a LED strip diffuser?
A LED strip diffuser is a material used to soften and spread the light from LED strip lighting. It is typically made from a transparent material, such as frosted acrylic or silicone. It is attached to the LED strips to diffuse the light and create a more even and pleasing lighting effect.
Why use a LED strip diffuser?
There are several benefits to using a LED strip diffuser, including softer and more even lighting, reduced glare and hot spots, and improved aesthetics. A LED strip diffuser helps to eliminate harsh and directional light and create a more consistent and pleasing lighting effect. It can also reduce glare and hot spots, which can be problematic with LED strip lighting.
What materials can I use to make a LED strip diffuser?
Several materials can be used to make a LED strip diffuser, including frosted acrylic and silicone. Frosted acrylic is a sturdy and rigid material that is easy to cut and attach to the LED strips and is transparent, allowing light to pass through and be diffused. Silicone, on the other hand, is a flexible and heat-resistant material that can be molded to fit around the LED strips. It is also transparent but has a softer and more muted appearance than frosted acrylic. Both materials work well as LED strip diffusers, so you can choose the one that best fits your needs and preferences.
Can I customize my LED strip diffuser?
Yes, you can customize your LED strip diffuser by adding a pattern or color to the diffuser material, using a flexible diffuser material, or creating a removable diffuser. These customizations can help you create a LED strip diffuser that is uniquely yours and ideally suited to your needs and preferences.
How do I attach a LED strip diffuser to the LED strips?
Attaching an LED strip diffuser to the LED strips in several ways, including using adhesive tape, hot glue, or silicone sealant. It’s essential to choose a solid and durable adhesive that can withstand the heat and weight of the diffuser and LED strips. If you use silicone as the diffuser material, you may need to heat it up to mold it around the LED strips. Use a heat gun or hair dryer to heat the silicone until it becomes pliable, then attach it to the LED strips using adhesive or sealant. Be sure to smooth out any air bubbles or wrinkles to ensure a secure and seamless fit.