Are you looking for an easy and affordable way to grow plants indoors? If so, you may want to consider making your own LED grow light. By using a few simple components, you can make a light that is perfect for small plants or seedlings. In this tutorial, we will show you how to make an LED grow light for under $10. Let’s get started!
And as always, if you want to check out our other cool ( and easy ) led projects make sure you check out our page.
- What you’ll need
- The more advanced option
- Pro’s and Cons
- Testing your light
- Final thoughts
- Conclusion
- Frequently Asked Questions
- What is an LED grow light?
- What are the benefits of using an LED grow light?
- How do I make an LED grow light?
- What do I need to make an LED grow light?
- How much will it cost to make an LED grow light?
- How do I use an LED grow light?
- What are some tips for using an LED grow light?
- Are there any safety concerns with using an LED grow light?
What you’ll need
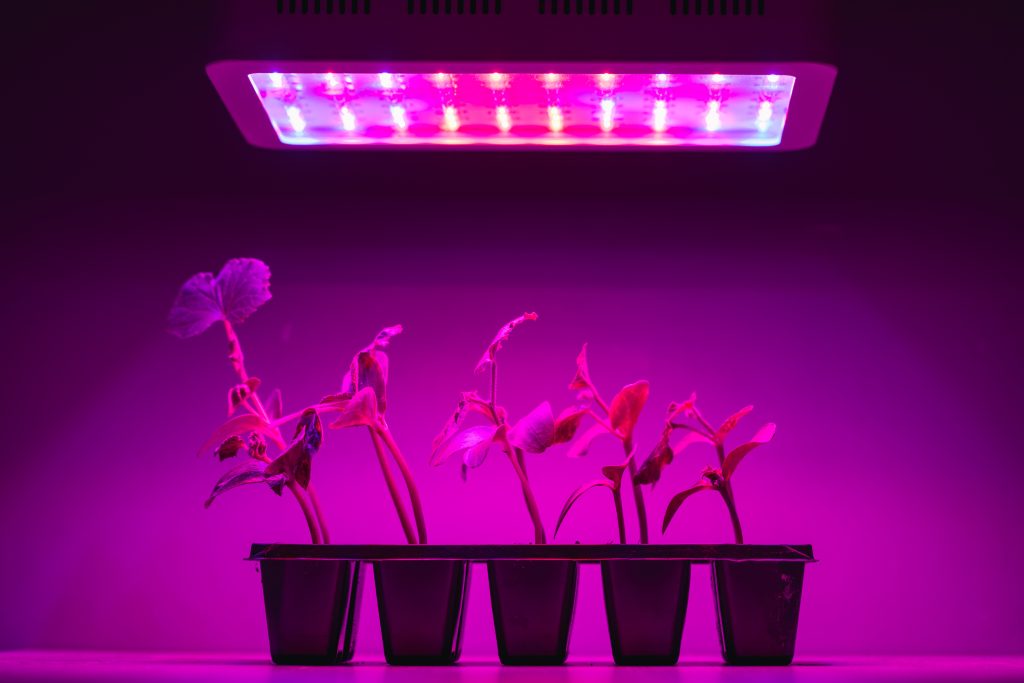
Alright, alright, alright let’s get started with this fun and easy to follow led project. It is a pretty straight forward project, because at its core it is an led panel with customizable lights to ensure that the plants you are trying to grow will in fact… grow.
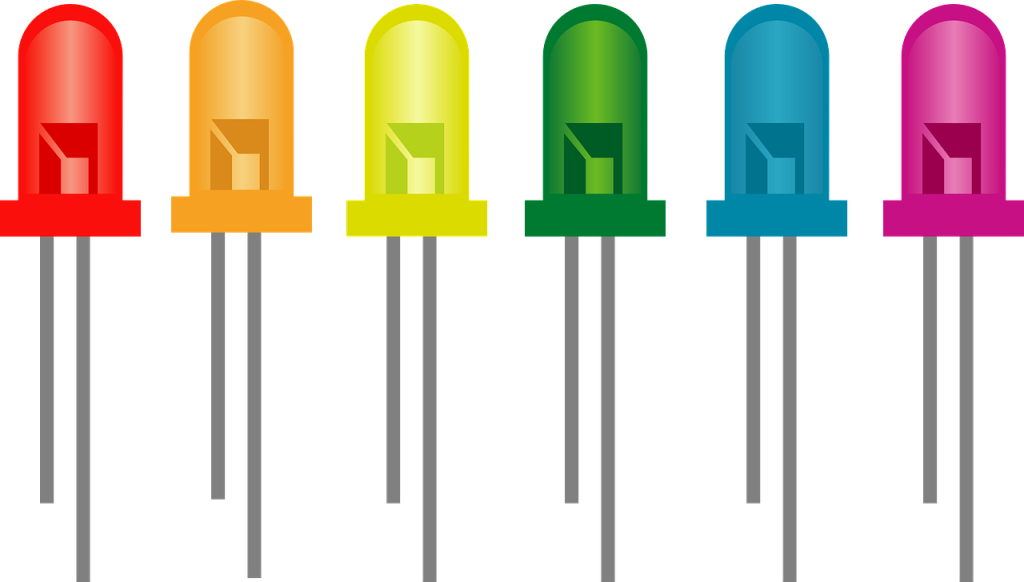
So the first thing that you are going to want to do is find out what color of lights you will want to use for your plants. As each plant can have a variance as far as the lights they want, we suggest you look specifically into the types of plants you’re going to try to grow and buy the proper LEDS to emit those colors/wavelengths.
So now you have the proper leds, or bulbs, you have to figure out the right way to wire up your project. This is where there can be a variance between using LEDS and using LED bulbs. So let’s look at the bulb route first as it is the easist way. In essence, you just need to wire bulb holders and then put them into a base. Here is a great video that will walk you through the entire process:
The more advanced option
Alright, so if you like to take the harder ( and sometimes more fun ) route we can look at the best way to really make an LED setup for your indoor growing. For this you are going to need to get the following:
-Proper LEDs
-Wiring
-Backing
-Power source
-Frame
So even going this route there are a couple of different options. The easiest, when sourcing your leds, is to get a roll of led lights that align with the color temp you are going for. You can get your own leds, wire them in parallel, and then attach them to a power source. But for the easier of the harder route, we will go with the roll of led lights. You simply need to roll the lights out, attach them to your frame and ensure the power source for the lights work. Here is a great step by step video to guide you through all the steps:
Pro’s and Cons
Ok so there are two routes given here, and you probably want to know the pros and cons of each route right? It really comes down to how technical or hands-on you want to get. For the light bulb route the pros would be that it is easier to setup and the cons will be the reduction of your ability to customize the light. You will be restricted by the bulbs you have access to.
For the roll/LED component route you will spend a bit more time making the setup but in the end you will have more ability to customize the output. If you go the LED roll route you will be in the middle of time to setup and customization, and if you go with your own sourced LEDs that you wire up it will take more time but you will be able to customize the light pattern and output to whatever you want.
Testing your light
In lighting design, a key consideration is ensuring that the light levels are adequate for the tasks. If the lighting is too low, it can strain eyes and cause fatigue. Conversely, if it is too high, it will be ineffective in illuminating the area well and lead to glare and discomfort. Therefore, testing the light should be a part of any initial lighting design process.
Different types of tests can ascertain whether the correct angles and intensities of light are used for their intended purpose. For example, lux levels help you measure how much visible light arrives where it is supposed to go, while luminance testing measures how things appear under those conditions.
Additionally, certain tests can be undertaken to make sure the lights are installed correctly and fit into the overall aesthetic of an area or building. Projects can see optimal results with minimal frustrations by ensuring that all constraints have been taken into account before implementing a lighting design plan. In short, thorough testing should be done in order to ensure that any investment in lighting pays off in improved visual comfort and efficiency.
Final thoughts
As we come to the conclusion of this module, it is important to take a moment to recognize our accomplishments. We’ve gone through the process of researching, exploring, and understanding our topic. We have been able to not only deepen our knowledge on the matter but foster collaboration with one another while doing so. This was an excellent opportunity to create an informed perspective based on facts from all sides, developing skills to help us better discuss topics and address important issues in the future. Our next goal should be expanding this further by applying it in various contexts—both professionally and for fun—in order to create a solid foundation for making informed decisions. As long as we keep learning and building on the steps we took today, the sky is truly the limit!
All these thoughts will be sure to guide us forward as we continue with new projects or explore more about areas already familiar. Thank you for being part of this journey, and I’m sure these experiences will reap many benefits in many aspects of life going forward. Let’s make use of every lesson learned inside and outside this module! Overall, I am glad everyone completed this module despite its challenges because it was certainly worth it at the end. Congratulations on your excellent work!
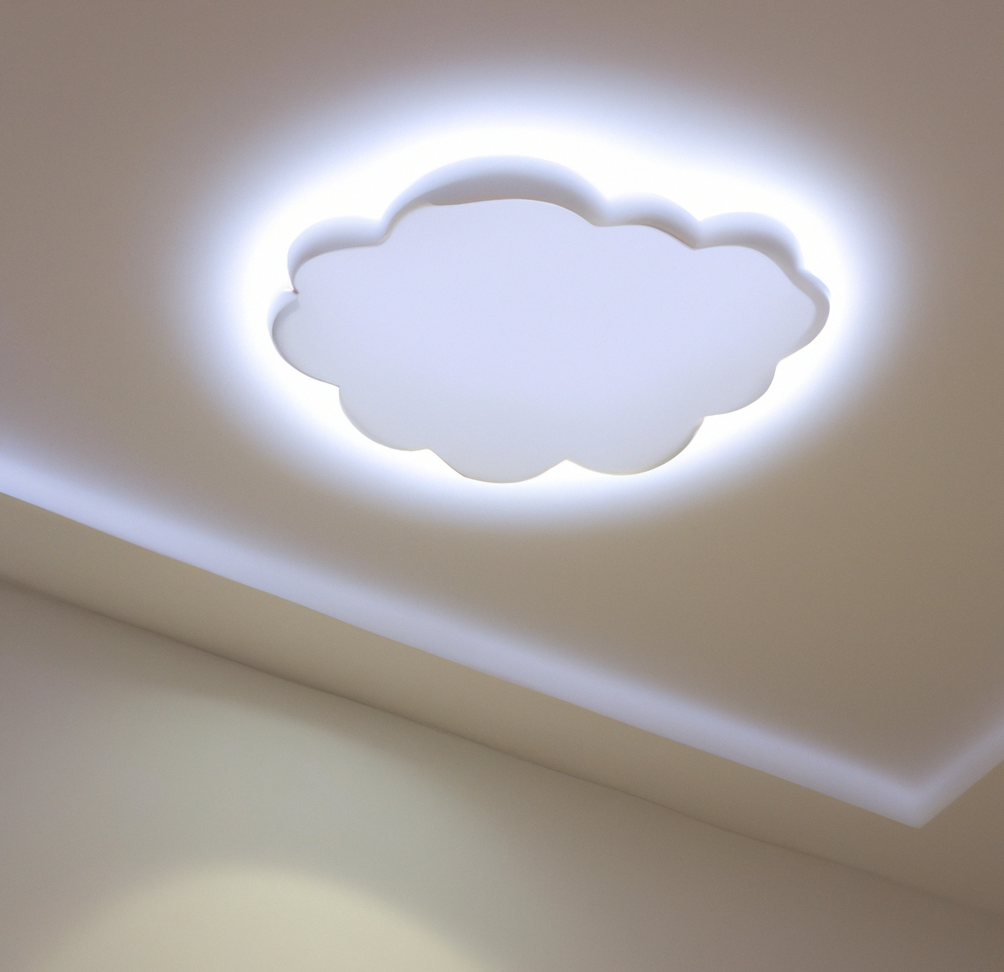
And really, at the end of the day this setup isn’t much different than our DIY LED clouds project it is just really the form as they are all leds attached to specific designs.
Conclusion
That’s it! You now have the basic knowledge you need to start working with LEDs. In our final thoughts, we’ll give you some tips on how to get started and where to go from here. We hope you’ve found this tutorial helpful and that you’re excited to try out your new skills!
Frequently Asked Questions
What is an LED grow light?
LED grow lights are special lights that are used to help plants grow. They are different from regular lights because they give off less heat and use less energy. This makes them a good choice for growing plants indoors.
What are the benefits of using an LED grow light?
LED grow lights are special lights that help plants grow. They use less energy than regular lights, so they’re a good choice for growing plants indoors.
How do I make an LED grow light?
To make a LED grow light, you will need to purchase some special lights that help plants grow. LED grow lights use less energy than regular lights, so they’re a good choice for growing plants indoors.
What do I need to make an LED grow light?
You need to purchase some special lights that help plants grow in order to make a LED grow light. LED grow lights use less energy than regular lights, so they’re a good choice for growing plants indoors.
How much will it cost to make an LED grow light?
It will cost some money to make a LED grow light. You need to purchase some special lights that help plants grow in order to make a LED grow light. LED grow lights use less energy than regular lights, so they’re a good choice for growing plants indoors.
How do I use an LED grow light?
To use a LED grow light, you will need to purchase some special lights that help plants grow. LED grow lights use less energy than regular lights, so they’re a good choice for growing plants indoors.
What are some tips for using an LED grow light?
Some tips for using a LED grow light are to make sure the light is close to the plants, that it is turned on for at least 12 hours a day, and that it is not too hot.
Are there any safety concerns with using an LED grow light?
Yes, there are some safety concerns with using a LED grow light. Make sure you keep the light close to the plants and that it is not too hot.