- Determine Compatibility of LED Lights and Dimmer Switch
- Install a Dimmer Switch
- Test the Dimmer Switch and LED Lights
- Troubleshooting Common Issues
- Conclusion: Making LED lights dimmable
- FAQs about
- Can all LED lights be dimmed?
- What type of dimmer switch do I need for my LED lights?
- Can I use any dimmer switch with my LED lights?
- How do I install a dimmer switch?
- What do I do if my LED lights are flickering or buzzing when dimming?
- What do I do if my LED lights are not turning off completely?
- What do I do if the dimming range is not as expected?
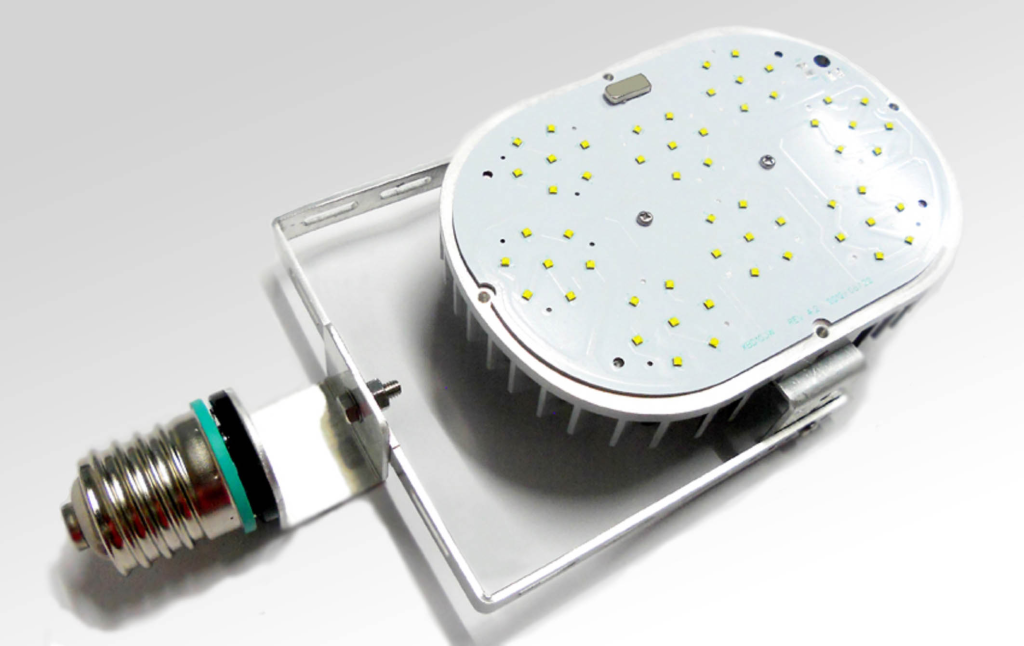
Introduction about dimmable LED lights
LED lights are a popular choice for home lighting due to their energy efficiency and long lifespan. However, one of the drawbacks of LED lights is that they may not be dimmable straight out of the box. If you want to create a cozy ambiance in your home or save energy by dimming your lights, you’ll need to make sure your LED lights are compatible with a dimmer switch and install one correctly.
In this article, we’ll go over the steps on how to make LED lights dimmable, as well as troubleshoot any common issues that may arise. We’ll also cover the different types of dimming methods and how to determine compatibility between LED lights and a dimmer switch.
Before we get started, it’s important to note that not all LED lights are compatible with dimmer switches. It’s crucial to check the manufacturer’s specifications and consider the type of dimming method supported by both the LED lights and the dimmer switch. Some LED lights may require a special type of dimmer switch or may not be dimmable at all.
If you’re ready to take the plunge and make your LED lights dimmable, follow the steps outlined in this guide. With a little bit of patience and attention to detail, you’ll be able to enjoy the convenience and energy savings of dimmable LED lights in no time.
Determine Compatibility of LED Lights and Dimmer Switch
Before purchasing a dimmer switch, it’s important to ensure that it will be compatible with your LED lights. Not all LED lights are dimmable, and even those that are may not be compatible with every type of dimmer switch.
To determine compatibility, check the manufacturer’s specifications for your LED lights. Most manufacturers will specify whether their LED lights are dimmable and, if so, what type of dimmer switch is required. Some LED lights may require a special type of dimmer switch, such as a low-voltage electronic dimmer or a forward phase-cut dimmer.
In addition to checking the manufacturer’s specifications, you’ll also want to consider the type of dimming method supported by both the LED lights and the dimmer switch. There are three main types of dimming methods:
- Resistance dimming: This method adjusts the amount of electricity flowing to the LED lights by adding resistance to the circuit. It’s the most common type of dimming method and is compatible with most dimmer switches.
- Pulse width modulation (PWM) dimming: This method rapidly turns the LED lights on and off at a high frequency, creating the illusion of dimming. PWM dimming is less common and may not be compatible with all dimmer switches.
- Digital addressable lighting interface (DALI) dimming: This method uses a digital protocol to control the dimming of LED lights. It’s a more advanced and expensive method and may require special hardware and wiring.
Once you’ve determined the compatibility of your LED lights and dimmer switch, you can proceed with installing the dimmer switch. If you’re unsure about compatibility or have any doubts, it’s always a good idea to consult a licensed electrician for assistance.
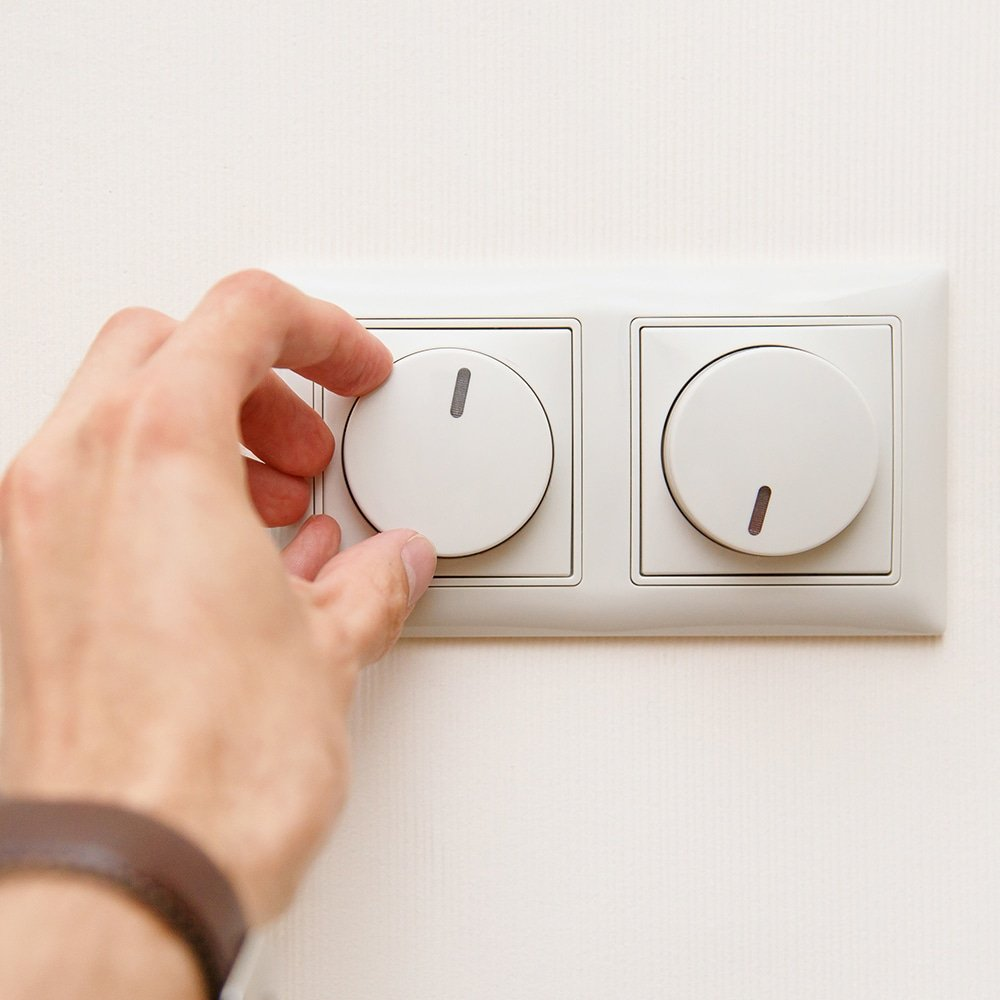
Install a Dimmer Switch
Once you’ve determined that your LED lights and dimmer switch are compatible, it’s time to install the dimmer switch. Here are the following steps:
- Purchase a compatible dimmer switch. Make sure to select a dimmer switch that is compatible with your LED lights and the type of dimming method used (resistance, PWM, or DALI).
- Turn off power to the circuit at the breaker box. Before beginning any electrical work, it’s important to shut off the power to the circuit to prevent accidents or injuries.
- Remove the old switch and install the dimmer switch according to the manufacturer’s instructions. Most dimmer switches are similar in design and can be installed in a similar manner. However, it’s important to follow the specific instructions provided by the manufacturer to ensure a proper installation.
- Connect the wires according to the manufacturer’s instructions. This may involve attaching the wires to the dimmer switch terminal screws or pushing them into wire connectors.
- Install the dimmer switch faceplate and mounting screws. Make sure the faceplate is securely attached, and the mounting screws are tightened.
- Test the dimmer switch to make sure it’s functioning properly. Turn the power back on and test the dimmer switch by turning the lights on and off and adjusting the brightness level.
If you’re not comfortable with installing a dimmer switch yourself, it’s always a good idea to consult a licensed electrician for assistance. They will be able to ensure a safe and proper installation.
Test the Dimmer Switch and LED Lights
Once you’ve installed the dimmer switch, it’s important to test it to make sure it’s functioning properly. Here’s what to do:
- Turn the power back on to the circuit at the breaker box.
- Test the dimmer switch by turning the lights on and off and adjusting the brightness level. Make sure the dimmer switch is functioning correctly and the LED lights are dimming as expected.
- Adjust the minimum brightness level if necessary. Some LED lights may have a minimum brightness level that is too bright when using a dimmer switch. If this is the case, you may need to adjust the minimum brightness level to achieve the desired dimming range. This can usually be done by adjusting the trim pot on the back of the LED driver or by using a special minimum brightness adjustment tool.
- Test the dimmer switch and LED lights at different brightness levels to ensure smooth and consistent dimming.
If you encounter any issues when testing the dimmer switch and LED lights, see the next section on troubleshooting common issues. If the issues persist or you’re unsure how to fix them, it’s always a good idea to consult a licensed electrician for assistance.
Troubleshooting Common Issues
Even with proper installation and compatibility, it’s not uncommon to encounter issues when using a dimmer switch with LED lights. Here are some common issues and how to troubleshoot them:
- Flickering or buzzing when dimming: This issue is usually caused by an incompatible dimmer switch or LED driver. It can also be caused by a poor connection or loose wiring. To fix this issue, try replacing the dimmer switch with a compatible one or adjusting the trim pot on the back of the LED driver. If the issue persists, consult a licensed electrician for assistance.
- LED lights not turning off completely: This issue is usually caused by an LED driver that is not fully compatible with the dimmer switch. To fix this issue, try using a dimmer switch with a higher minimum brightness level or adjust the trim pot on the back of the LED driver. If the issue persists, consult a licensed electrician for assistance.
- Dimming range not as expected: If the dimming range is not as expected, it could be caused by an LED driver that is not fully compatible with the dimmer switch. To fix this issue, try using a dimmer switch with a higher minimum brightness level or adjust the trim pot on the back of the LED driver. If the issue persists, consult a licensed electrician for assistance.
Conclusion: Making LED lights dimmable
In conclusion, making LED lights dimmable is a simple process that can add convenience and energy savings to your home. By following the steps outlined in this guide, you’ll be able to determine the compatibility of your LED lights and dimmer switch, install the dimmer switch correctly, and troubleshoot any common issues that may arise.
Remember to always consult the manufacturer’s specifications and consider the type of dimming method supported by both the LED lights and the dimmer switch. If you’re unsure about compatibility or have any doubts, it’s always a good idea to consult a licensed electrician for assistance.
We hope this guide has been helpful in making your LED lights dimmable. Share your own experiences with dimming LED lights in the comments below!
FAQs about Dimmable LED lights
No, not all LED lights are dimmable. It’s important to check the manufacturer’s specifications to determine if your LED lights are dimmable and, if so, what type of dimmer switch is required. Some LED lights may not be dimmable at all.
The type of dimmer switch you need for your LED lights depends on the type of dimming method used by the LED lights. There are three main types of dimming methods: resistance dimming, pulse width modulation (PWM) dimming, and digital addressable lighting interface (DALI) dimming. Check the manufacturer’s specifications for your LED lights to determine the type of dimmer switch required.
Not all dimmer switches are compatible with all LED lights. It’s important to check the manufacturer’s specifications for your LED lights and the dimmer switch to ensure compatibility. Some LED lights may require a special type of dimmer switch or may not be dimmable at all.
This issue is usually caused by an incompatible dimmer switch or LED driver. It can also be caused by a poor connection or loose wiring. To fix this issue, try replacing the dimmer switch with a compatible one or adjusting the trim pot on the back of the LED driver. If the issue persists, consult a licensed electrician for assistance.
If the dimming range is not as expected, it could be caused by an LED driver that is not fully compatible with the dimmer switch. To fix this issue, try using a dimmer switch with a higher minimum brightness level or adjust the trim pot on the back of the LED driver. If the issue persists, consult a licensed electrician for assistance.