Introduction to cutting LED rope lights
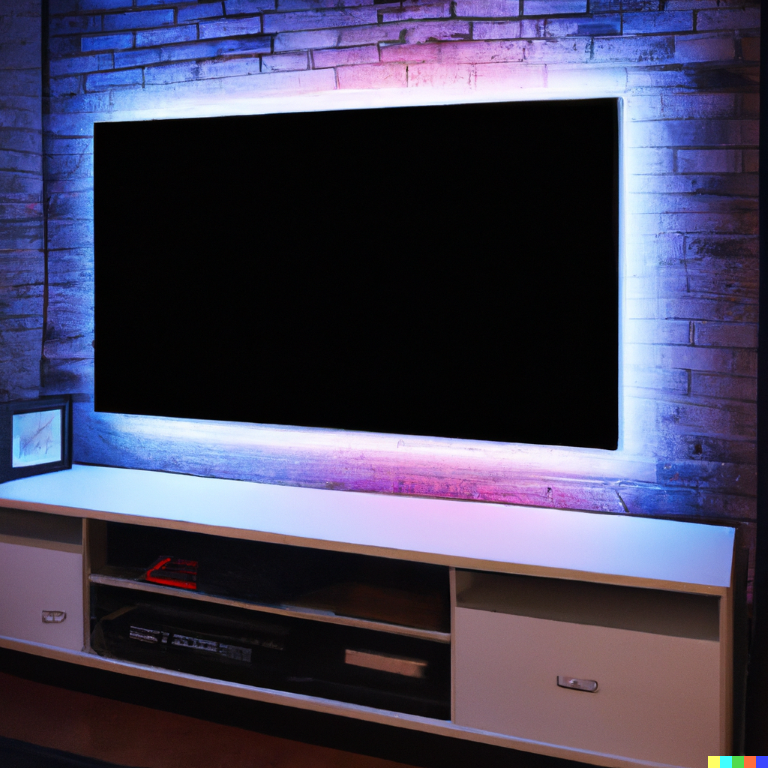
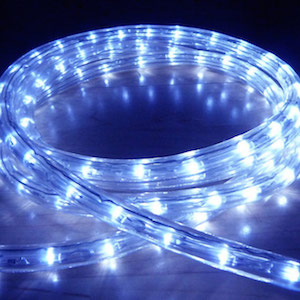
LED rope lights are a popular choice for home decor, offering a flexible and energy-efficient way to add accent lighting to any space. Whether you’re looking to add a subtle glow to your backyard or create a dramatic lighting display inside, LED rope lights are a versatile choice. However, before you can start enjoying your new LED lights, you’ll need to cut them to the right length for your project.
Properly cutting LED rope lights is important for a successful installation. If you cut the lights improperly, you risk damaging the wires and potentially causing a safety hazard. In this DIY guide, we’ll walk you through the steps for cutting LED rope lights, from gathering the necessary materials to testing and installing your finished product.
Whether you’re a beginner or an experienced DIY enthusiast, this guide has everything you need to know to confidently cut and install your own LED rope lights. By following these steps, you can create a custom lighting solution that perfectly fits your space and personal style. So let’s get started and learn how to cut LED rope lights like a pro!
Materials needed
Before you start cutting your LED rope lights, gathering all the materials you’ll need is important LED rope lights, it’s important to gather all the materials you’ll need. Here’s a list of the essentials:
- LED rope lights: This should be the first item on your list, as you’ll need the rope lights to complete your project. LED rope lights come in a variety of lengths and colors, so choose the ones that best suit your needs.
- Wire stripper or scissors: You’ll need a tool to cut the LED rope lights. A wire stripper is a specialized tool that’s designed for cutting and stripping electrical wire. It has a series of small holes that allow you to easily grip and cut the wire. Alternatively, you can use a pair of scissors to cut the rope lights. Just be sure to use a sharp pair that can cleanly cut through the wire.
- Electrical tape: Once you’ve cut the LED rope lights, you’ll need to seal the cut end to protect the wires. Electrical tape is perfect for this task, as it’s designed to insulate electrical connections and resist water and UV radiation.
- Wire connectors (optional): If you’re planning to connect your LED rope lights to a power source or other rope lights, you’ll need wire connectors. These are small connectors that allow you to securely join two wires together. There are many types of wire connectors available, so choose the ones that best suit your needs.
Gathering these materials before you start your project will help you work efficiently and avoid any unnecessary delays. Once you have everything you need, you’re ready to move on to the next step: preparation.
Preparation
Before you start cutting your LED rope lights, it’s important to properly prepare for the task. This includes measuring and marking the desired length of the lights and determining the cutting intervals.
First, measure the length of the LED rope lights you’ll need for your project. Consider the size of the area you’re lighting and the desired effect you want to achieve. For example, if you’re lighting a small garden bed, you’ll need shorter lengths of LED rope lights than if you’re illuminating a large patio. Use a tape measure or a ruler to accurately measure the length of the LED rope lights you’ll need.
Next, mark the desired length of the LED rope lights with a pen or a piece of tape. This will give you a clear reference point for cutting the lights.
Most LED rope lights have marked intervals for cutting, usually every few inches or feet. These intervals are usually indicated by small lines or dots on the rope. Determine the cutting intervals you’ll need based on the marked intervals and your desired length. For example, if your desired length is 10 feet and the marked intervals are every 3 inches, you’ll need to cut the LED rope lights at the 30th interval (10 feet x 12 inches per foot / 3 inches per interval = 40 intervals / 2 intervals per foot = 20 feet).
Cutting the LED rope lights
Now that you’ve prepared your LED rope lights and gathered the necessary materials, it’s time to start cutting. Follow these steps to safely and accurately cut your LED rope lights:
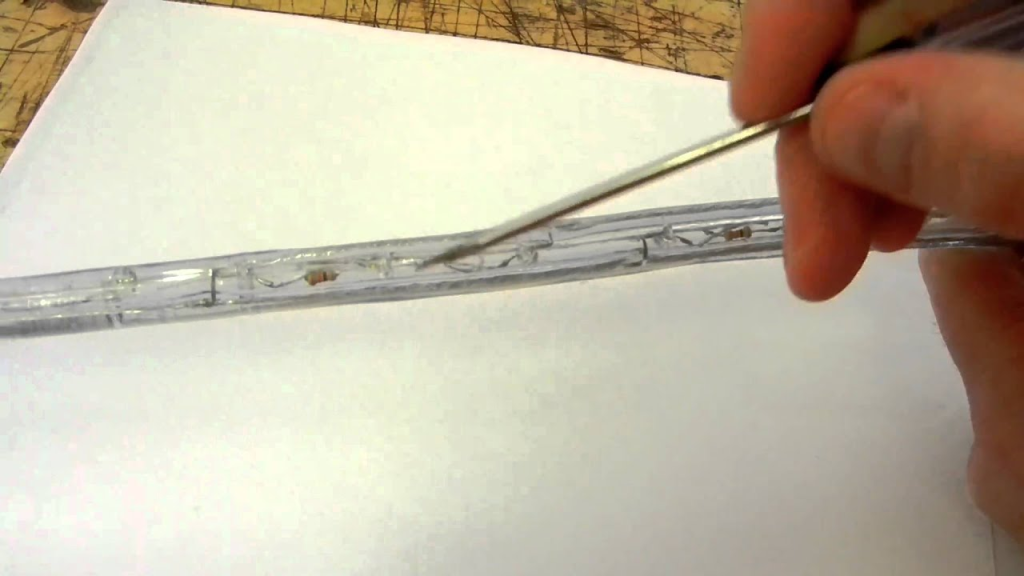
- Hold the LED rope lights securely. Hold the rope lights with one hand, making sure to keep a firm grip on both ends. This will prevent the lights from slipping or moving while you cut them.
- Use a wire stripper or scissors to cut the LED rope lights at the marked interval. If you’re using a wire stripper, insert the wire into the appropriate hole and squeeze the handle to cut the wire. If you’re using scissors, make sure they are sharp and able to cleanly cut through the wire.
- Seal the cut end with electrical tape. Once you’ve cut the LED rope lights, use electrical tape to seal the cut end and protect the wires. Start by wrapping a few inches of tape around the cut end, making sure to cover the wires completely. Then, wrap the tape around the rope lights in a spiral pattern, overlapping each layer slightly. This will create a watertight seal that will protect the wires from moisture and other environmental factors.
By following these steps, you can safely and accurately cut your LED rope lights to the desired length. Remember to take your time and be precise, as proper cutting is essential for a successful installation.
Preparation is key to successfully cutting LED rope lights. By accurately measuring and marking the desired length and determining the cutting intervals, you’ll have a clear plan for cutting the lights and can proceed with confidence.
Connecting the LED rope lights
If you’re planning to connect your LED rope lights to a power source or other rope lights, you’ll need to use wire connectors to securely join the wires. Wire connectors come in many types, such as twist-on wire connectors, wire nuts, and butt splices. Choose the type that best suits your needs and follow the manufacturer’s instructions for use.
To connect the LED rope lights, follow these steps:
- Strip the wires. Use a wire stripper or a pair of scissors to remove a small section of the insulation from the end of each wire. This will expose the bare wire, which is needed to make a secure connection.
- Join the wires. Place the exposed wire ends into the wire connector and follow the manufacturer’s instructions for securing the connection. Some connectors may require you to twist the wires together, while others may require you to push the wires into place and secure them with a clamp.
- Test the connection. Once the wires are connected, test the connection to make sure it’s secure. Gently tug on the wires to make sure they don’t come apart. If the connection is secure, you’re ready to move on to the next step.
By properly connecting your LED rope lights, you’ll ensure that they have a reliable power source and can operate safely. Remember to always follow proper safety precautions when working with electrical wires, and never touch the bare wires or attempt to connect them without the proper tools and knowledge.
Testing and installation
Now that you’ve cut and connected your LED rope lights, it’s time to test them and complete the installation. Follow these steps to ensure a successful installation:
- Test the LED rope lights. Before you start installing the lights, it’s important to test them to make sure they are working properly. Plug the lights into a power source and turn them on. Check for any issues, such as broken or non-functioning lights, and address any problems before proceeding with the installation.
- Follow any additional installation instructions. Depending on the type of LED rope lights you’re using and the installation method, there may be additional instructions you need to follow. For example, some LED rope lights may require you to mount them to a surface using clips or adhesives, while others may be designed to be wrapped around a object or structure. Follow the manufacturer’s instructions carefully to ensure a successful installation.
- Install the LED rope lights. Once you’ve tested the lights and gathered any necessary materials, you’re ready to install the LED rope lights. Follow the manufacturer’s instructions for installation, taking care to properly secure the lights and protect the wires.
By properly testing and installing your LED rope lights, you can enjoy your new lighting solution safely and reliably. Remember to follow all safety precautions and take your time during the installation process to ensure a successful result.
Conclusion: A Step-by-Step Guide to Cutting and Installing LED Rope Lights
In this DIY guide, we’ve walked you through the steps for cutting and installing LED rope lights. By following these steps and gathering the necessary materials, you can confidently create a custom lighting solution that fits your space and personal style.
To summarize, here are the key steps for cutting LED rope lights:
- Measure and mark the desired length of the LED rope lights.
- Determine the cutting intervals based on the marked intervals and your desired length.
- Use a wire stripper or scissors to cut the LED rope lights at the marked interval.
- Seal the cut end with electrical tape to protect the wires.
- Connect the LED rope lights to a power source or other rope lights using wire connectors, if necessary.
- Test the LED rope lights to ensure they are working properly.
- Follow any additional installation instructions and install the LED rope lights.
By following these steps, you can successfully cut and install LED rope lights for any project. We hope this guide has been helpful and that you feel confident in your ability to tackle your own LED rope light cutting and installation project. Happy DIY-ing!
FAQs about cutting LED rope lights
You’ll need a wire stripper or a pair of scissors to cut the LED rope lights. A wire stripper is a specialized tool that’s designed for cutting and stripping electrical wire. It has a series of small holes that allow you to easily grip and cut the wire. Alternatively, you can use a pair of scissors to cut the rope lights.
After cutting the LED rope lights, use electrical tape to seal the cut end and protect the wires. Start by wrapping a few inches of tape around the cut end, making sure to cover the wires completely. Then, wrap the tape around the rope lights in a spiral pattern, overlapping each layer slightly.
Yes, you can connect LED rope lights to a power source using wire connectors. There are many types of wire connectors available, such as twist-on wire connectors, wire nuts, and butt splices.
Installation of LED rope lights will depend on the type of lights you’re using and the installation method. Some LED rope lights may require you to mount them to a surface using clips or adhesives, while others may be designed to be wrapped around a object or structure.
LED rope lights are generally safe to use, as they produce very little heat and use low-voltage electricity. However, it’s important to follow proper safety precautions when working with electrical wires and devices. Never touch the bare wires or attempt to connect them without the proper tools and knowledge.